Weather App in Django | Get Weather Report City Wise
In this tutorial, we will create a weather app using Django; this app will display the weather of the searched cities. It is a simple Django project and helps beginners to understand the basic concepts of Django. We will also use the Weather API to fetch the data.
Before move further in this tutorial, make sure that you have installed Python and Django. If Django is not installed, you can install it using the pip command. We suggest first creating the virtual environment and then install Django.
Prerequisites
- Familiar with Python
- Familiar with fundamentals of Django
- The system should have installed Python
- Install IDE (Pycharm, VSCode, Atom, Sublime)
Installation of Django
First, open the terminal of IDE and create the virtual environment. Here, we are using visual studio. The virtual environment can be created using following ways.
- Using pipenv shell command
- Using venv
We create the virtual command using pipenv shell command
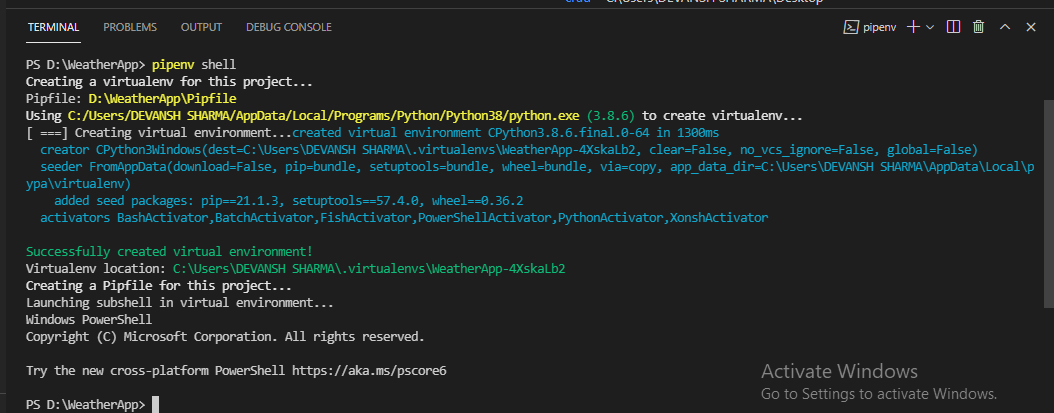
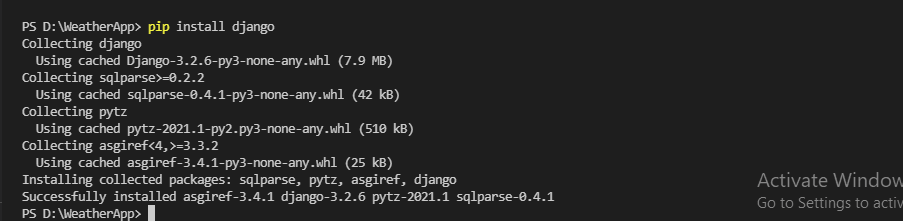
Using this command, we don’t need to activate the virtual environment. It is automatically activated. Now, we will install Django using the pip command.
To check whether django is installed or not, type the django-admin -version and hit enter.

It means we have installed the latest version of Django.
Create Project and APP
A Django project can consist of many apps. Here we create a project using the following command.
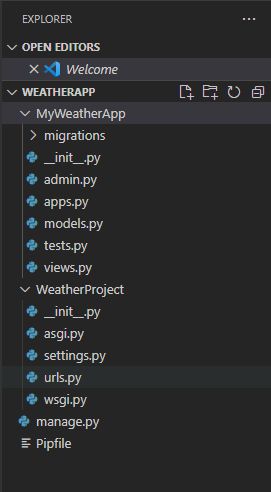
We created project named WeatherProject, and now we will create the app using the python manage.py startapp MyWeatherApp.
Note – Observe that we have used . (dot) after the project name while running the create project command. It makes the separate project in the Directory. We don’t need to jump to the project to access the manage.py file.
We create the new app name MyWeatherApp using the below command.
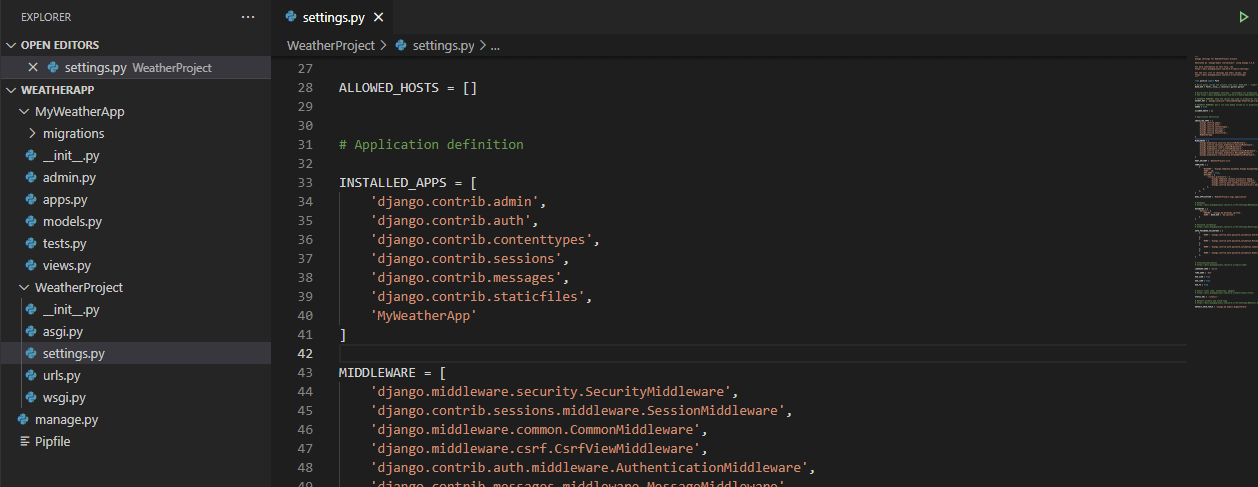
It is not included in the project so, to consider the app we have to add the app name in the INSTALLED_APP. So open the settings.py file and add newly created app.
At this point, we are one step forward to create our application. Run the server using the following command.

Click on the given link and it will show the Django application environment.
Logging to Admin Panel
Next, we will log in to the built-in Django Dashboard. To do so, we need to migrate our database, which means Django will create the pre-defined tables needed for the default apps.
Type the following command in the terminal and press enter key.
This will create the SQLite database for our project. It is a default database provides by the django, and it has added several tables to database.
There will be a user table in the admin panel, which will store the user in our app.
To log in to the admin panel, we need to create the admin using the below command.
After running the command, it will ask to user information such as username, email address, and password. Once we done this, start the server again.
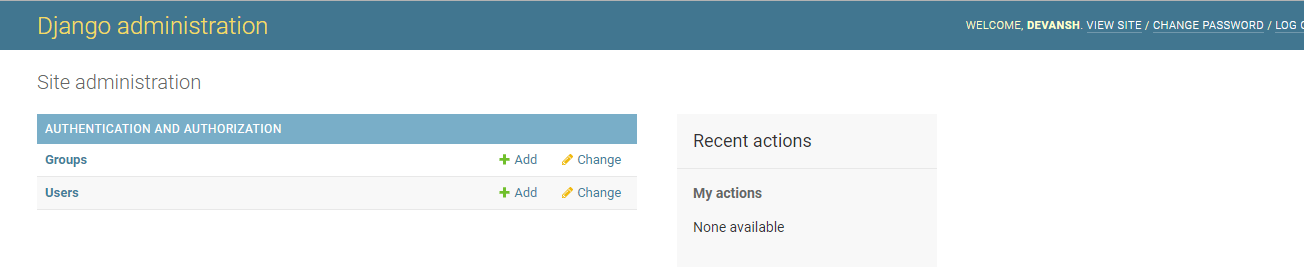
Open the given link and visit to the http://127.0.0.1:8000/admin page because admin is set up in urls.py.
Adding Template and View
Now, we will add template to make the layout of our application. A template is HTML file that allows us to add the Jinja syntax to makes the template dynamic. Create a new folder named template to the Weather Project directory.
We have created the index.html file. We will fetch the data from the weather API and render it to the template, but now we will create the VIEW and map to the URL. Add the below function in the view.py.
View.py
urls.py
Django will match the URL without an endpoint and route it to the view function we created.
Using the Weather API
To get the real-time weather report, we need to sign up for the Open Weather Map API. It will return the real-time weather for any cities that we enter to our app.
Visit site and create an account and then go to the API keys on their dashboard.
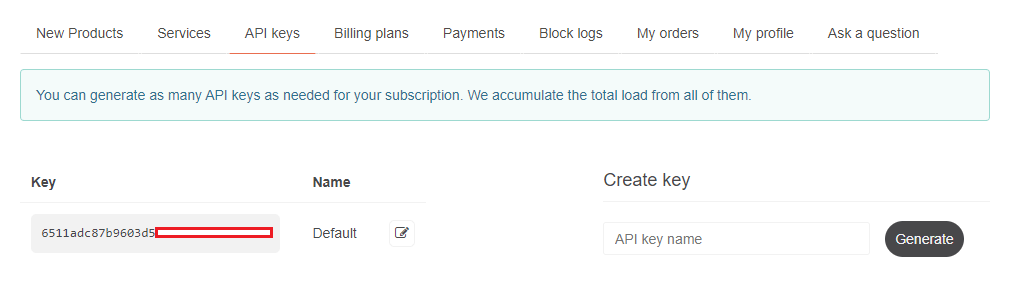
Note – The API key should be secret to prevent them from used by other parties.
Add the city, city_weather, and import the requests module.
Views.py
Explanation –
In the above view, we check if the method is POST then get the city name from the form. Then we read the data of specific city using the urllib.request.urlopen().We pass the source variable to the json.loads() that will convert the data into the Python dictionary.
Using this, we can easily access the required data and save to the context dictionary. When the user enters the city, it will display all the attributes that we have stored in the context dictionary.
Note – The API will take the few time to activate. If it is not activated then try after few minutes.
Now we will make change in the html file.
Now we run the server and click on the given link. It will look like as below.
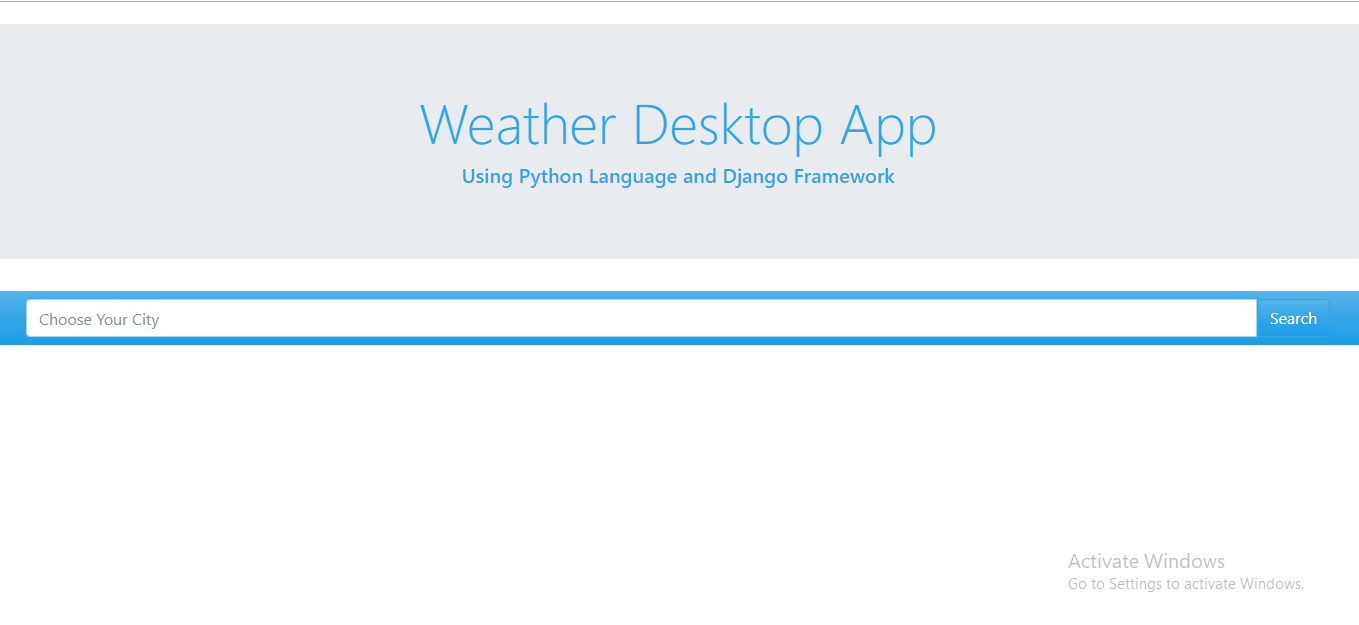
Enter the city name in the search box, click on the search button and get the weather data. We enter Noida and get the weather data.
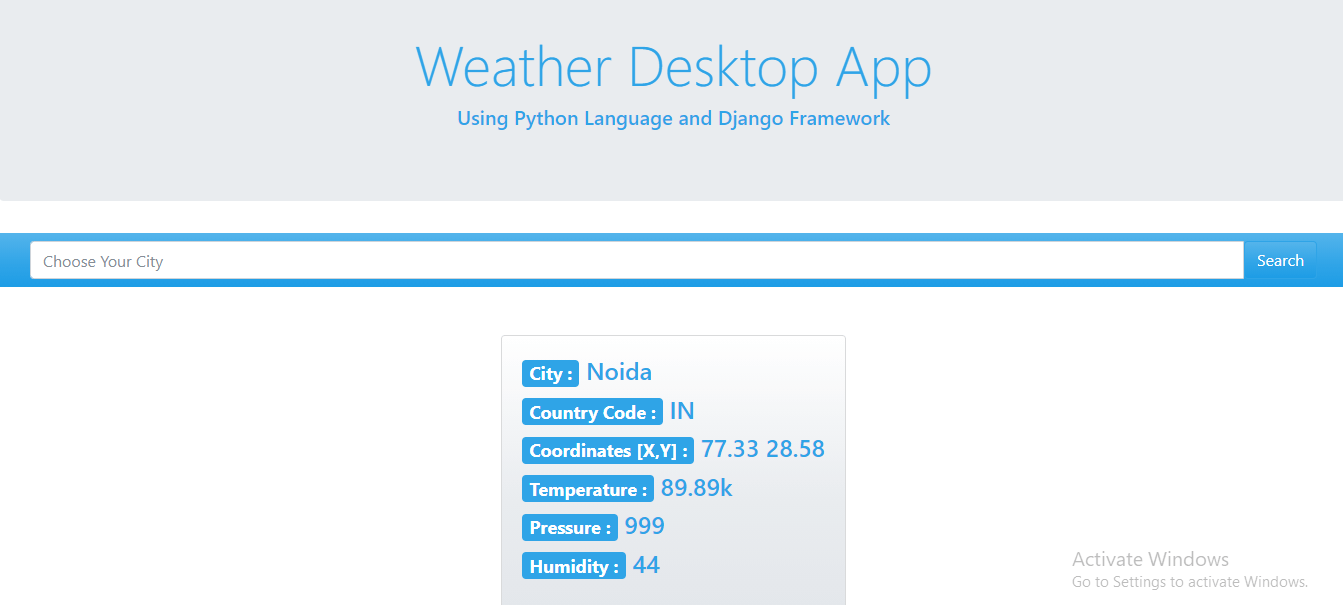
As we can see in the above snapshot, we have successfully created a weather app using the Django framework. So far, we have learned about some commands, creating a virtual environment and most important is learned about the API. We have also discussed calling API and getting different weather fields’ country code, humidity, temperature, etc.
You can make it more attractive UI of this project. We have used the bootstrap classes and HTML.