Inserting 3D effects in Objects in CorelDraw
We can make 3D illusion depth in various objects by inserting drop shadow, bevel, extrusion, perspective, and contour effects.
This chapter includes the following essential topics:
- Drop shadows creation
- Bevel effects creation
- Extrusion creation
- Perspective usage to objects
- Contouring objects
Drop shadows creation
Drop shadows effects simulate the light falling over the objects from any specific perspective: top, bottom, left, right, and flat. We can insert drop shadows effects to various objects or collection of objects, containing bitmaps, paragraph text, and artistic media.
If we add the drop shadows, we can modify the perspective, and we can adjust some attributes like feathering, angle, fade level, opacity, and color.
To insert the drop shadow
1. Within the toolbox, press the Drop shadow

2. Press any object.
3. Drag the object from the side or center of this object until drop shadow will be the size we wish.
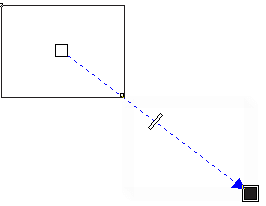
4. Describe an attribute over the property bar.
Bevel effects creation
Bevel effects include three-dimensional depth to the text or graphic object by creating its edges looks sloped. These effects may include both process (CMYK) and spot colors, so the bevel effects can be ideal to print.
Bevel styles
We can select any bevel style from the following:
- Soft edge: It designs the beveled surfaces which look shaded within some places.
- Emboss: It creates the object that appears like the relief.
To make the soft edge effect
1. Choose any object that can be closed and contains the fill used to it.
2. Press Effects > Bevel.

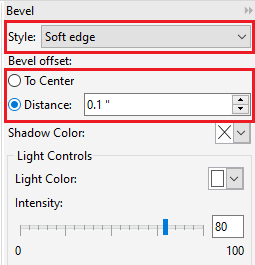
3. Within the Bevel docker, select Soft edge through the list box of Style.
4. Enable anyone Bevel offset:
- To center: It enables us to make beveled surfaces that meet inside the object’s middle.
- Distance: It enables us to describe the beveled surface’s width. Type the value inside the Distance
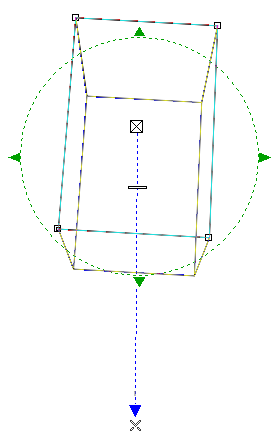
Extrusion creation
We can create 3D look of objects by creating extrusion. We can create extrusion with projecting points through any object and also join them to make a 3D illusion. CorelDRAW enables us to use the vector extrusion on the object in the group.
- Another way where we can provide the object a 3D appearance is through using the beveled edge on an extrusion.
- We can use fills to the whole extrusion or an extruded surface only.
- We can increase extrusion by using light sources.
- We can also provide the extrusions distinct vanishing points.
To make the extrusion
1. Choose the object with the Pick
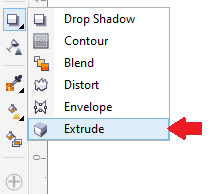
2. Within the toolbox, press the Extrude
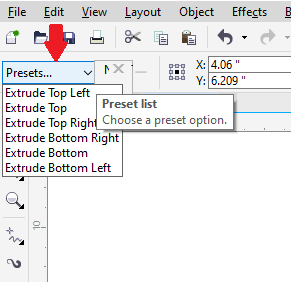
3. Select the preset through the Presets list box over the property bar.
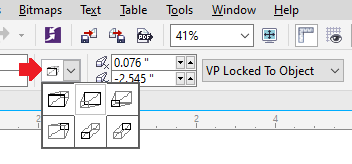
4. Select the extrusion type through the Extrusion type list box over the property bar.
When we wish to reset an extrusion, click Esc before dropping the mouse button.
We can also make the extrusion by applying the Extrude docker (Effects > Extrude).
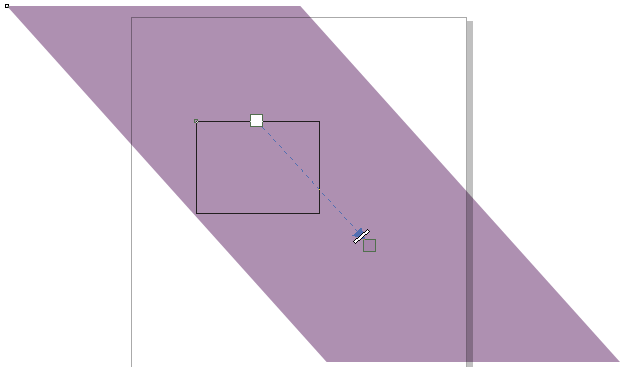
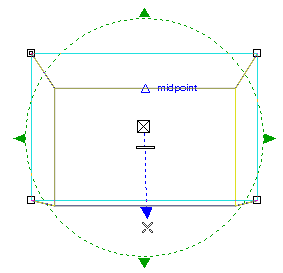
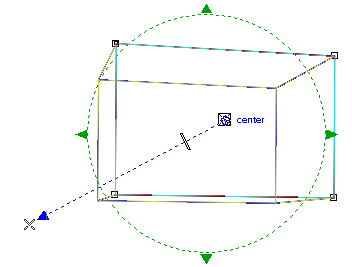
Perspective usage to objects
We can make the perspective effects through shortening one or two sides of the object. It provides the objects the illustration of receding within two or one directions, hence creating a two-point or one-point perspective.
The perspective effects could be inserted into various objects. Also, we can insert these effects to many linked groups, like extrusion, blends, and contour. We can’t include perspective effects on symbols, bitmaps, and paragraph text.
After we use these effects, we can use it to some other objects within any drawing, remove it, or adjust it through the object.
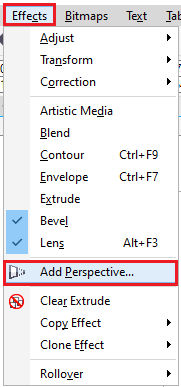
To use the perspective
- Press Effects > Add perspective.
Move the nodes over the grid’s outside to use any effect we want.
Note: We can apply an Attribute eyedropper tool for copying the perspective effect.
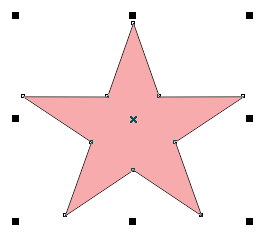
Contouring objects
We can contour any object to make a concentric line’s series that progress for the object’s outside or inside. CorelDRAW enables us to set the distance and number of the contour lines. We can apply contours for creating cuttable outlines to get output on some devices like vinyl cutters, engraving machines, and plotters.
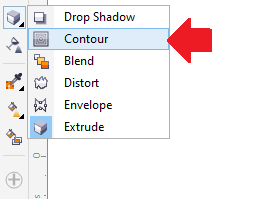
To contour the object
1. Within the toolbox, press the Contour tool.
2. Press any grouped object’s set or any object, and move the opening handle to the center for creating the inside contour or from the center for creating the outside contour.
3. Drag an object slider for changing the contour step’s number.