ASP.NET MVC Project
In this topic, we are using visual studio 2017 IDE to create MVC web application. It includes the various steps that are given below. These following steps explain how to create MVC based web application.
- Create a Web Project
- Select Project Type
- Select MVC template
- MVC Web Application Project Structure
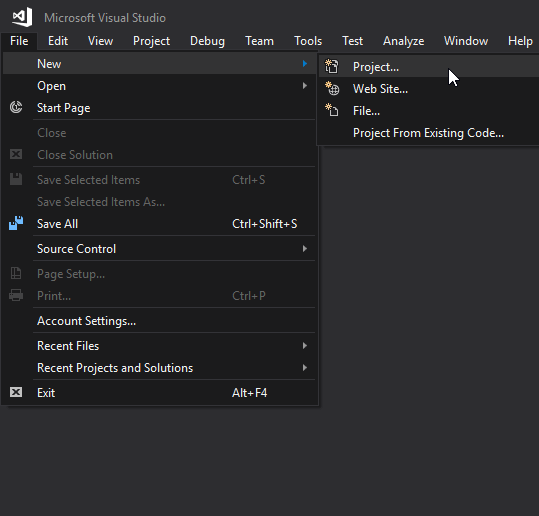
Click on file menu from the menu bar and select new submenu to create a new project. The following image show that how to create a new project.
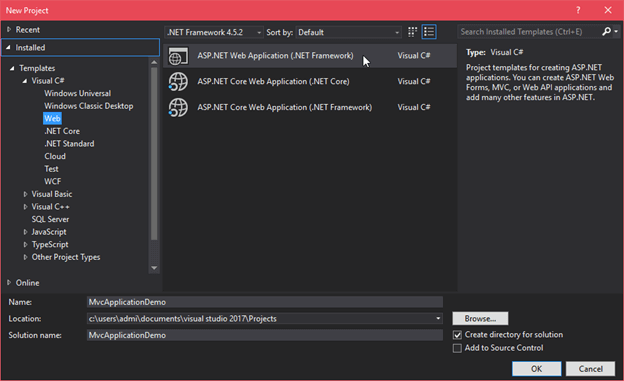
Here, select type of project as a web project and provide name of the project.
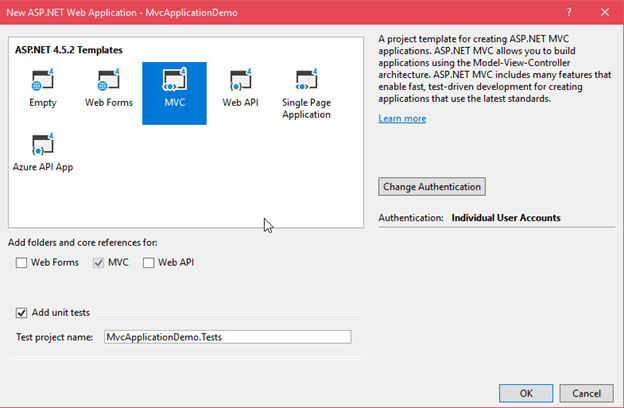
After selecting project type, now select the web template that we want to implement. Since we are working on MVC then select MVC template from the list of available template. At the same time, provide the authentication type to the application.
After clicking ok, it creates a project that has following structure:
Following is the project structure that we just created.
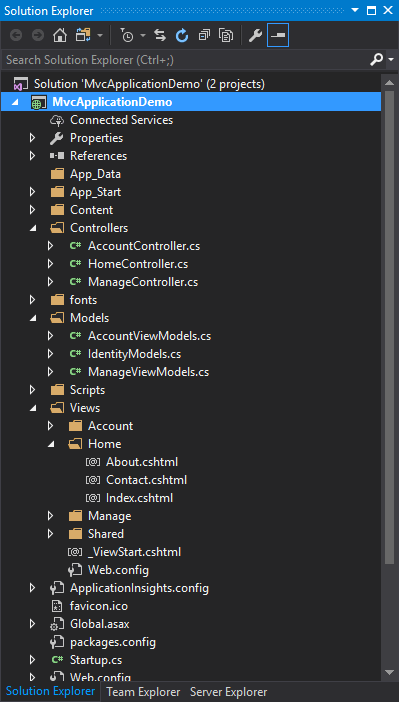
See, the project carefully, it contains three folders named Model, View and Controller. The HomeController is default controller for the application. This controller contains the following code:
// HomeController.cs
Index file is default for the home controller in the view folder.
// index.cshtml
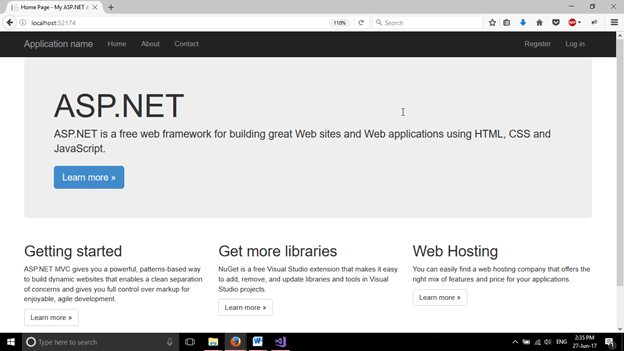
Output:
This project produces the following output, when view in the browser.