ASP.NET Web Forms Project
We are using Visual studio 2017 to create web project. It includes the following steps:
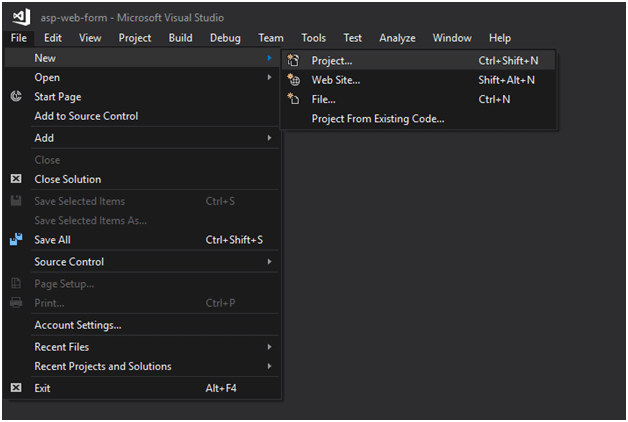
- Creating a new project
Click on the file menu from the menu bar and select new -> project.
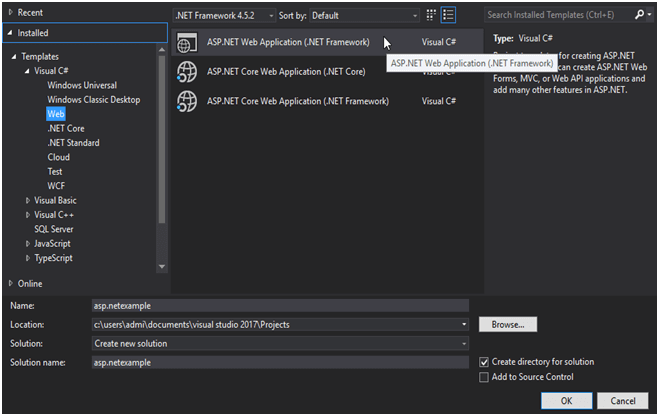
Select Project type
It provides couple of choices but we selecting ASP.NET Web Application.
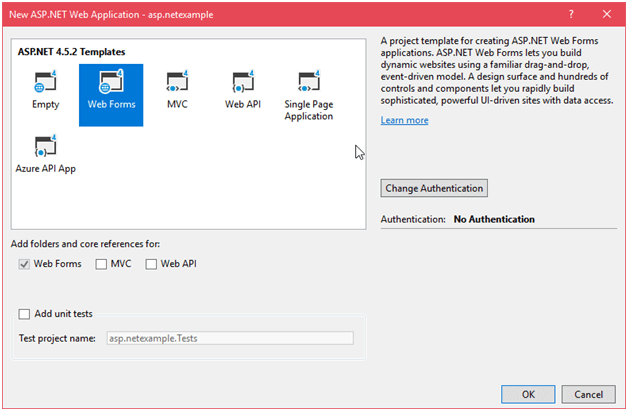
Select Project Template
After selecting project types, now, it asks for the type of template that we want to implement in our application.
Here, we are selecting Web Forms as because we are creating a Web Forms application.
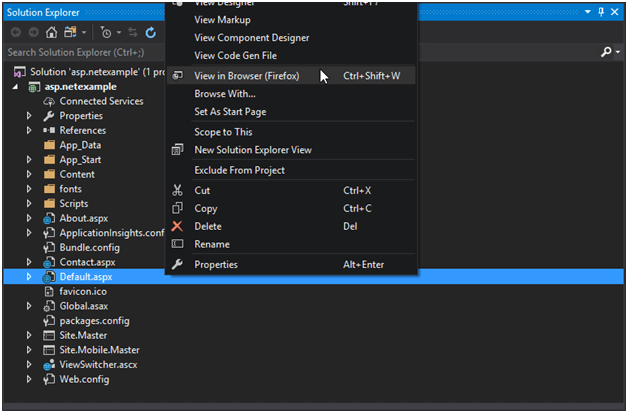
After clicking ok, it shows project in solution explorer window that looks like the below.
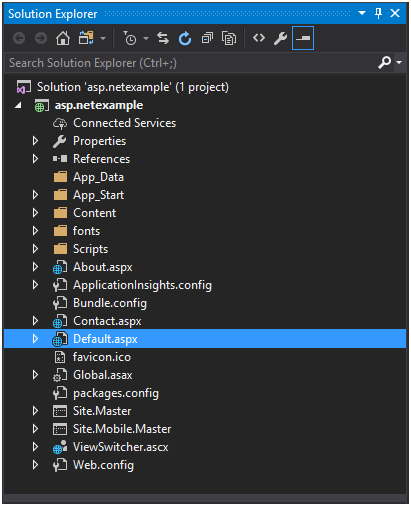
This project contains a default.aspx file which is a startup file. When we run the project this file executes first and display a home page of the site.
We can see its output on the browser by selecting view in browser option as we did below.
Finally, it shows output in the browser like this:
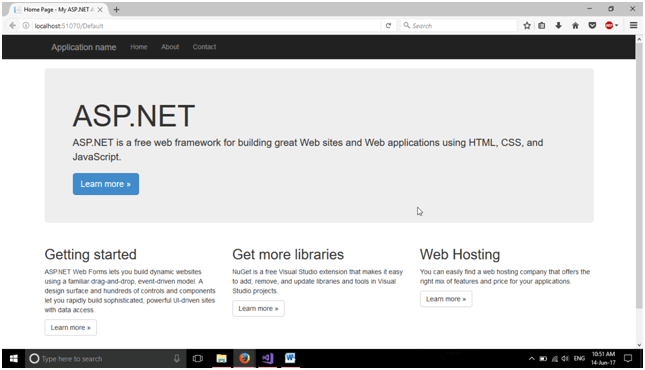
Well, we have created a project successfully and running on the browser.
In next chapter, we will create a new web form and link that within project.