Composer Installation
What is Composer?
Composer is a dependency manager for a PHP programming language that manages the dependencies of PHP software and required libraries. Nils Adermann and Jordi Boggiano developed the Composer. They started development in April 2011 and first it was released on March 1, 2012.
Composer runs through the command line. The main purpose of the composer is to install the dependencies or libraries for an application. The composer also provides the users to install the PHP applications available on the Packagist, where Packagist is the main repository that contains all the available packages.
Composer provides autoloading capabilities for libraries to ease the usage of third-party code.
Following are some important commands used in Composer:
- require
The require command is used to add the libraries or packages as a parameter to the file composer.json, and then install it. Suppose I want to add the facebook php SDK in composer.json file.
The given below is the syntax of require command:
- install
The install command is used to install all the libraries or packages from the composer.json file. This command is used to download all the PHP dependency repositories from the composer.json file. - update
The update command is used to update all the libraries or packages from the composer.json file based on the versions mentioned in the composer.json file. We can say that the update command updates the dependencies to the latest versions. - remove
The remove command is used to uninstall the library or package and remove it from the composer.json file.
Steps to download the Composer:
Following are the steps to download the Composer:
- Click on the link given below to download the Composer: https://getcomposer.org/download/.
- To download the Composer for Windows, click on the link Composer-Setup.exe.
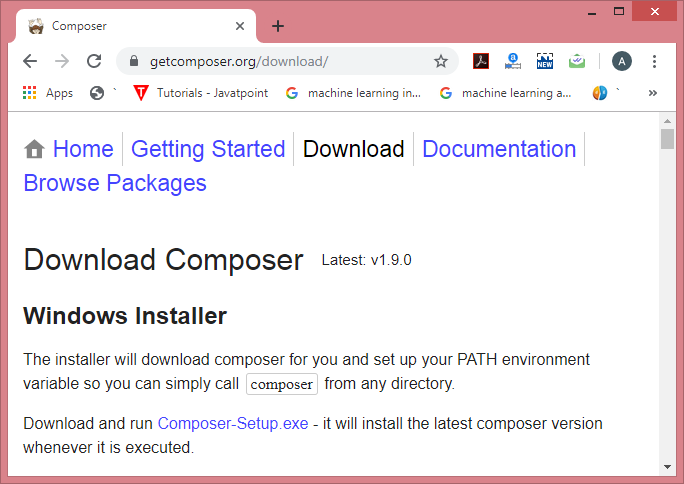
- On clicking the above link, the Composer-Setup.exe file gets downloaded.
- To install the Composer, run the downloaded file.
- After clicking on the downloaded file, the screen appears shown below:
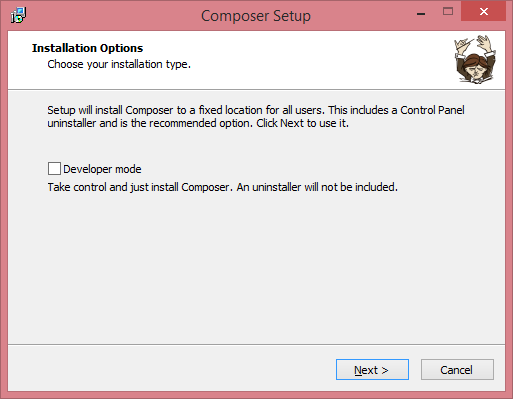
Select the Developer mode in the above screen and click on the Next button.
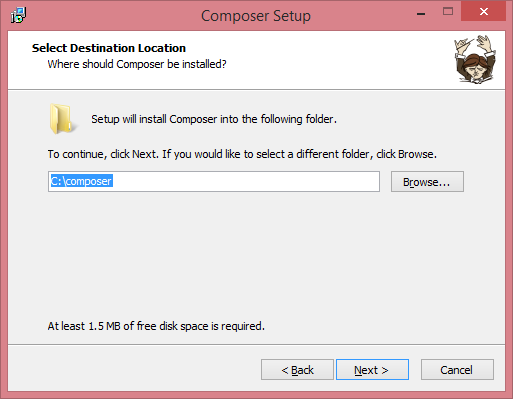
- Select the path in which you want to install the setup of the composer, and then click on the Next button.
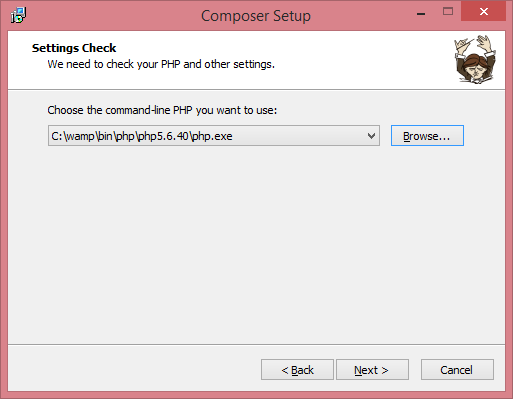
- Select the path of command-line PHP and the path is “c:wampbinphpphp5.6.40php.exe“.
- If you want to use a proxy, then check the box of the proxy server and enter proxy url. Here, I am using Composer without a proxy server, so I uncheck the box. Click on the Next button.

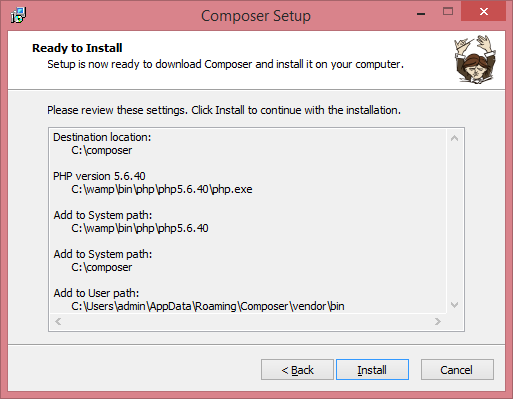
- The below screen shows that the setup is ready to install, click on the Install button.
- After clicking on the install button, the screen appears shown below:
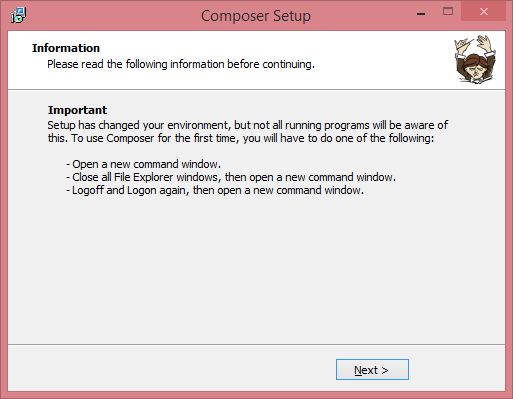
- Click on the Next button.
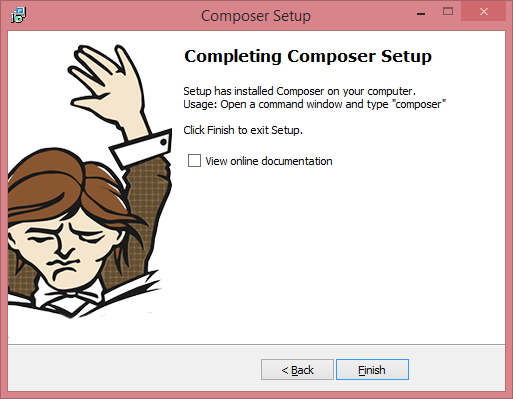
- If you want to see the online documentation, then check the box of “View online documentation” and click on the Finish button.
The installation of the composer is completed. Now we will check whether the composer is installed successfully or not. To check this, open the command prompt and type Composer.
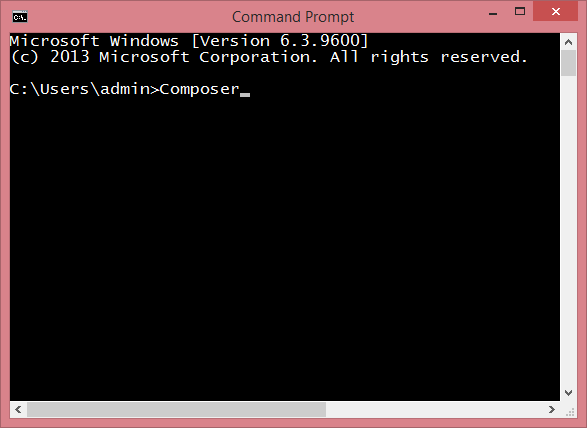
After entering the Composer, press Enter.
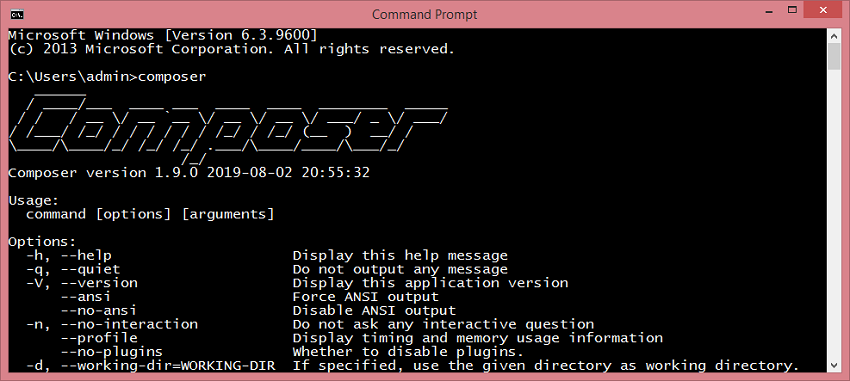
The above screen shows that the composer has been installed successfully.