Laravel Yajra Datatables Export to Excel CSV Button
In this section, we are going to learn about the Yajra Datatables export to the excel CSV button. We will use Laravel to do this. We can create in Laravel version 6, 7, and 8. In the example, we will see the process of using Laravel Yajra DataTables to add the CSV Excel buttons. We can add an export button by using the package of yajra/laravel-datatables-buttons. We will use our datatables to export our button. Our table data can be easily exported into a CSV file or XLSX file. In order to export the file of CSV Excel from datatable, we will use the following step-by-step process in the Laravel application.
Step 1:
In the first step, we will Install Laravel. If we don’t have a Laravel setup in our system, we need to install the fresh Laravel version 7 for this example. We can use the below command to get Laravel:
Step 2:
In the second step, we are going to Install Yajra DataTables. We will install the package of Yajra Datatable composer. Using this package, we can get the datatable and yajra/laravel-datatables-buttons, which are export buttons. We will use the below command to install it:
When we complete the installation of Yajra datatable, we require the setting of alias and providers.
config/app.php:
After this, we need to perform file configuration. So we will use the below command to get the file:
Step 3:
In this step, we are going to Add Dummy Records. We will use tinker factory so that we can create dummy users. The command to create dummy records is as follows:
Step 4:
In this step, we are going to Create DataTable Class. We will use the command of Yajra Datatable so that we can create User DataTable class, which is described as follows:
After executing the above command, our new class file will be created for DataTable. In this file, we will add buttons, columns, and many other things, like this:
app/DataTables/UsersDataTable.php:
Step 5:
In the fifth step, we will Add Route. We will create this for the file of datatables layout. Using this route, we can get data. For this, we will use our file named routes/web.php, and then we will put the below route:
routes/web.php:
Step 6:
In this step, we are going to Create Controller. We will Create UserController as a new controller. Using this controller, we can manage layout and getting requests for data and return responses. Now we will use the controller file and add the following content into it:
app/Http/Controllers/UserController.php:
Step 7:
This is the last step. In this seventh step, we will Create View. In order to create layout, we will use users.blade.php file. This file will be useful to write the design code. We will add the below code into that file:
resources/views/users.blade.php:
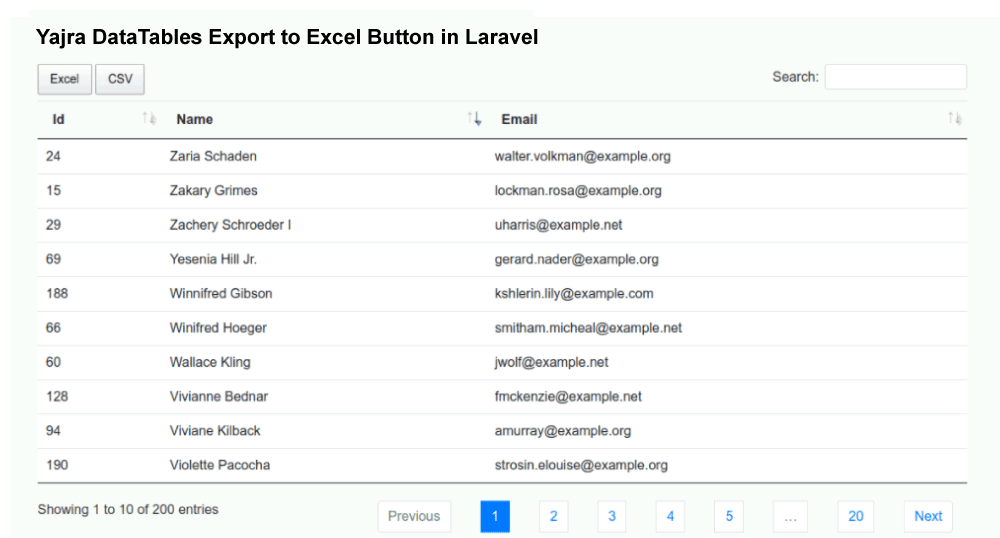
Now, our above code is ready to run. In order to run the above code quickly, we will use the following command:
Now we can use our browser to open the bellow url:
After opening this, we can see the following output: