Optimization process for Style Transferring
We have all the three images, and now, we can perform our optimization process. To perform the optimization process, we have to perform the following steps:
Step 1:
In the first step, we define a few basic parameters that help us to visualize the training process and for us to facilitate the training process. The first parameters show us our target image every time so that we can check the optimization process. We define our Adam optimizer with our target image and set learning rate with it. And last but not least, we define the number of optimization steps which our training process should take.
We need to have a balance between results and time efficiency as the training process can take very long to complete. So we will define our steps, and in our case, we limit our steps to 2100.
Step 2:
Now, we implement a few code line for data visualization. We define an image array which is going to store target images throughout the training process. After the training process, we can create a video out of these images to get a visual of how the style and content images combine to optimize the target image. We will unwrap the shape of our target image.
We will define a capture frame which helps us to capture a frame every time. And in last we will define a counter variable which will keep track of the array index.
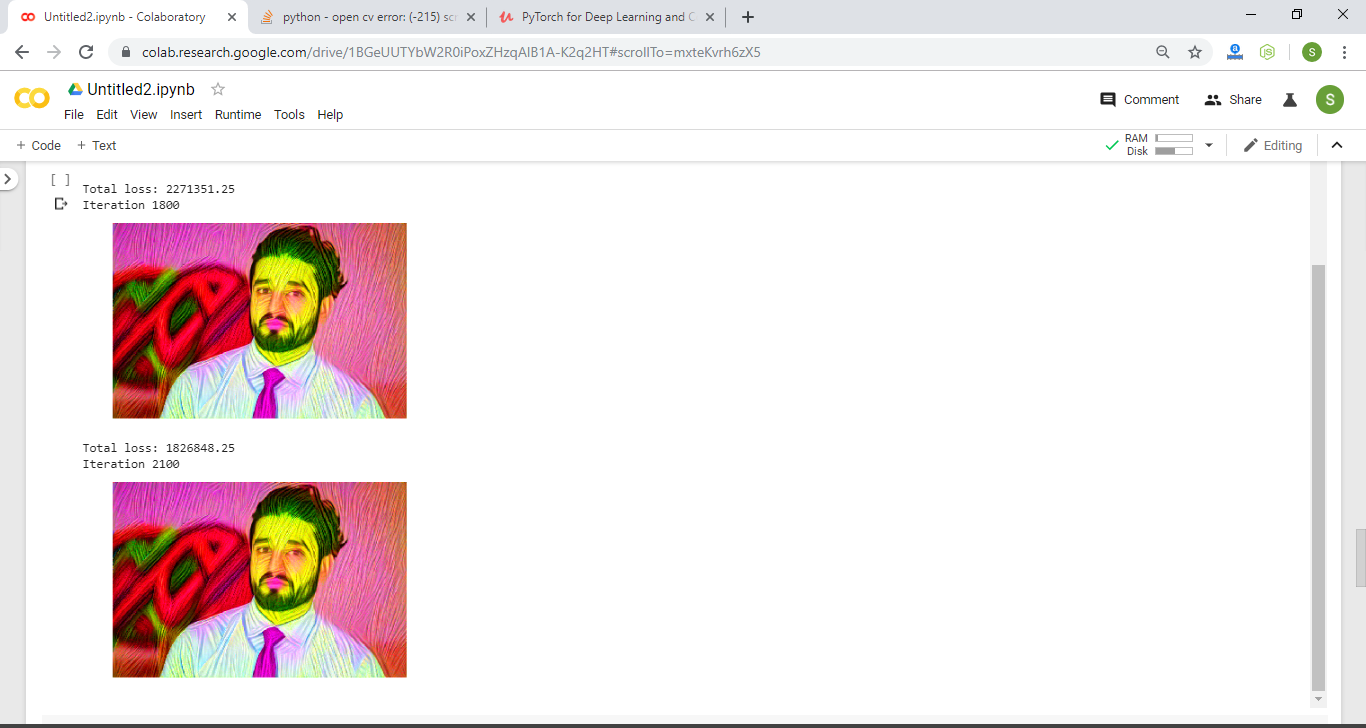
Iteration process of optimization
When we run the code, it will give us the expected output as:


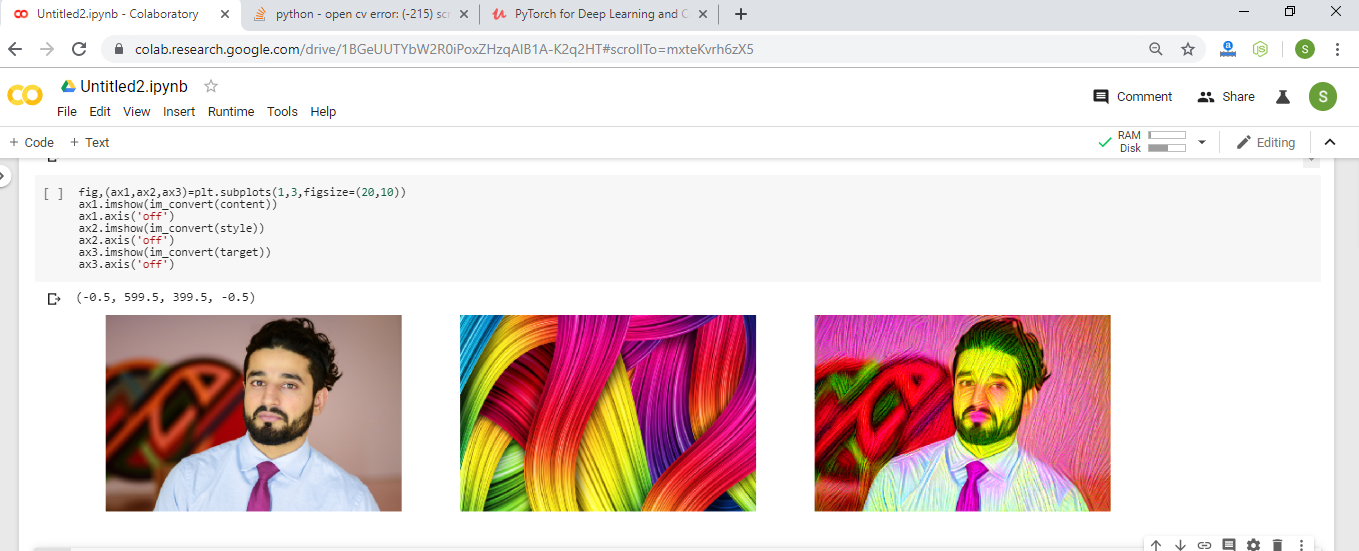
Plotting content, style and final target image

Complete code
Output: