ADO.NET SQL Server Connection
To connect with SQL Server, we must have it installed in our system. We are using Microsoft SQL Server Management Tool to connect with the SQL Server. We can use this tool to handle database. Now, follow the following steps to connect with SQL Server.
- Open Microsoft SQL Server Management Tool
- Creating Database
- Establish connection and create a table
- Insert Data into the Table
- Retrieve Record
- Deleting Record
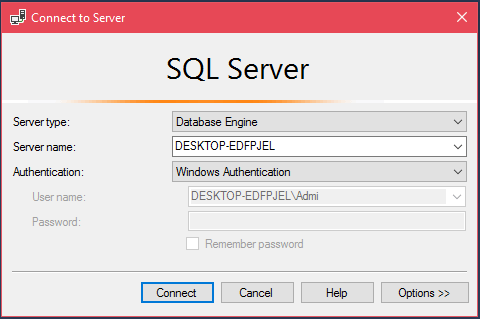
It will prompt for database connection. Provide the server name and authentication.
After successful connection, it displays the following window.

Now, create database by selecting database option then right click on it. It pops up an option menu and provides couple of options.

Click on the New Database then it will ask for the database name. Here, we have created a Student database.
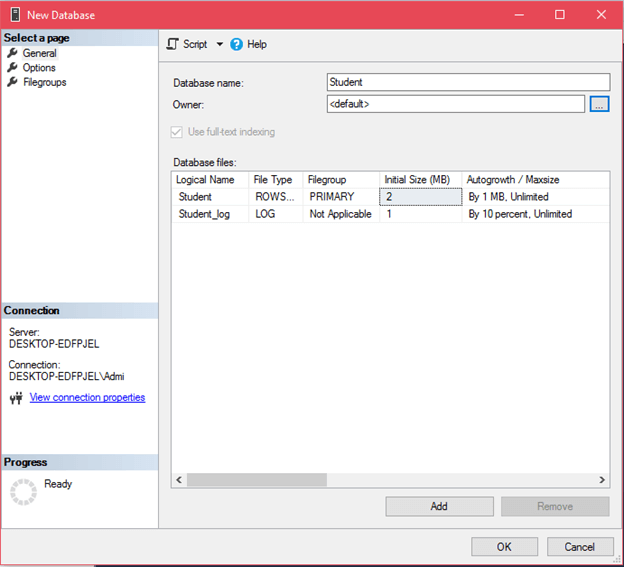
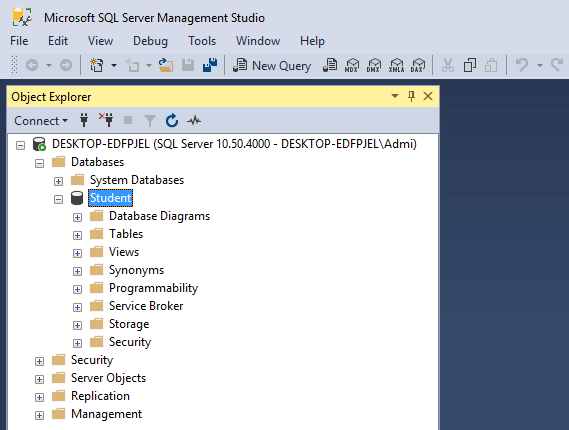
Click on the Ok button then it will create a database that we can see in the left window of the below screenshot.
After creating database, now, let’s create a table by using the following C# code. In this source code, we are using created student database to connect.
In visual studio 2017, we created a .NET console application project that contains the following C# code.
// Program.cs
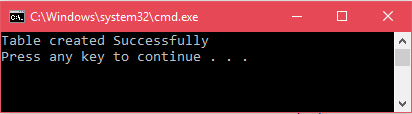
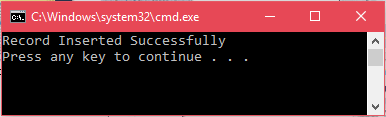
Execute this code using Ctrl+F5. After executing, it displays a message to the console as below.
We can see the created table in Microsoft SQL Server Management Studio also. It shows the created table as shown below.
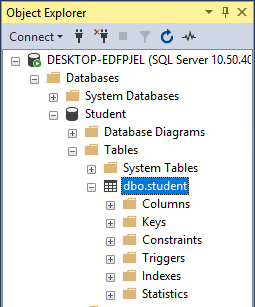
See, we have a table here. Initially, this table is empty so we need to insert data into it.
// Program.cs
Execute this code by using Ctrl+F5 and it will display the following output.
Here, we will retrieve the inserted data. Look at the following C# code.
// Program.cs
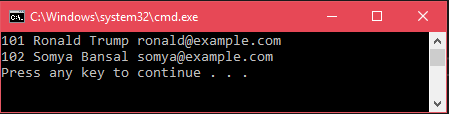
Execute this code by Ctrl+F5 and it will produce the following result. This displays two records, one we inserted manually.
Output:
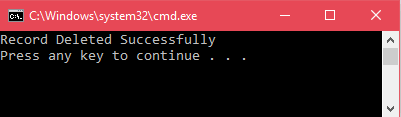
This time student table contains two records. The following C# code delete one row from the table.
// Program.cs
Output:
It displays the following output.
We can verify it by retrieving data back by using SqlDataReader.