Puppet Installation
Before installation of Puppet, let us look at some prerequisites:
Prerequisites
Here, we will use two virtual machines with Ubuntu operating system installed on these with their static IP addresses and hostnames configured properly.
- One virtual machine is for Puppet Master configured with static IP address.
- One virtual machine is for Puppet Client configured with static IP address.
Here, My VMs configuration is:
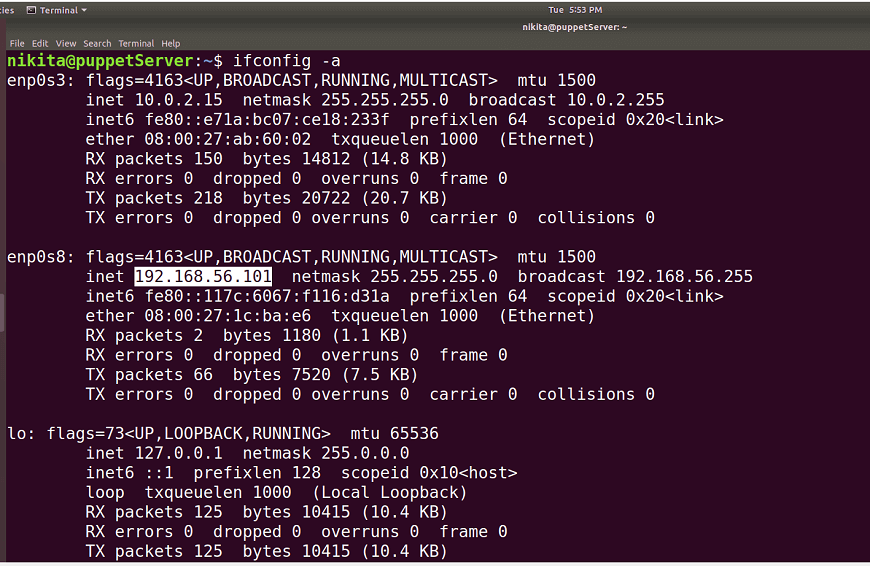
Puppet Master:
Host Name: puppetServer
IP Address: 192.168.56.101
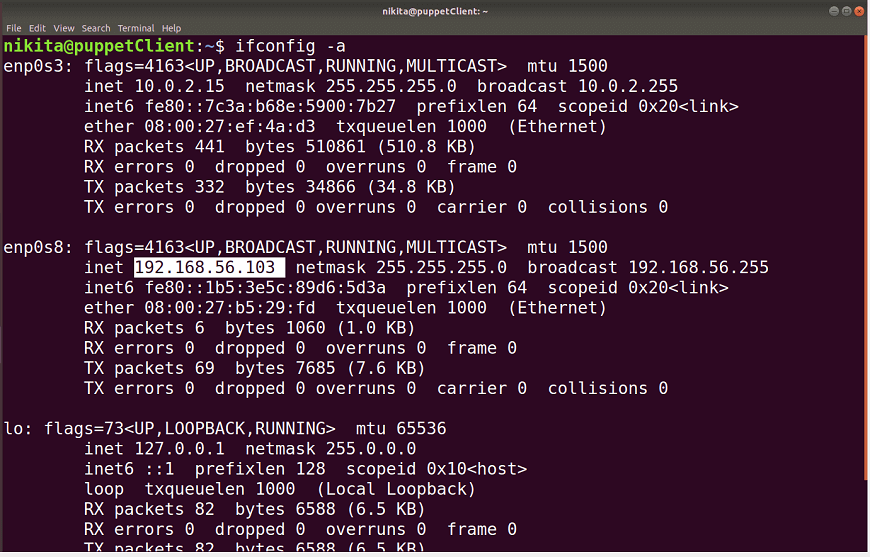
Puppet Agent:
Host Name: puppetClient
IP Address: 192.168.56.103
We can see the configured IP for VMs through the ifconfig command:
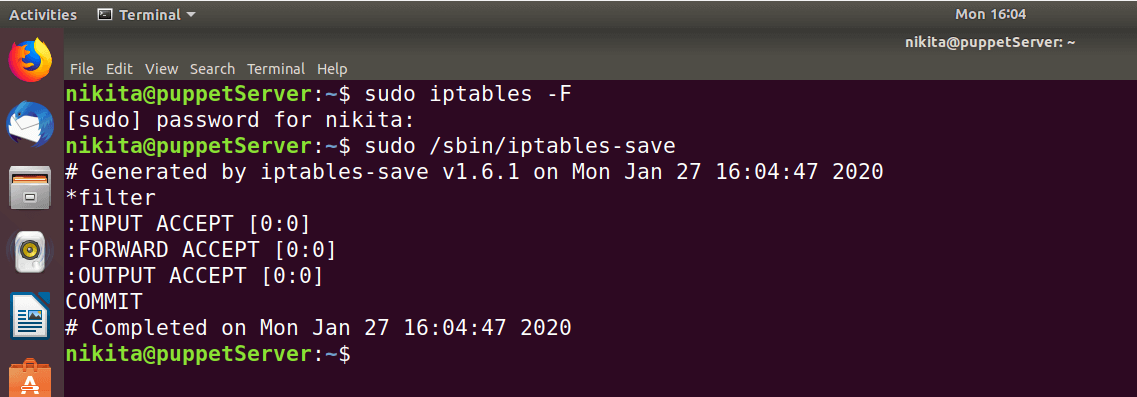
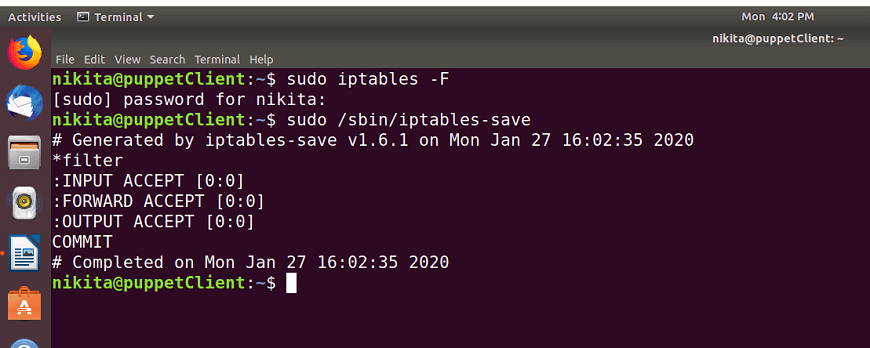
Removing Firewall Rules
First, remove the firewall rules from both VMs i.e. Puppet Master and Puppet Agent. The default firewall available in the most Linux distributions is iptables. Run these commands on both VMs:
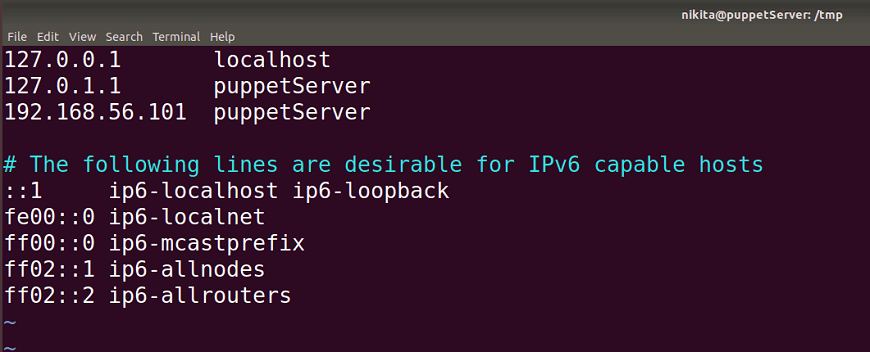
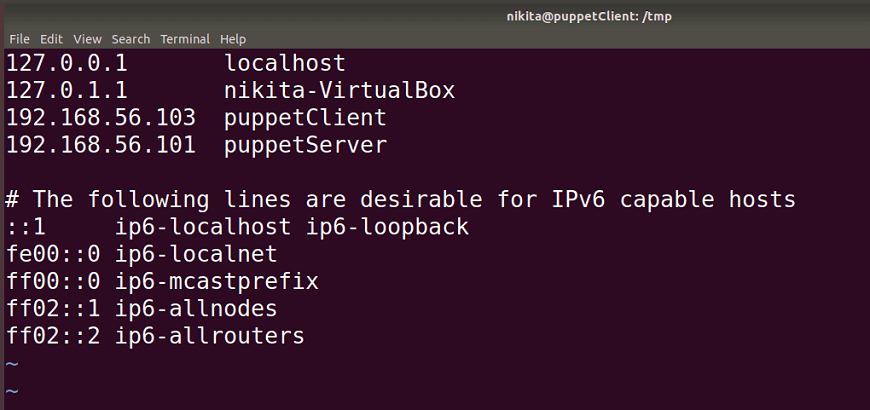
Edit Hosts
- Now, we need to configure /etc/hosts and etc/hostname file on master and agent node, so they can able to communicate with each other.


- Edit the /etc/hosts file on both the Puppet server and the puppet client machine. You can use any editor.
On PuppetServer type the IP address and hostname of your system.
i.e.
On PuppetClient machine, type the IP address and hostname of your puppet agent. We also need to specify the IP address of your puppet Master and the hostname given to it.
i.e.
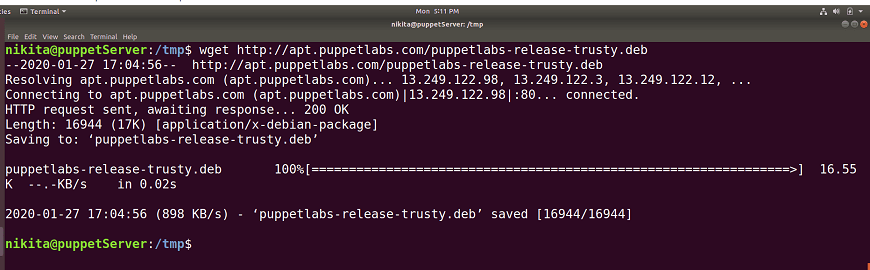
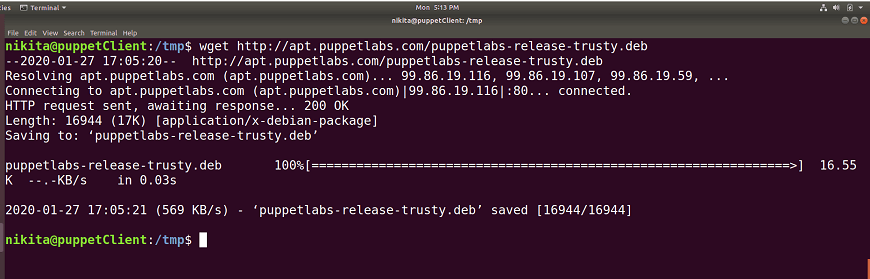
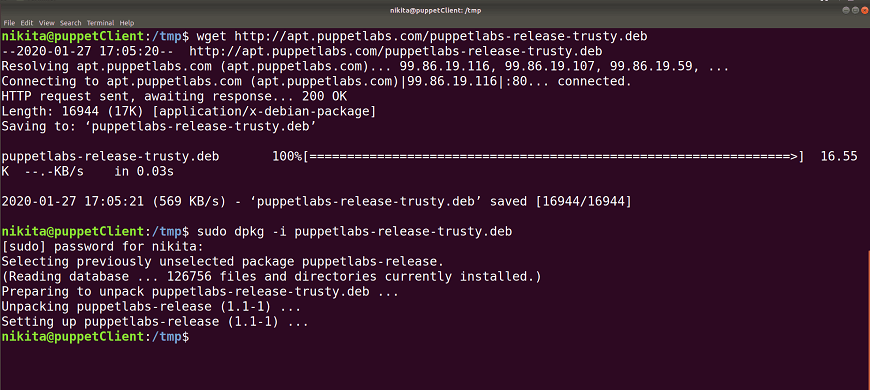
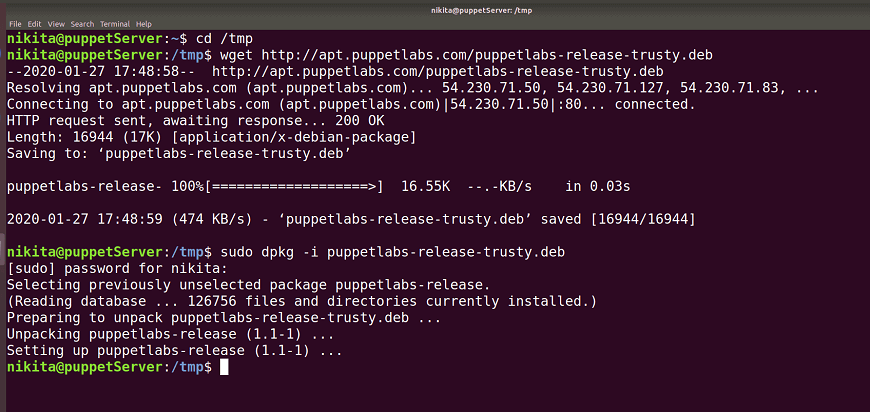
Add Repository
- Because Puppet isn’t in standard Ubuntu distribution repositories, we need to add a custom repository that Puppet Labs provide.
Run the following commands on both puppet master and puppet agent machine.
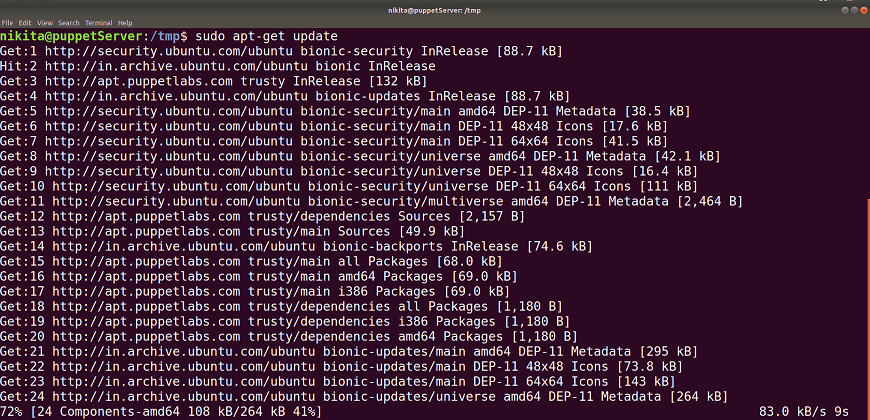
Update Packages
Update your puppet master and puppet agent with the latest packages and repositories with the help of below command:

Start NTP on Puppet Master
The PuppetServer which acts as a puppet master should have accurate system time. You should possibly use the NTP service to set exact system time. Use the following command in your puppetServer to enable NTP server:
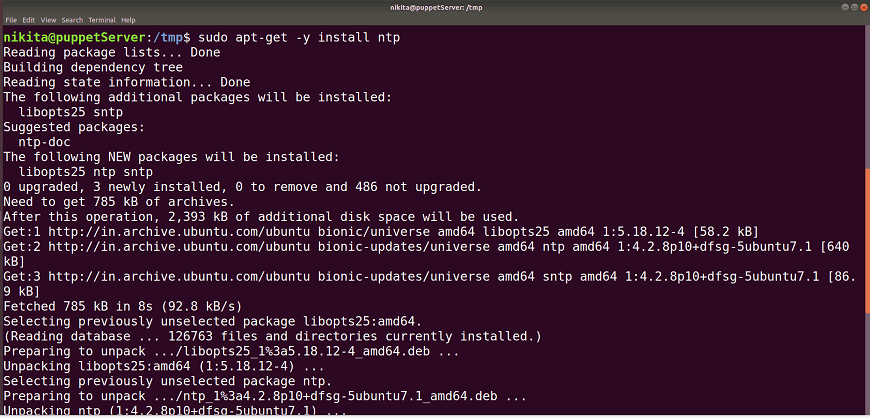
You can check the status by the following command:

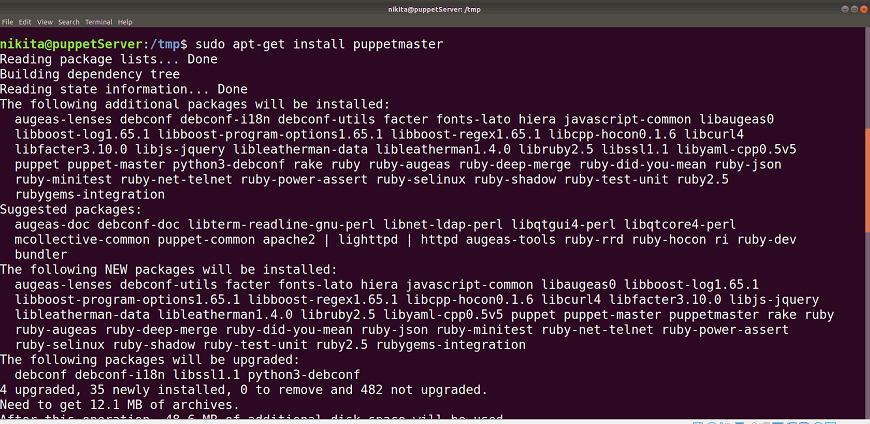
Puppet Master Installation
- Now, we will install the puppet packages, which will fetch all necessary prerequisites and requirements.
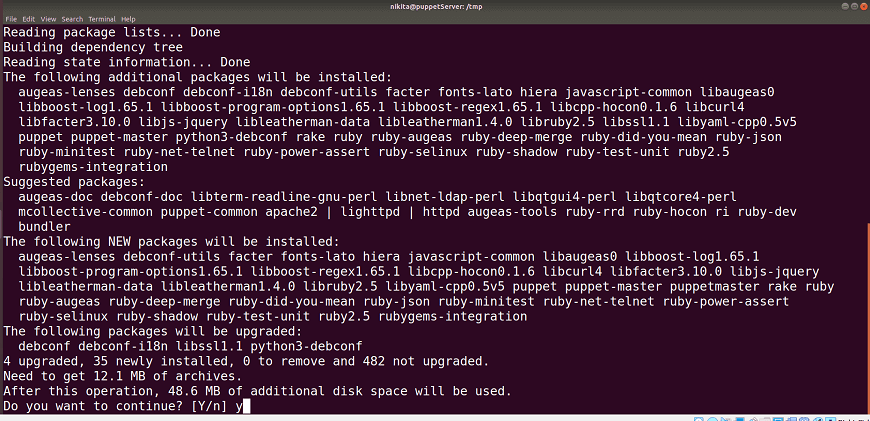
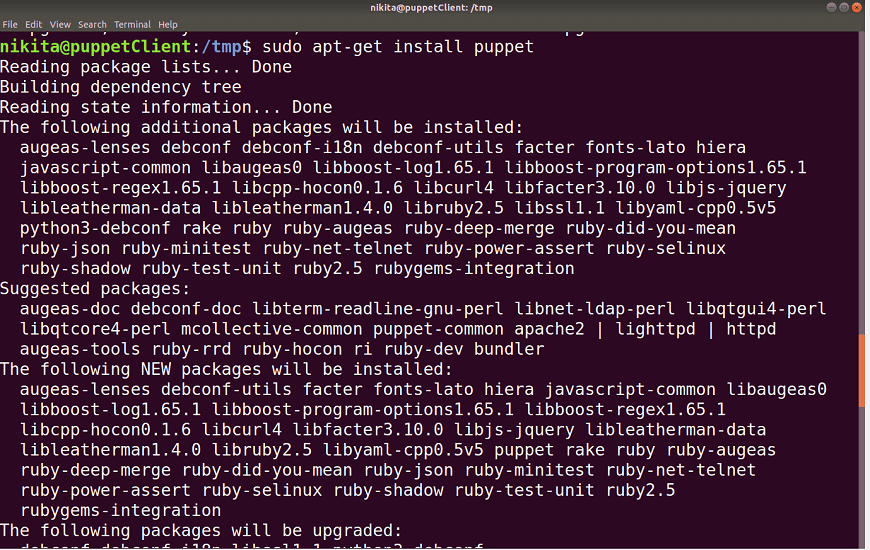
To install the puppet master, run the following command in your puppetServer:
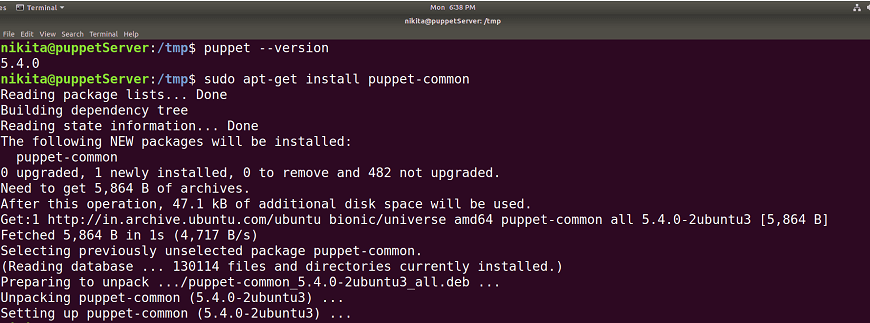
- The output displays the successful installation of the puppet Master and its running services. To verify the version of the puppet use the following command:
Or

- Install the Puppet common with the following command:
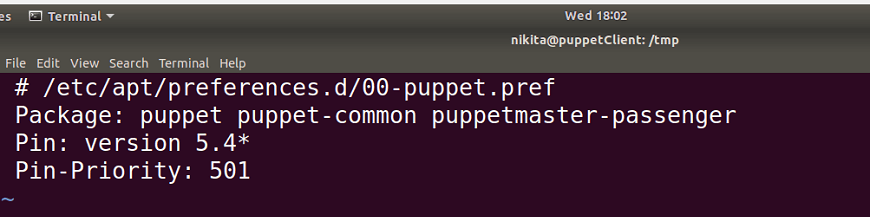
- Now we have to lock the upgrade of the puppet version, as this will hamper the configurations when upgrading Puppet. It won’t change Puppet while it performs system updates. We can make those settings by creating a new file with the following configurations as given below:
Add the following configurations in the file:


Now it won’t update the Puppet when running device updates. So let’s continue with the installation of the Puppet client in the following steps.
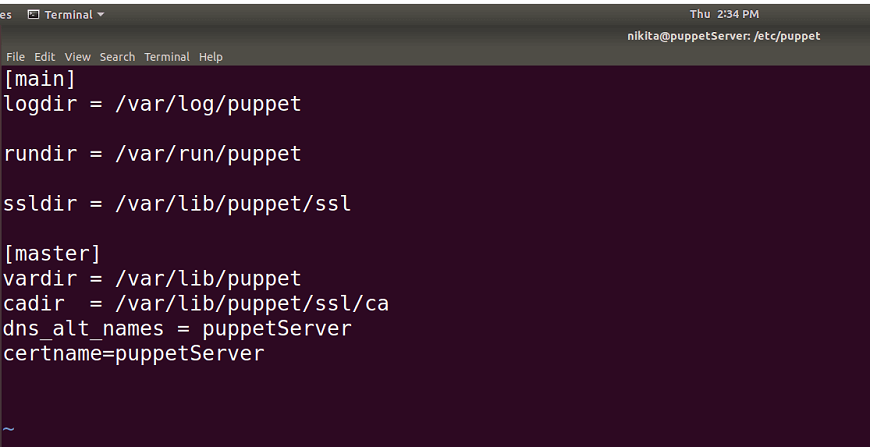
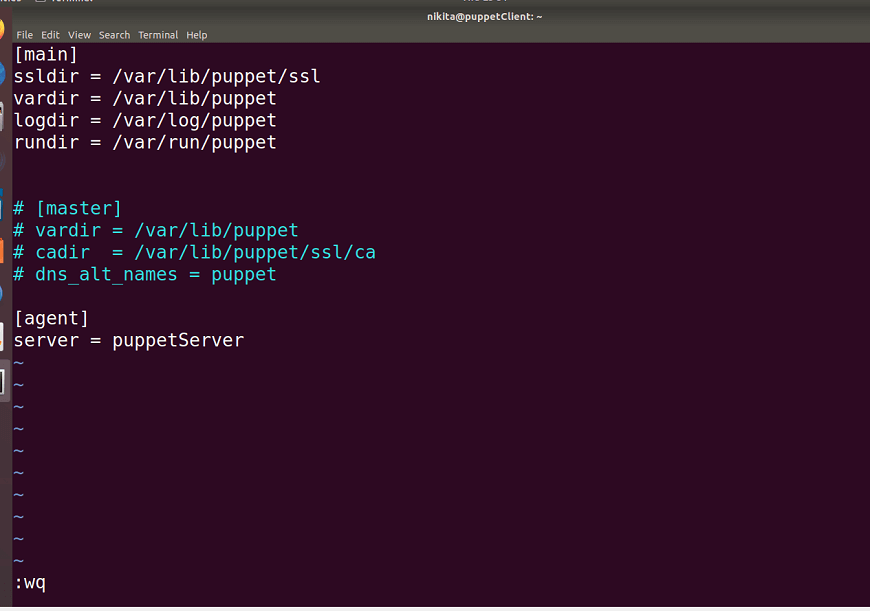
- Now, we will change the puppet configuration file. Open the puppet.conf file of puppet server in an editor and configure its parameters as given below.
Add the new lines under [main] and [master] and save it:
After adding the required changes to the configuration file, restart the puppet master services.

Puppet Client Installation
- Since, we have already installed all its basics requirements, now just run a command for installation of puppet agent on the puppetClient Ubuntu machine that will be interacted with the Puppet master i.e. puppetServer Ubuntu machine.
- To check the puppet installed version use the following command:
Or
- Now, follow the same step as we did for the Puppet master server. We must lock the version of the puppet so it won’t cause any issues during the operating system update.
Create a new file:

And add the following configurations in the file:
Now it won’t update the Puppet when running device updates. So let’s continue with the configuration of the Puppet client in the following steps.
- Now, we will change the puppet configuration file. Open the puppet.conf file of puppet client in an editor and configure its parameters as given below.
Comment out the [master] configurations and add the new lines under [main] and [agent] and save it:
- Start the puppet agent service.

Establish a Secure Connection
Puppet agent requests for puppet master’s certificate for puppet master and puppet agent communication. Because after the successful initialization of the Puppet client, it will check for the Puppet Master Server and send a certificate request before accepting any administrative instructions from the Master puppet server.
Once the Puppet Master sends its certificate, the Puppet Agent generates its own certificate. It then requests the Puppet Master to sign this certificate. There is a safe link formed between Puppet Master and Puppet Agent after Master has signed this certificate.
- To generate the CA certificate in puppet master, go to the root user and run the following command in your puppetServer VM:
The above command will allow users to switch to the root user.

Now, execute this command on PuppetServer:
The above command will create the CA certificate and a puppet master certificate, with the appropriate DNS names included.

We can ignore this warning message. Press ctrl+c once you get the “Notice: Starting Puppet master version 5.4.0” message because we cannot start the puppet master right now.
- Now, start and enable the puppet master service.


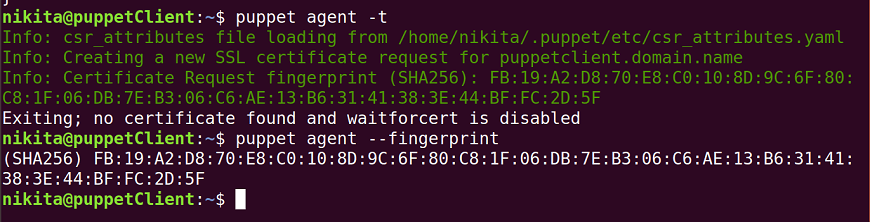
- Now, send the certificate signing request from the puppet agent to the puppet master.
- In puppetServer, we need to sign the certificate requested by the puppet agent. To get the list of certificates run the below command in puppetServer machine:

Here, “puppetclient.blr0.datrium.com” is the automatically generated DNS name for PuppetClient machine.
To sign the certificate requested by the puppet agent execute the following command:

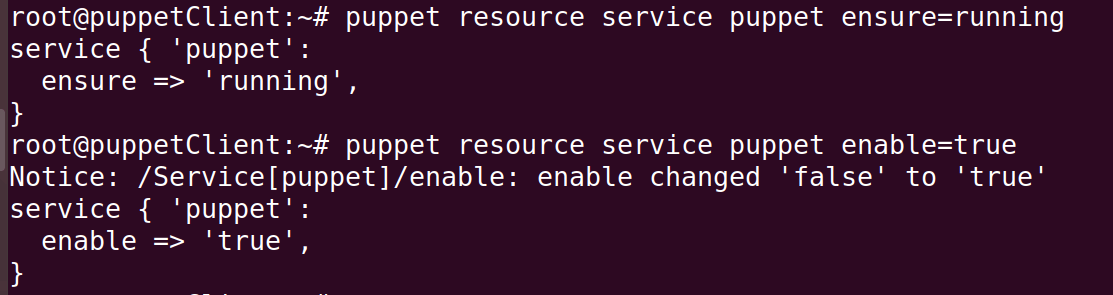
- After signing the requested certificate, start the puppet agent. To start and enable the puppet agent, run the following commands:
- We can also see the fingerprint of the certificate on the client puppet machine by running the following command on the Puppet client machine:

Now, there is a secure connection between the puppet master and the puppet agent.
Hence, we have successfully installed and configured a Puppet master and set up its basic configuration for the puppet agent with a fully functional puppet instance.