How to Install phpMyAdmin on MacOS
Introduction
PhpMyAdmin is a free and open source tool for the administration of MySQL and MariaDB. As a portable web application written in PHP, it has become one of the most popular administration tool for MySQL.
In this tutorial, we will learn the steps involved in the installation of phpMyAdmin on MacOS.
Prerequisites
- MacOS
- Login as an administrator on terminal.
- Homebrew must be installed on the system.
- PHP 5.x or greater
Installation
Installation of phpMyAdmin includes following steps
1) Download the file
To install the file on MacOS, we need to download a compressed file from the official website of phpMyAdmin https://files.phpmyadmin.net/phpMyAdmin/4.7.6/phpMyAdmin-4.7.6-all-languages.tar.gz
2) Extract the file
3) Start the development server
To access phpMyAdmin from localhost, we need to start the development server. First, we need to change our working directory by typing the following command:
Development server will be started having the root server in the phpmyadmin directory. Now, type localhost:8080 to access phpmyadmin on localhost. It will appear like this.
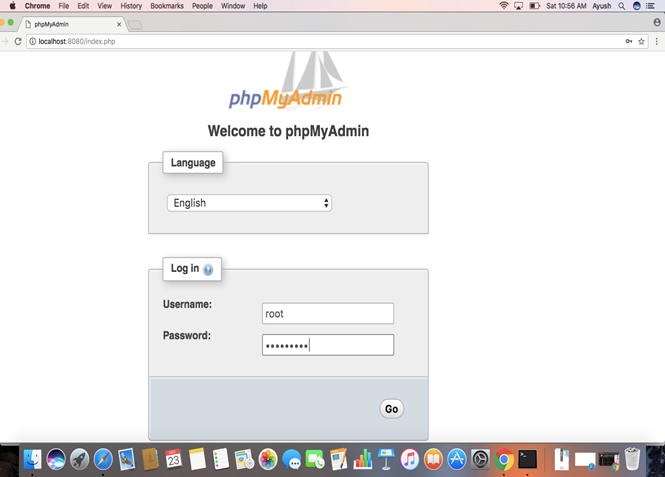
Window will prompt us to fill our MySQL username and password. Fill the required details and press GO.
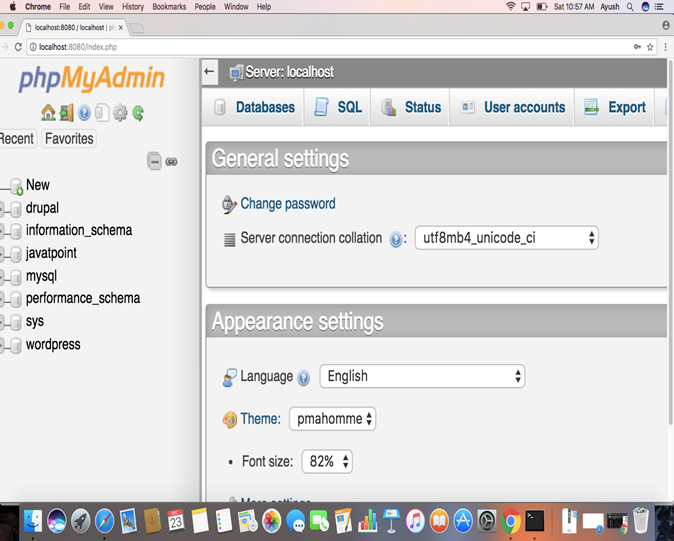
Now we have successfully installed phpMyAdmin on MacOS.