Adding a post with an ID
In our previous section, we learned how to delete a document from the database and make our front-end live update. In this section, we will learn how to add a post with an id.
If we add a new post into the database and after adding it, if we try to delete it, it will not be deleted and show us the following cast error:

This cast error arises because we passed null as an ID to the post, which we want to delete. We did not get a response here because we didn’t handle an error case on our server-side application. To solve this, we will use the following steps:
1) We will go back to our js file and reach the delete route. Here, in the deleteOne() method, we only handle the success case, not the case of failure. If we go to our client-side code, where we add a new post in the posts.service.ts file, we create a post with ID null.
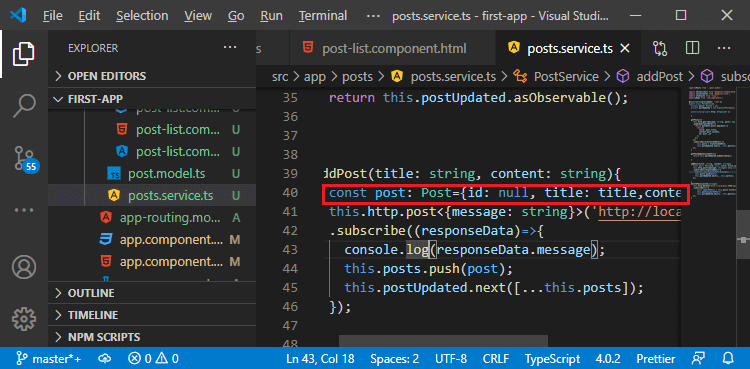
We instantly add this post to our frontend application to the posts there. Now, we do this, once we got a success response from the server, and that means this post was saved in the database. But, we are not using the ID, which is dynamically generated on the server. We are not updating that id in our local post, but we need to update this. There are two ways of solving this:
- The first approach is that in the addPost() method of the servie.ts file, whenever we get the success response, we call the getPosts(). It will fetch the updated posts and update the posts in our frontend application.
- We could use the first approach, but the first approach is also a kind of redundant. If we add on the post, then why would we fetch and update all the posts. So, we have another approach in which we get back the ID of the created post and use that in the addPost() method of the service.ts file.
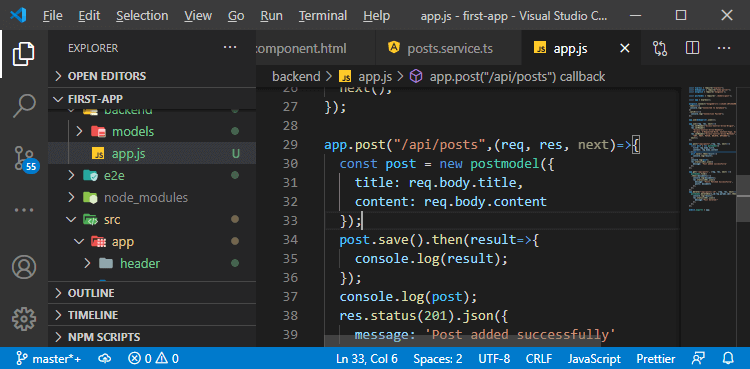
2) Now, to use the second approach, we will go back to our app.js file. In the post route, we will attach the then block with the save() In this then block, we will get a result object with information about the result of this save operation. This then block is coded in the following way:
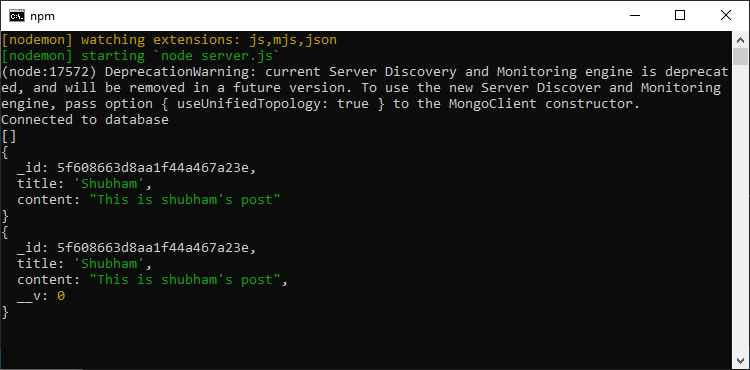
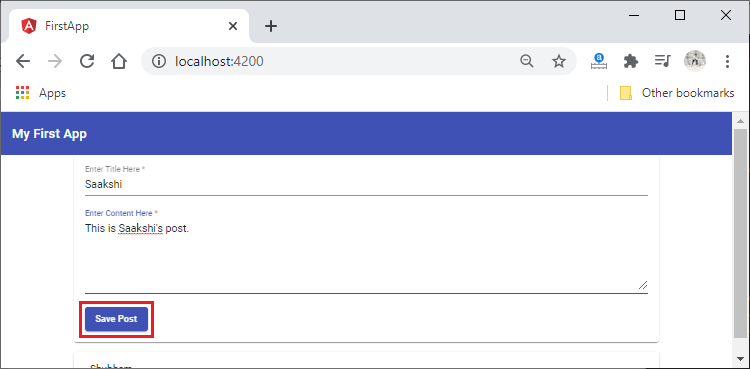
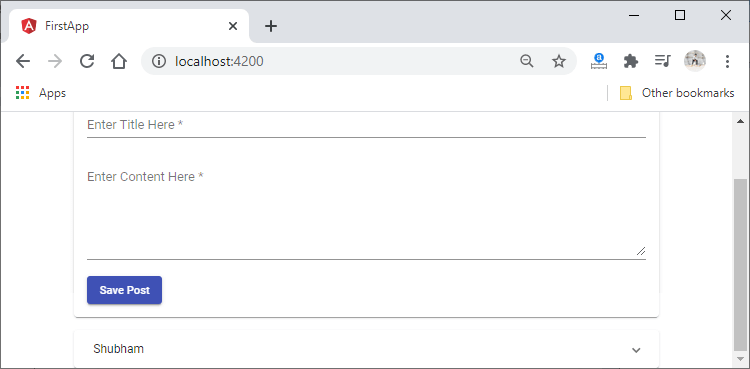
Now, we start the server and add a post using an angular frontend. If we go back to our console, we will see the added post’s information with the id.
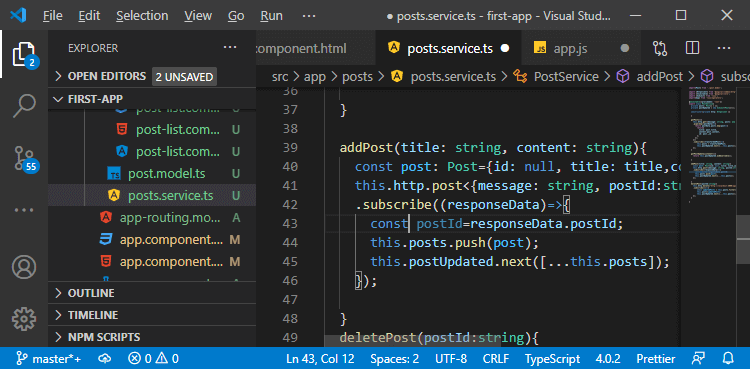
3) We will now use the response statement in the then block, and besides our success message, we will send the postId field in the following way:
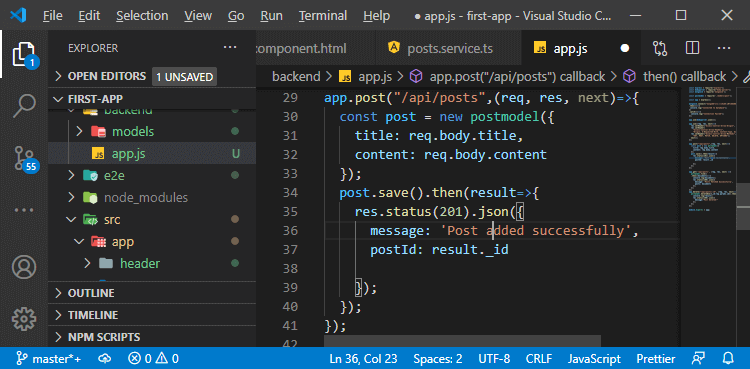
4) Now, we will use the postId in the posts.service.ts file. In the subscribe method, we don’t care about the message. In the post service, we need to update our expected return value to reflect the postId field. We will fetch the postId from the responseData in the following way:
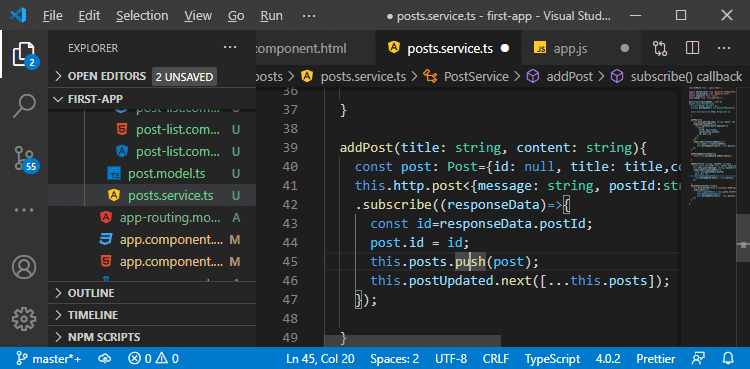
5) Now, we need to update the id of the post we created in the addPost() method in the following way:
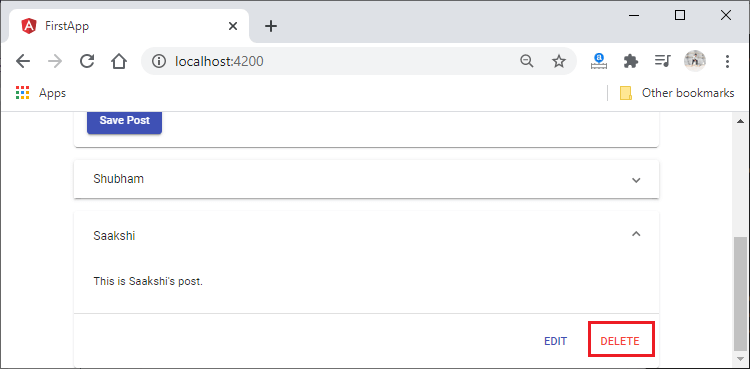
Now, we updated the id, and we will save it. We will add another post, and now if we try to delete it, it will be successfully deleted.
Now, everything is working fine. In the next section, we will start a new module. In this module, we will learn how we can enhance our app.
Download Complete Project(Adding a post with an id.zip)