82
First Unity Project
To create a new project in Unity, follow the following steps:
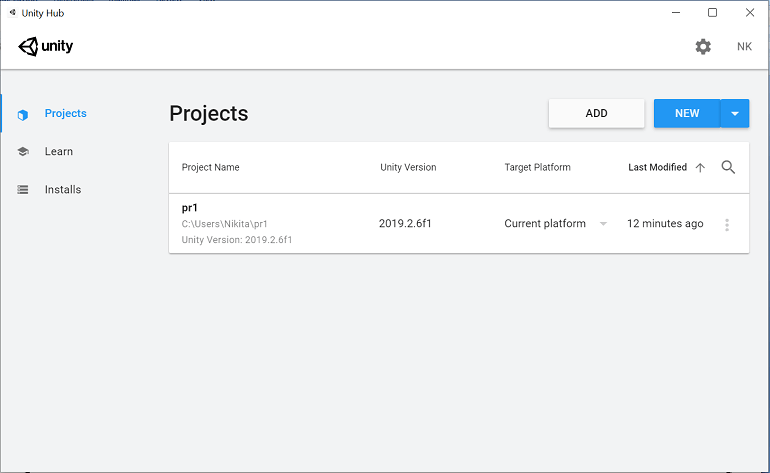
- Open the Unity Hub. In the top right corner of the Home screen, select the New button. It will open the ‘create a new project with unity’ window.
- From the Create Project window, there are various settings for us to apply before Unity creates your project.
| Setting | Description |
|---|---|
| Project name | This is the name of the project you want to give. This name is the folder name that stores Assets, Scenes, and other files related to your project. The default name is the New Unity Project; you can change to any name. |
| Location | This is used to define the location of your project in your computer’s files system to store your project. The default location is the home folder of your computer. To change it, enter the file path to your preferred storage location into the Location field. Alternately, click the three blue dots; from here you can navigate to the folder that you want to store your project. |
| Templates | Select a project template. A project template is used to provide preselected settings based on common best practices for projects. These settings are optimized for 3D and 2D projects across the full range of platforms that Unity supports. The default selected template type is 3D. |
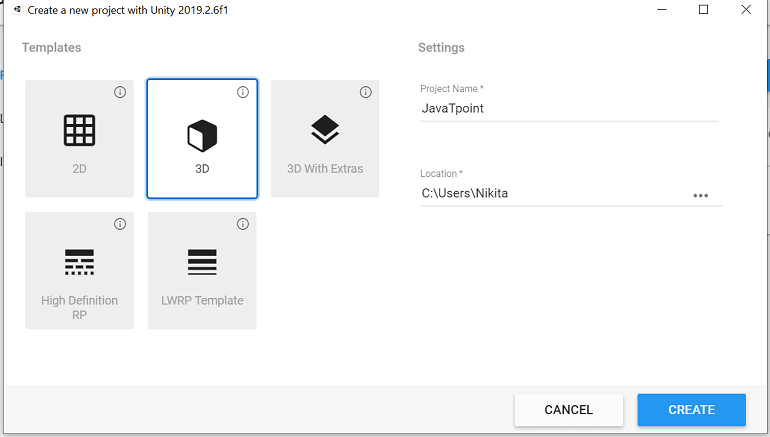
- Enter the Create button when you are done. Unity automatically generates essential files and creates your project.
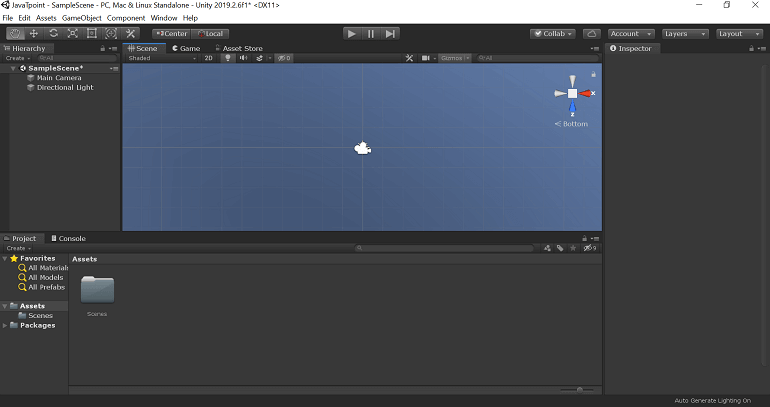
Next Topic2D Introduction