Install Gradle on Windows
Gradle is a build automation tool that combines the best of Maven and Ant. It is a potent and customizable tool. It also uses a sleek Groovy DSL instead of the XML file of Maven and Ant. Let’s understand how to install Gradle.
Before we start the installation process, let’s understand the prerequisite for the Gradle.
Gradle Prerequisites
Gradle is a Java based tool, so Java 8 or higher version is required on a computer to run it. Before installing Gradle, make sure you have the Java SDK 8 or higher version installed. It runs on all major operating systems.
We do not need to install groovy because Gradle has its groovy library.
To install Java Click Here.
To verify Java Installation, run the Java -version command:

Gradle Installation
Now, follow the below steps to install the Gradle:
Step1: Visit the official download page of the Gradle. Under the Installing manually option, select the Download option given on the step1. Consider the below snap of the page:
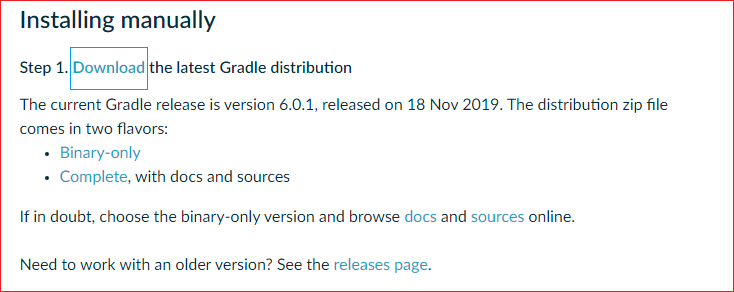
The download option will open a new page.
Step2: In this step, we will select the Gradle version and package. The latest version of the Gradle is v6.0.1. Select the package type binary-only or complete option. The recommended option is binary-only because the binary package contains all the required files for the installation. Consider the below image:
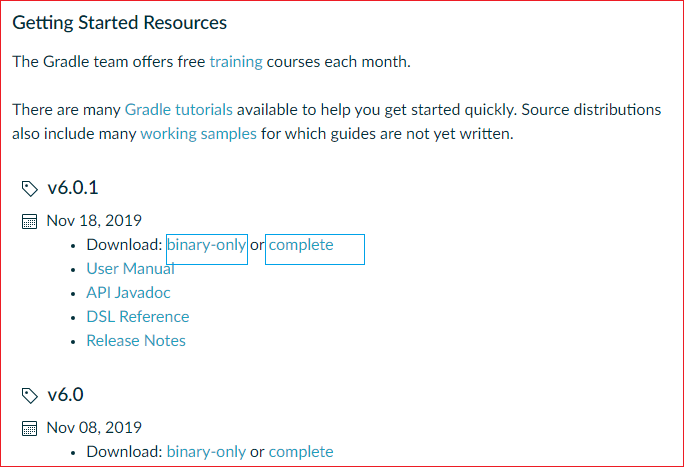
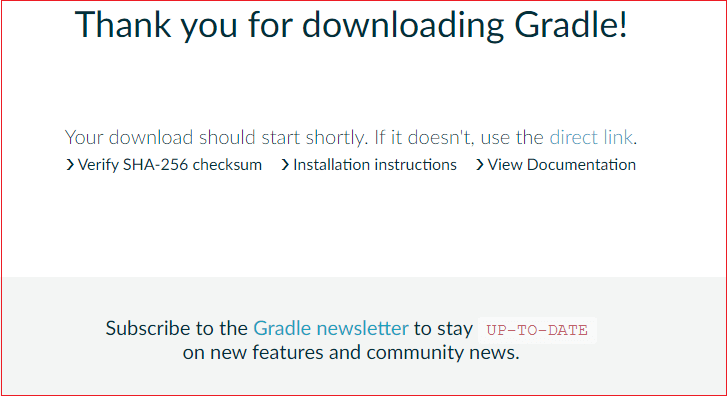
The selected option will start downloading the Zip file. Consider the image below.
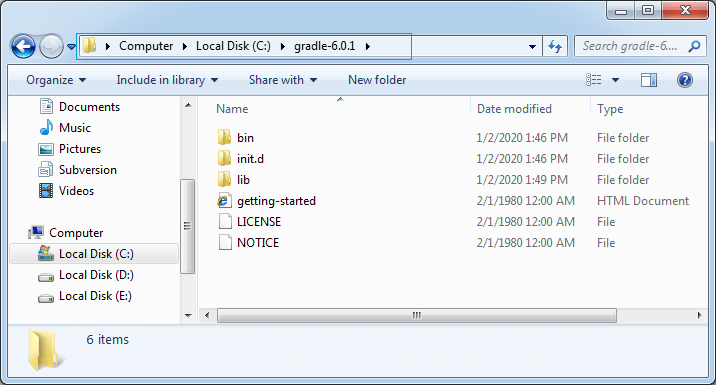
Step3: Extract the zip file to a location on which we would like to install, copy the path from here for environment set up. Consider the below image:
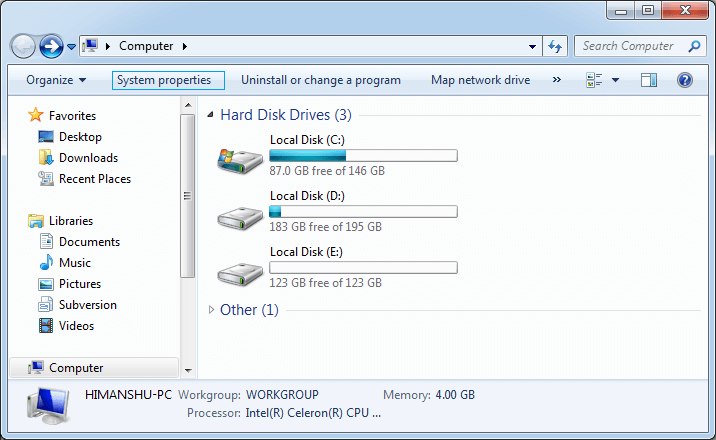
Step4: The next step is to set the environment variable for the system. To set the environment variable, open This PC and navigate to System Properties.
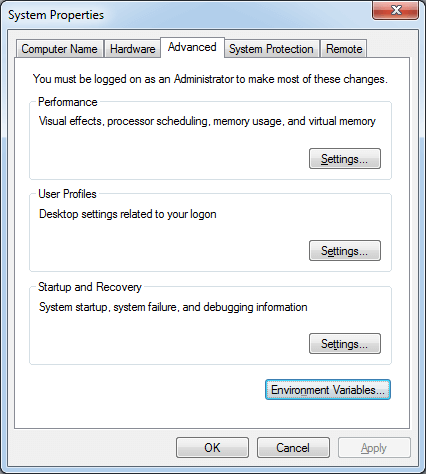
Then, click on the Advance system setting.

Click on Environment variables.
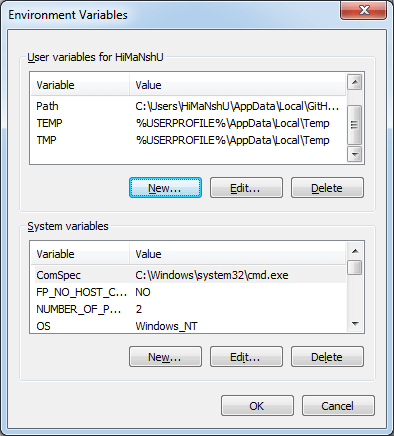
After that, click the New option.
Now, create user variable, enter the variable name as Gradle_Home and paste the value of the home path e.g., C:gradle-6.0.1 in the variable value field. Click OK to continue.

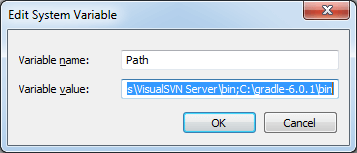
Now set the path for the system. Select the path field, click on edit option.
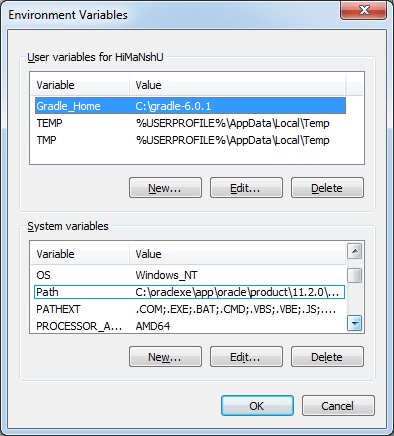
Now insert a semicolon (;) and paste the value of the path up to bin folder e.g., C:gradle-6.0.1bin.
Now we have successfully installed Gradle on our machine. The next step is initialization and verification.
Step5: To initialize the Gradle for the first use, run the gradle command. Consider the below image:
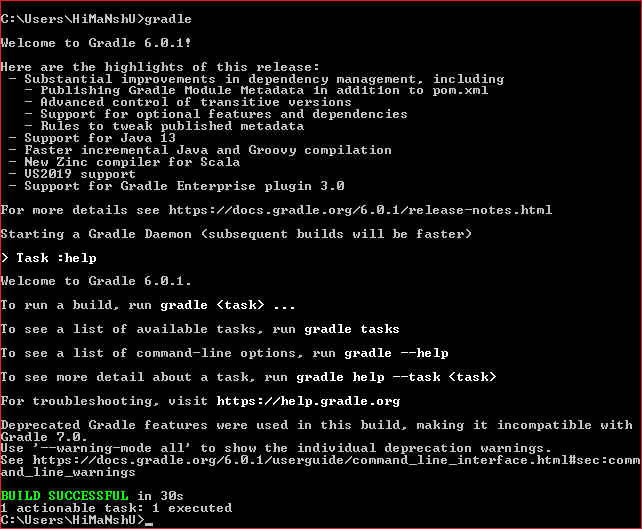
The gradle command will provide the highlights of the latest release version and start a daemon process to configure the Gradle with the system.
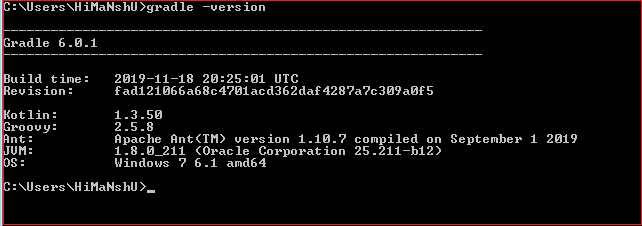
To check the version of the Gradle, run the gradle -version command. It will display the version of Gradle, Kotlin, Groovy, Ant, JVM, and OS.
Install Gradle on Ubuntu
To install Gradle on Ubuntu, login as a user with sudo privileges, and follow the following steps:
Step1: Gradle requires JDK version 8 or above to be installed on our machine. If we don’t have JDK, run the following command to install openJDK8:
Step2: Verify the Java installation, to verify whether Java is successfully installed, run the following command:
Step3: The next step is to download the Gradle. To download Gradle zip file on /temp directory, run the following command:
The wget command will download the Gradle version 6.0.1.
Step4: Once the download is complete, extract the zip file in the /program/ gradle directory. Run the following command to unzip the file:
Step5: The next step is to set up the environment variable. To configure the PATH environment variable. Create a new file named gradle.sh inside of the /etc/profile.d/ directory as follows:
Step6: Now, Load the environment variable to machine. To load the environment variable to the machine, run the below command:
Step7: Verify the installation. To verify the Gradle installation, run the below command:
Install Gradle on MacOS
To install Gradle on macOS, follow the below steps:
Step1: Gradle requires JDK version 8 or above to be installed on our machine.
To install Java on MacOs, ClicK Here.
To verify the Java installation, run the Java -version command:
If we already have Java installed on our machine, skip this step and proceed to the next step.
Step2: Download the Gradle from Gradle official release page. We are going to use the latest version 6.0.1.
Step3: Create a directory to unzip the downloaded file.
Create a directory:
Unzip the file:
Step4: The next step is to set up the environment variable. To set up the environment variable in the bash config file, run the following command:
Step5: This step is the last step to install the Gradle. In this step, we will source the bash config file.
Step6: Verify the installation. To verify the Gradle installation, run the below command: