How to Install Eclipse on CentOS
Introduction
Eclipse is an Integrated Development Environment (IDE) mainly used for Java Development. It contains a base workspace and an extensible plug-in system for customizing the environment. It is mainly written in Java. It can also be used for development in C, C++,C#, COBOL, D, Fortran, Haskell, JavaScript and many more programming languages. In this tutorial, we will install Eclipse on CentOS.
Prerequisites
- Login as an administrator on terminal
- JDK must be installed on the system.
Installation
Installation includes following steps.
1) Download Eclipse
Download the latest version of Eclipse (Oxygen) by clicking the link https://www.eclipse.org/downloads/download.php?file=/oomph/epp/oxygen/R/eclipse-inst-linux64.tar.gz&mirror_id=1093.
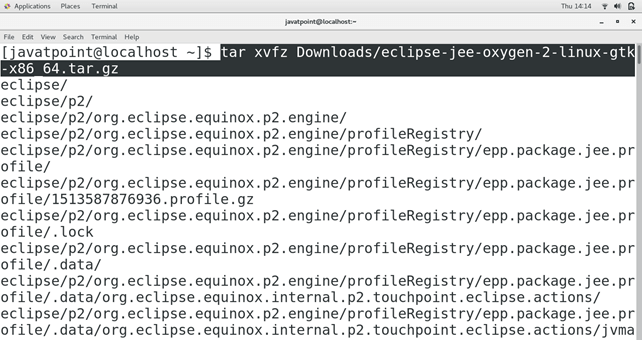
2) Extract the File
Use the following command to extract the file which is just downloaded from the internet.
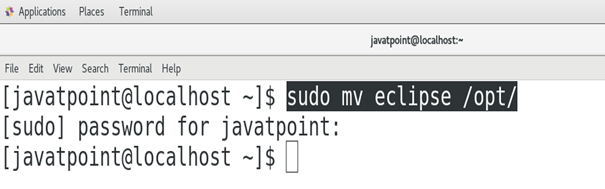
3) Move Eclipse to /opt
Use the following command to move the extracted folder eclipse into /opt.
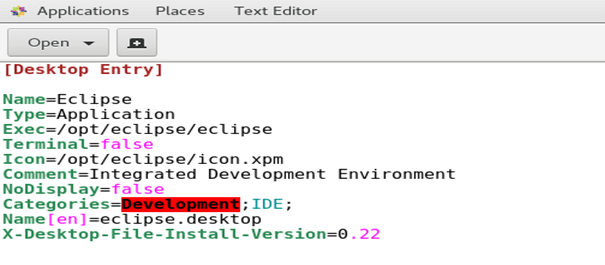
4) Create a Desktop file
Create a desktop file named as eclipse.desktop inside /usr/share/applications/. Use the following command for this purpose.
And enter the following information inside.
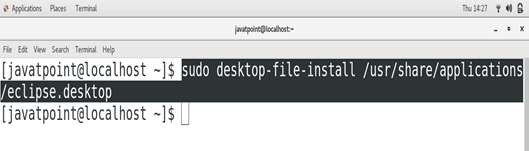
5) Install the File
Use the following command to install the Desktop file.
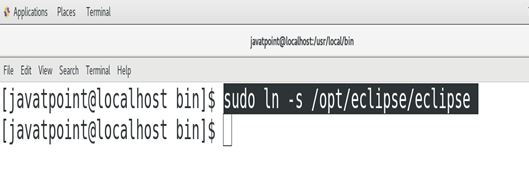
6) Create a symlink
Change the working directory to /usr/local/bin and run the following command to create a symlink of eclipse there.
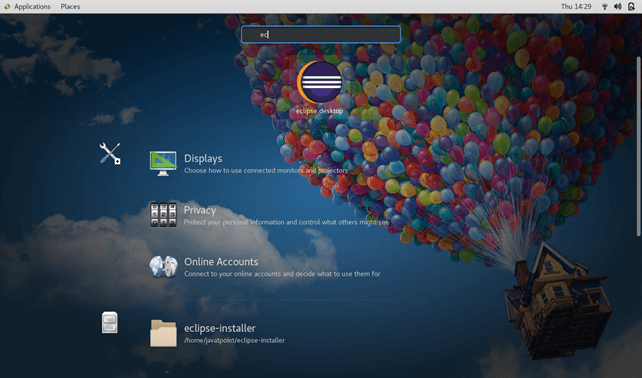
7) Launch the Application
Search for eclipse in the Application directory and double click on the eclipse icon to launch the application.
The welcome page of eclipse appeared when we launch the application.

Hence, we have successfully installed and get started with Eclipse Oxygen.