How to Install GIMP on MacOS
Introduction
GIMP is the acronym for GNU Image Manipulation Program. It is free and open source raster graphics editor used for image retouching and editing, free form drawing, converting between image formats and many more tasks. It is released under GPL3 license and is available for Linux, Microsoft Windows and MacOS. In this tutorial, we will install GIMP on MacOS.
Prerequisites
- MacOS
- Login as an administrator on terminal
- Homebrew must be installed on the system.
Installation
Installation includes following steps.
1) Update the repository index of homebrew
In order to install GIMP on MacOS with homebrew, we need to first update the repository index of homebrew. This can be done by using following command.
2) Install GIMP
GIMP can be simply installed with the homebrew package installer. However, it is not available in the current repository of homebrew, hence we have to tap into another repository by using following command.
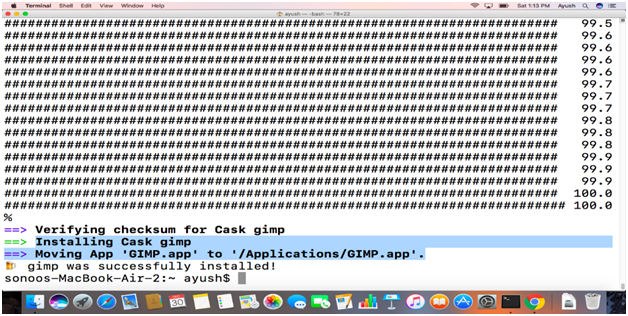
Then use the following command to install GIMP.

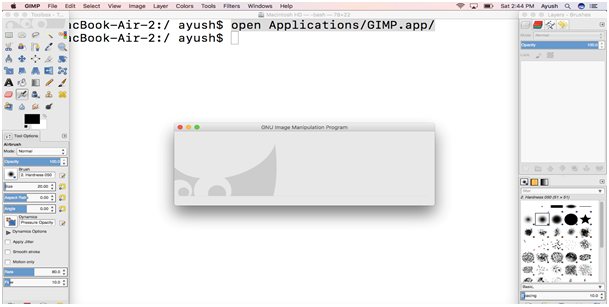
GIMP can be opened by command line or by searching it into the applications directory. For this purpose, following command can be used.
Hence, we have installed GIMP successfully on MacOS.