Implementing SPA Authentication in MEAN Stack
In our previous section, we learned about SPA Authentication. Now, in this section, we will implement the SPA Authentication in our project.
Our goal is to create such a token and return that to the user upon successful login. We will use the following steps to add SPA authentication to our project or application.
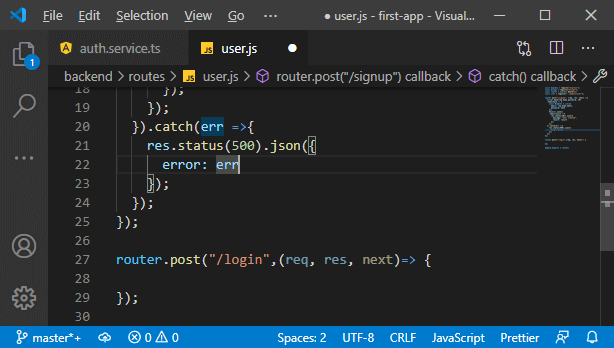
1) We will go back to our service.js file, and here, we need to create a fitting route. Thus far, we only got a route that allowed us to create a new user. In the user.js file of the routes folder, we will create another route with the router here. It is also a post route, but we will listen to /login or actually /api/user/login as we know. There we have a method with the request, response and next, and we will do something when a request reaches that route.
2) In the method, we will create such a token. But first, we want to validate whether the credentials are valid or not. This will be a multi-step process:
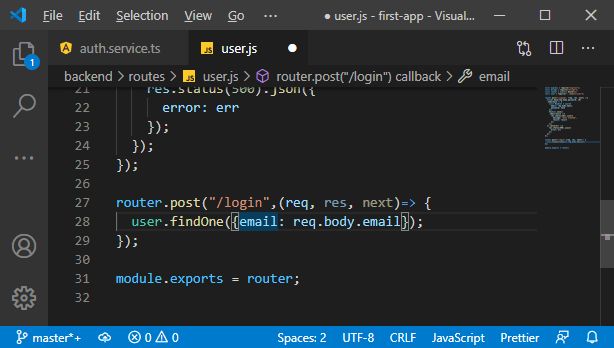
a. We need to find out whether the email address exists, and for that, we will use our user model and find an instance of that model in the database. We will pass an object to narrow down which result we want to find and look for a user where the email address in the database matches the email address attached to our request.
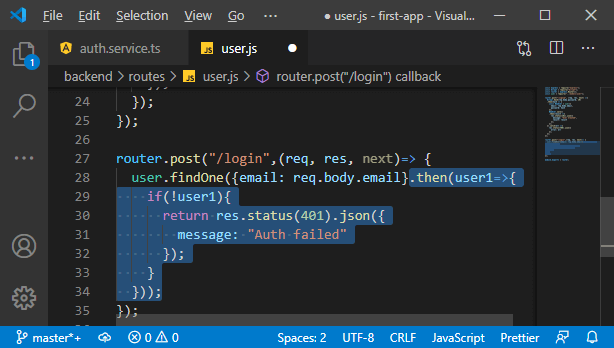
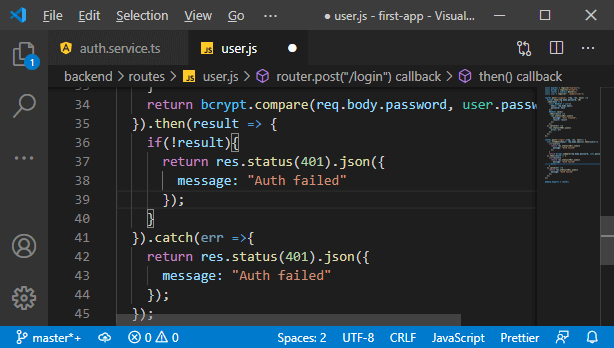
b. Now, we will chain a then block with it to handle the case that we got a response, which would be the user, and if we have a user, then we know that we have that email address. On the other hand, if we don’t find a user, we get no user. Now, we will check whether the user exists or not. If the user doesn’t exist, we will return a response where we set the status code to 404 because we didn’t find the user or 401 because authentication is denied and send back some JSON data if we want.
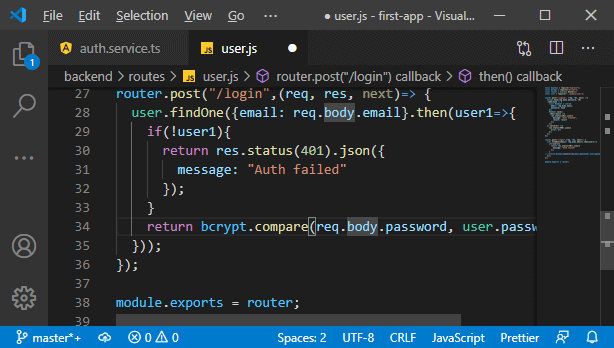
c. We will return a response there, and we didn’t do it earlier because we added the code after the “if” statement. We could wrap it into an else statement, but that would mean one extra layer of nesting, and we just want to check if we don’t have a user, return a response and otherwise proceed. We know we did find the user with that email address, which allows us to compare the password the user entered into the login form with the password stored in the database.
The problem with the password stored in the database is that we hashed it with bcrypt, and we know such a hash can be de-hashed. But if we have the same input, we will always get the same hash. So, we will use a useful function of bcrypt called compare that is the compare function to compare input to an encrypted value, and bcrypt will tell us if that input would yield the same value without needing to decrypt the encrypted value, which would not be possible.
In this function, we will pass the password coming from the request and password of the user like this:
We will actually return a new promise, so we will just return the result of that compare operation.
d. We chain another then block, and there we will get back the result of that compare operation. That result would be true if we did successfully compare or false if we failed. Additionally, we could run into other errors, so we also add a catch block. Here, we also return our not successful message. In the then block, we will check whether the result is true. If it returns false, then we also return our response where we deny authentication like this:
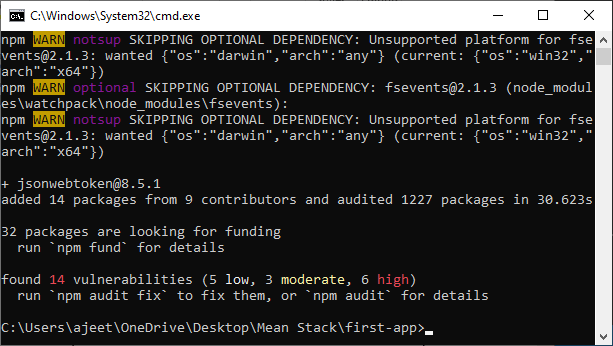
e. Now, if we have a password, we will continue and create the JSON Web Token. If you want to learn more about JSON Web Tokens, you can visit io, where you can read more about, and there you can also see how such token will look like. We don’t need to construct it from scratch, there is a package that helps us with that, and that package is “jsonwebtoken”. We will install this package using the following command:
This is a third-party package that helps us with the creation and validation of such tokens.
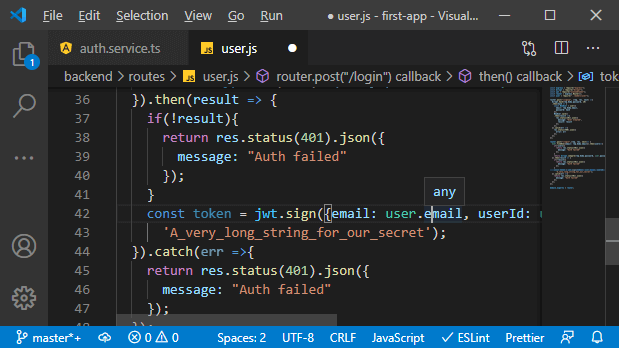
f. We will then import this package below bcrypt and use it in the login route to create a new web token. In the then block where we know we have a valid password sent by the user, we will create a new token by running the sign method of the jsonwebtoken. This method will create a new token based on some data of our choice.
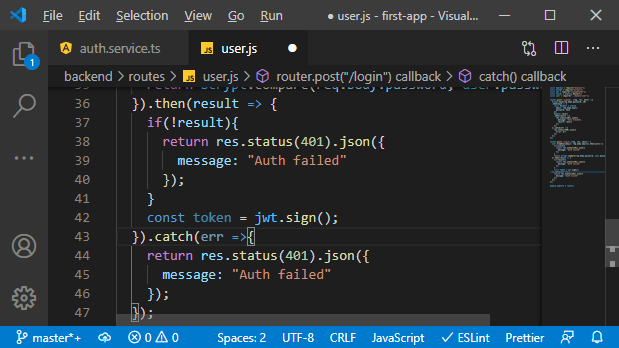
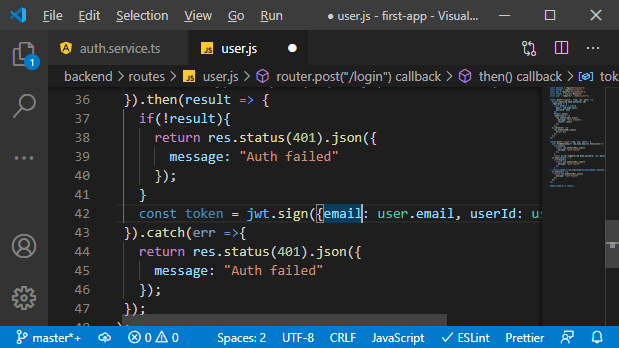
g. Now, our choice’s input data will be a javascript object where we store the user’s email, not the password because we don’t want to send data back to the user even if it is encrypted. We also want to send back the ID because that will later be useful on the frontend like this:
h. Now, we have to pass a second argument. Besides the payload, we need to enter our own secret, like the password we use for creating these hashes. This will only be stored on the server, and it will be used to validate these hashes. This is what makes them uncrackable. Typically, this should be a very long word or a very long string combination.
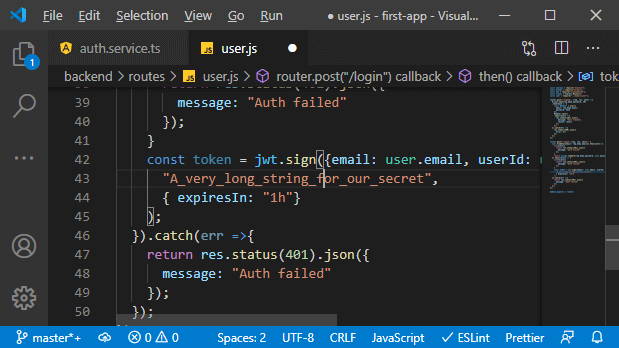
i. We will also pass one more argument that allows us to configure that token. It will be a javascript object where we set a couple of values. One of them being the expireIn property that allows us to define how long this should last. If we want to see all options available, we can use “Intellisense,” where we see which value we can get set, and we can dive into the official docs of that package. The expireIn takes a string to describe the duration, and we enter something like 1h, and that is a pretty good value. That token should not last too long because we can’t fake it. It is, of course, stored on the frontend.
If our app is not vulnerable to cross-site scripting attacks, it should be secure there, but it is still an additional security mechanism to ensure that it doesn’t last forever.
And with that, we get a token that will expire after one hour, and now, we are creating that token. Now, let’s send it back to the frontend and connect the frontend to this backend here to this new route in the next lecture.