Installation of Keras library in Anaconda
To install Keras, you will need Anaconda Distribution, which is supported by a company called Continuum Analytics. Anaconda provides a platform for Python and R languages, which is an open-source and free distribution. It is a platform-independent, which means that it can be installed on any operating system such as MAC OS, Windows, and Linux as per the user’s requirement. It has come up with more than 1500 packages of Python/R that are necessary for developing deep learning as well as machine learning models.
It provides an easy python installation with several IDE‘s such as Jupyter Notebook, Anaconda prompt, Spyder, etc. Once it is installed, it will automatically install Python with some of its basic IDE’s and libraries by providing as much convenience as it can to its user.
Following are the steps that illustrate Keras installation:
Step1: Download Anaconda Python
To download Anaconda, you can either go to one of your favorite browser and type Download Anaconda Python in the search bar or, simply follow the link given below.
https://www.anaconda.com/distribution/#download-section.
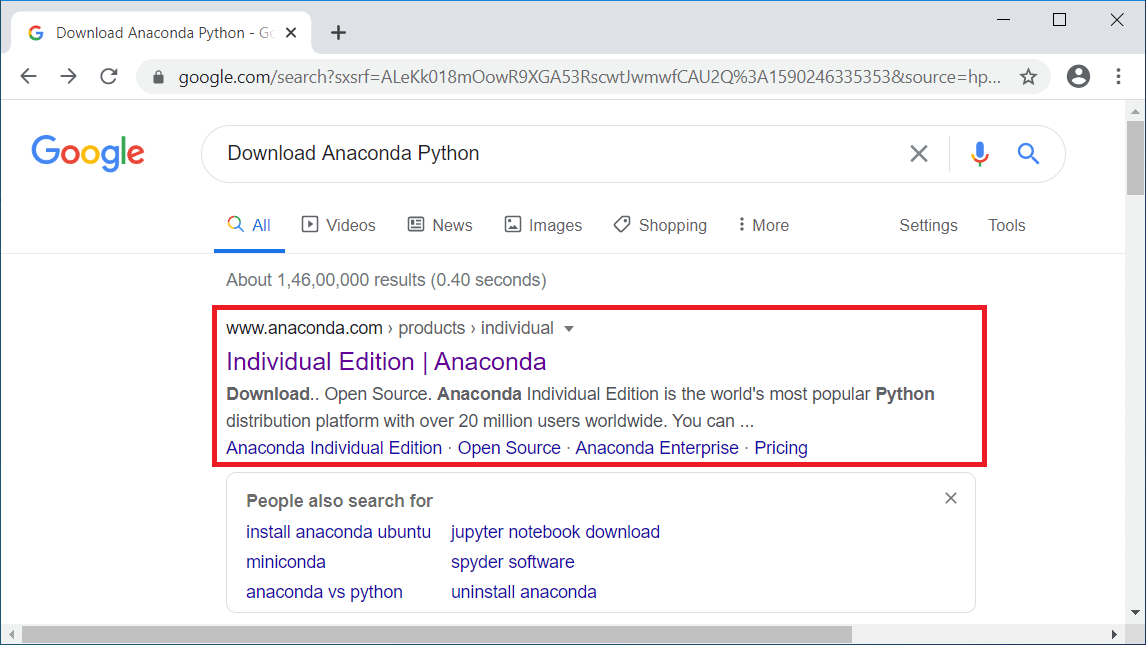
Click on the very first link, and you will get directed to the Anaconda’s download page, as shown below:
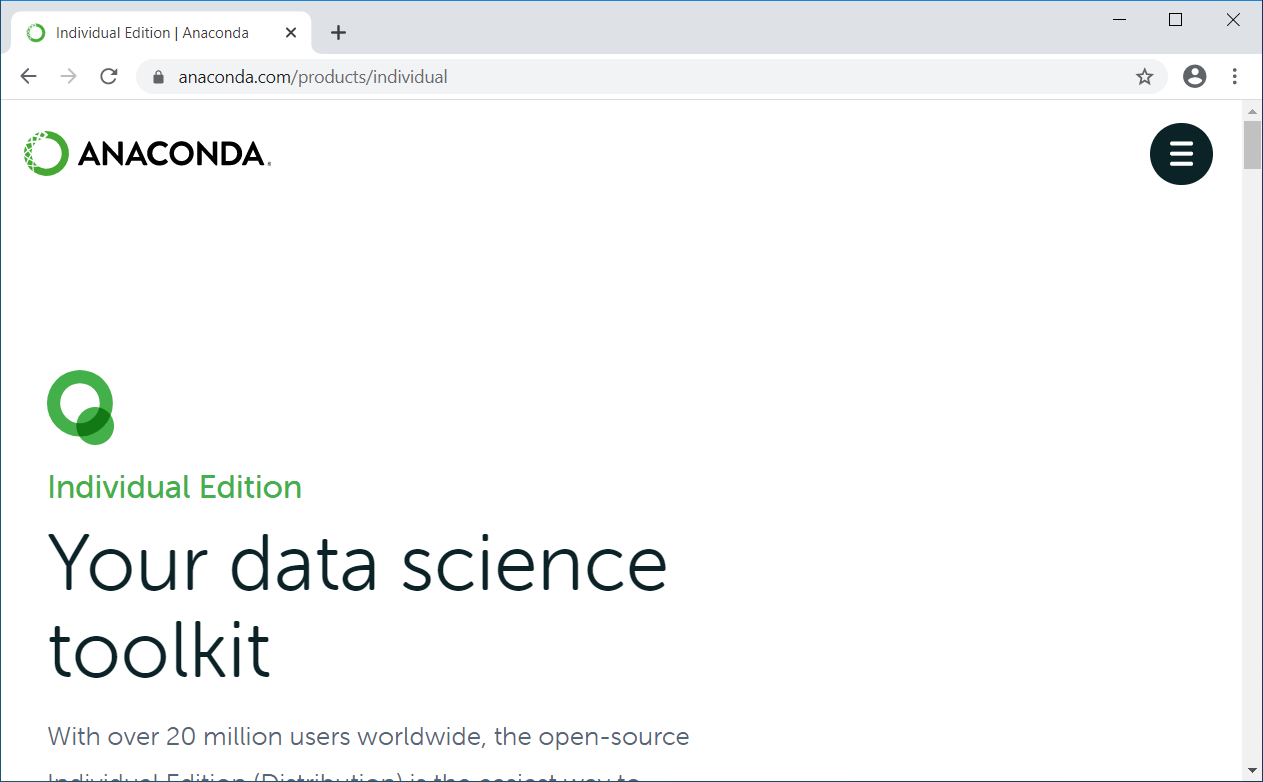
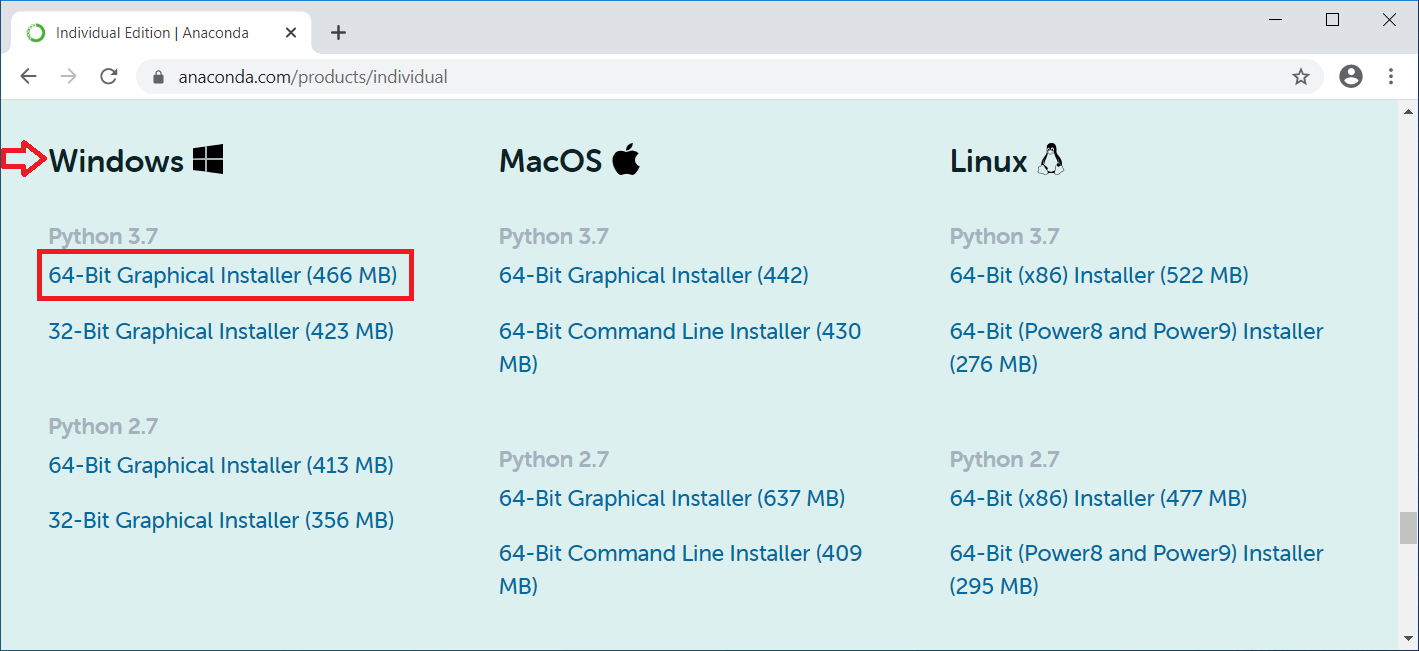
You will notice that Anaconda is available for various operating systems such as Windows, MAC OS, and Linux. You can download it by clicking on the available options as per your OS. It will offer you Python 2.7 and Python 3.7 version. Since the latest version is Python 3.7, so download it by clicking on the download option. The downloading will automatically start after you hit the download option.
Step2: Install Anaconda Python
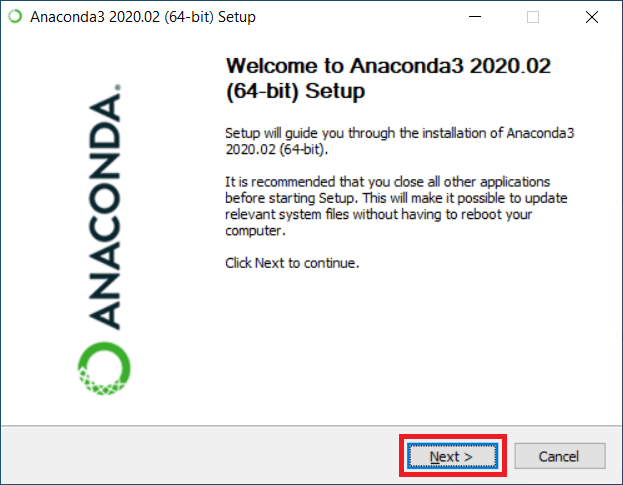
After the download is finished, go to the download folder and click on the Anaconda’s .exe file (Anaconda3-2019.03-Windows-x86_64.exe). The setup window for the installation of Anaconda will get open up where you have to click on Next, as shown below:
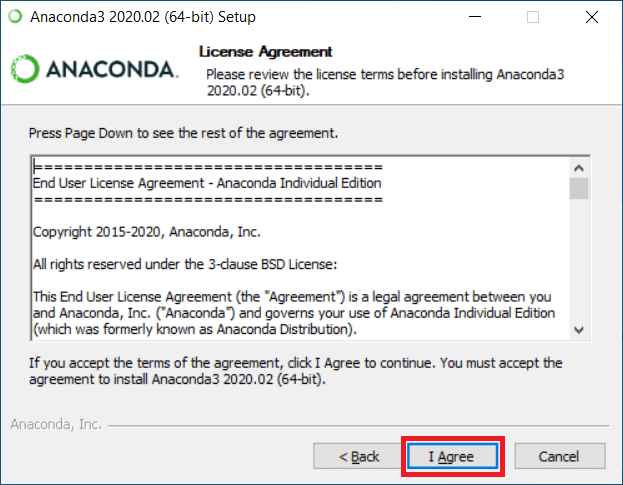
After clicking on the Next, it will open a License Agreement window, click on I Agree to move ahead with the installation.
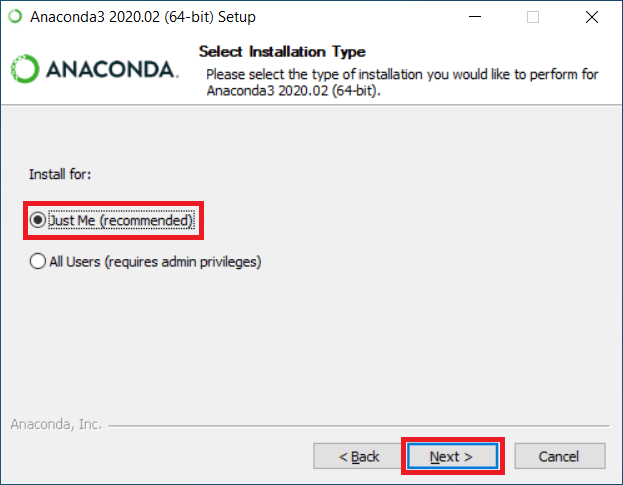
Next, you will get two options in the window; click on the first option, followed by clicking on Next.
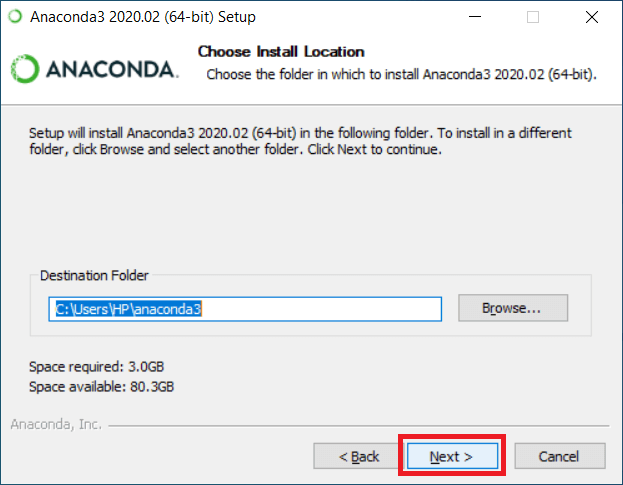
Thereafter you will be directed to the window where it will ask you for the installation location, and it’s your choice to either keep it as default or change the location by browsing a location and then click on Next, as shown below:
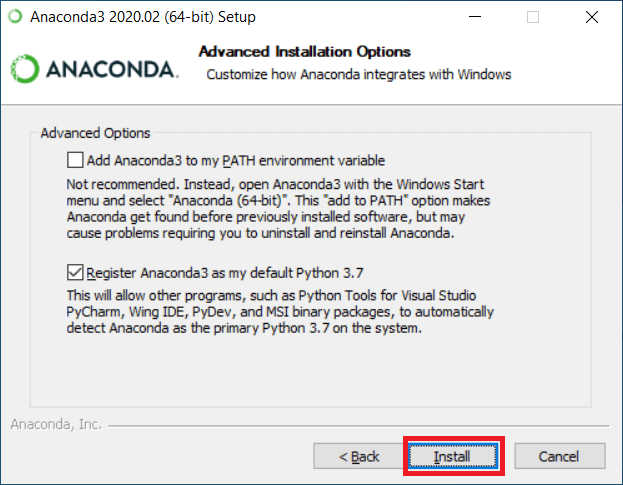
Click on Install.
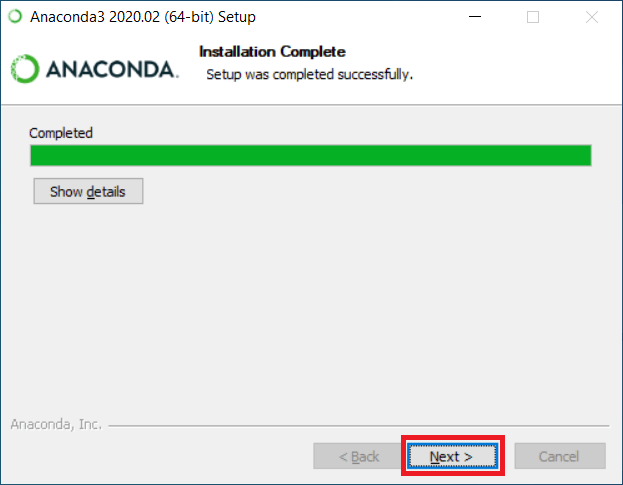
Once you are done with the installation, click on Next.
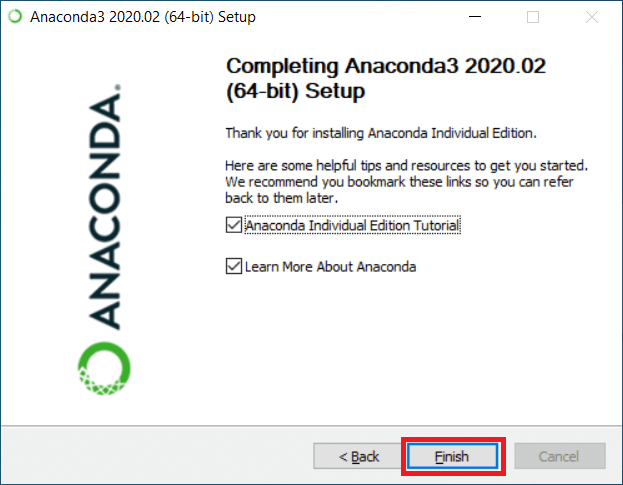
Click on Finish after the installation is completed to end the process.
Step3: Create Environment
Now that you are done with installing Anaconda, you have to create a new conda environment where you will be installing all your modules to build your models.
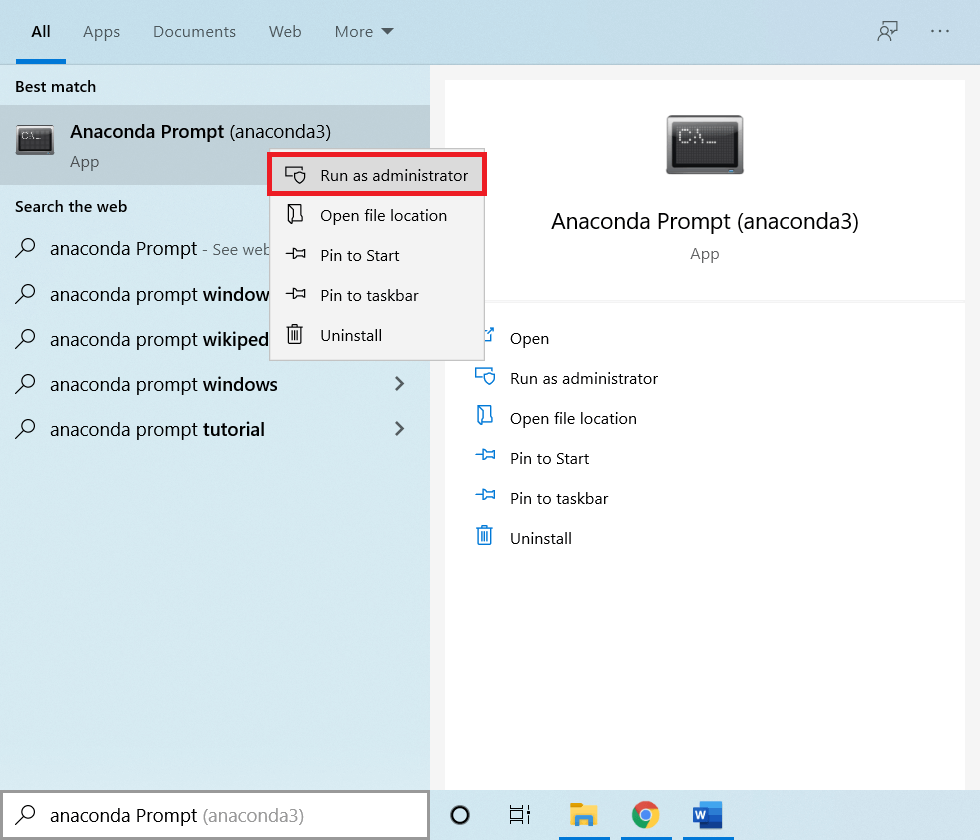
You can run Anaconda prompt as an Administrator, which you can do by searching the Anaconda prompt in the search bar and then click right on it, followed by selecting the first option, which says Run as administrator.
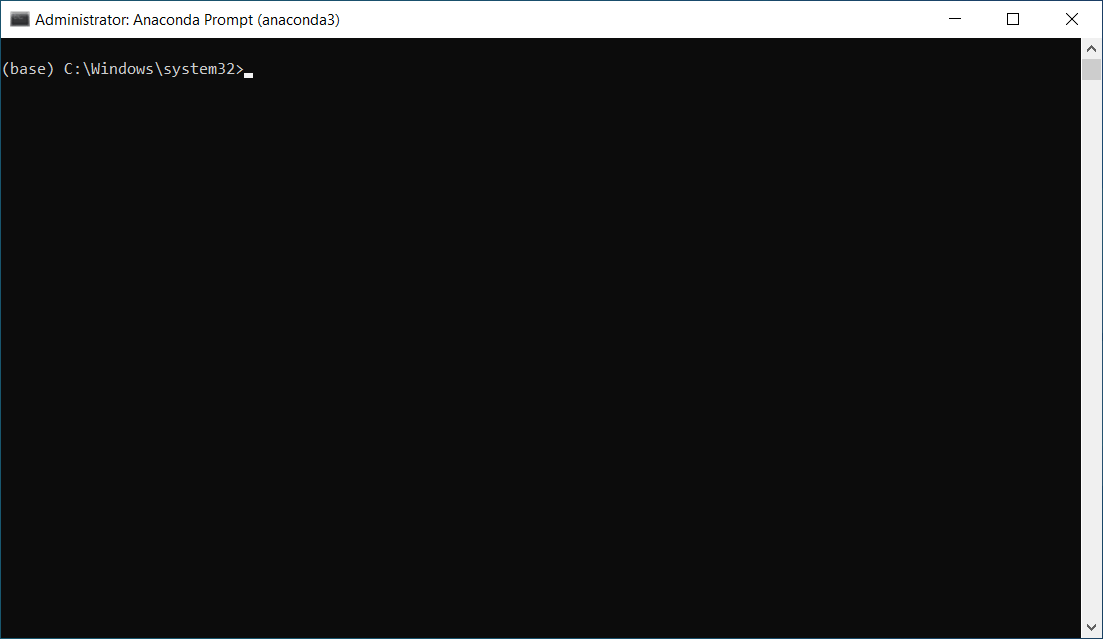
After you click on it, you will see that your anaconda prompt has opened, and it will look like the image given below.
Next, you will need to create an environment. For which you have to write the following command on the anaconda prompt and press enter. Here deeplearning specifies to the name of the environment, but you can write anything as per your choice.
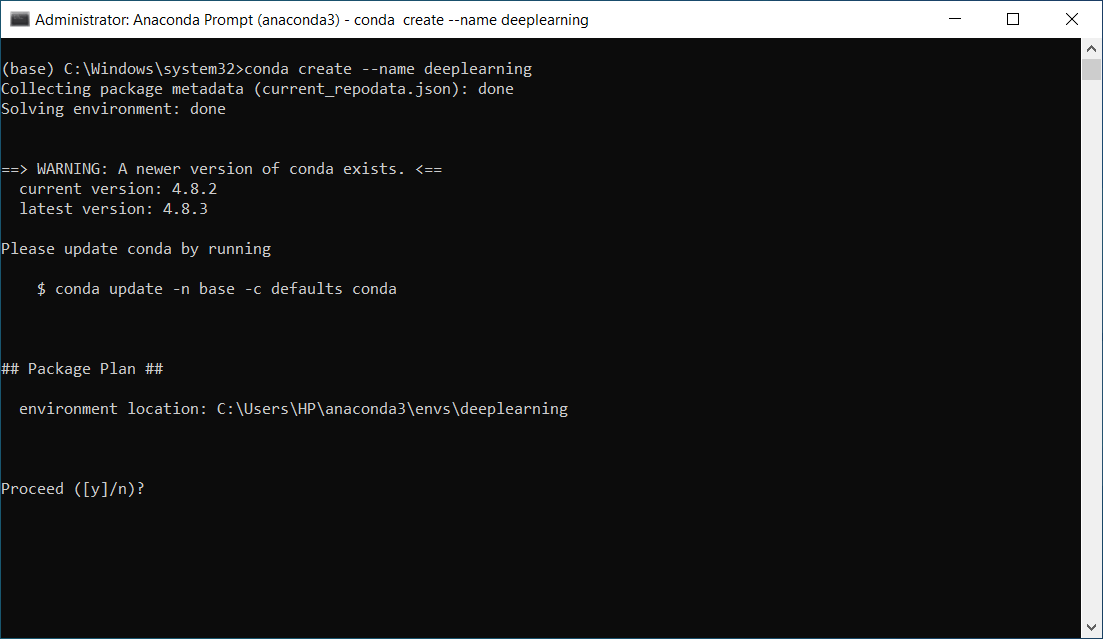
From the image given above, you can see that it is asking you for the package plan environment location, click on y and press enter.
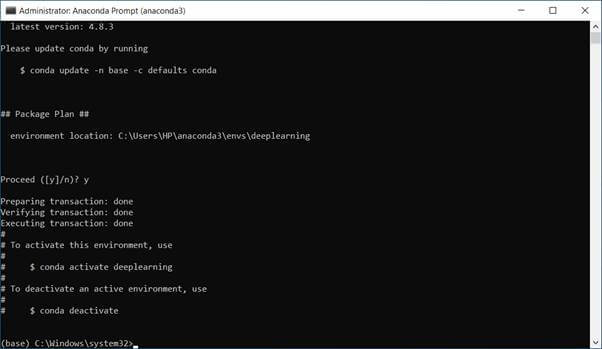
So, you can see in the above image that you have successfully created an environment. Now the next step is to activate the environment that you created earlier. To activate the environment, write the following;
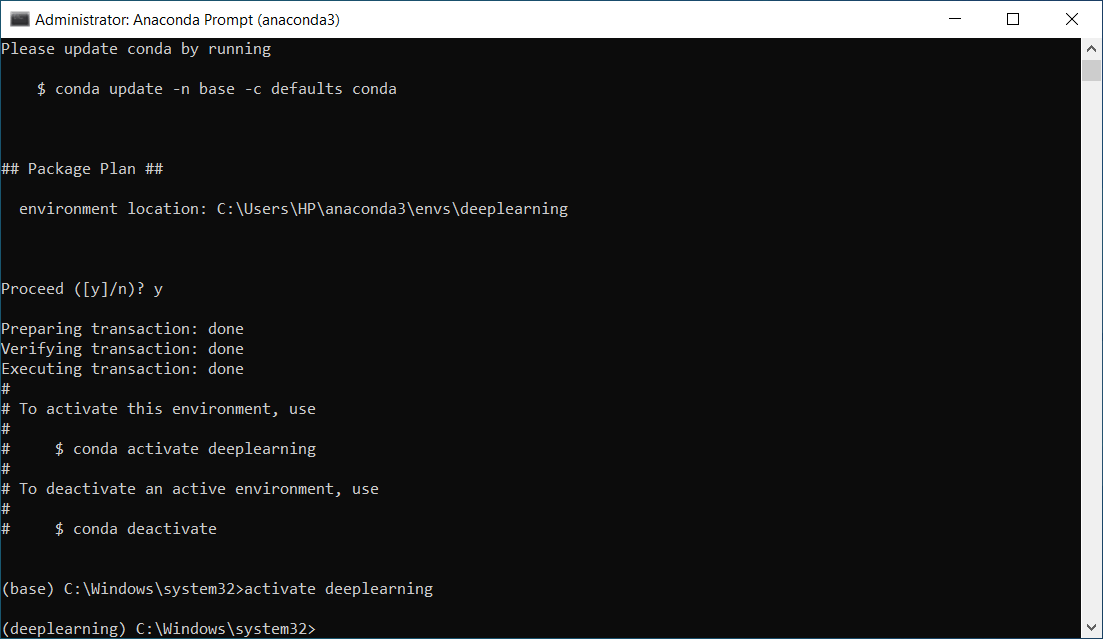
From the above image, you can see that you are in this environment.
Next, you have to install the Keras, which you can simply do by using the below-given command.
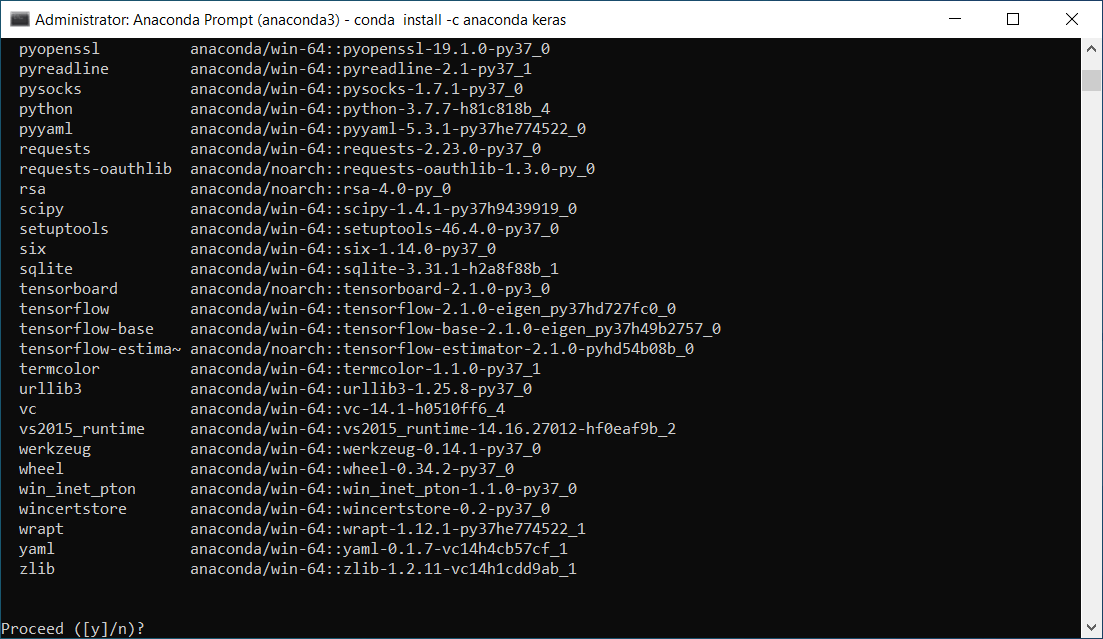
You can see that it is asking you to install the following packages, so proceed with typing y.
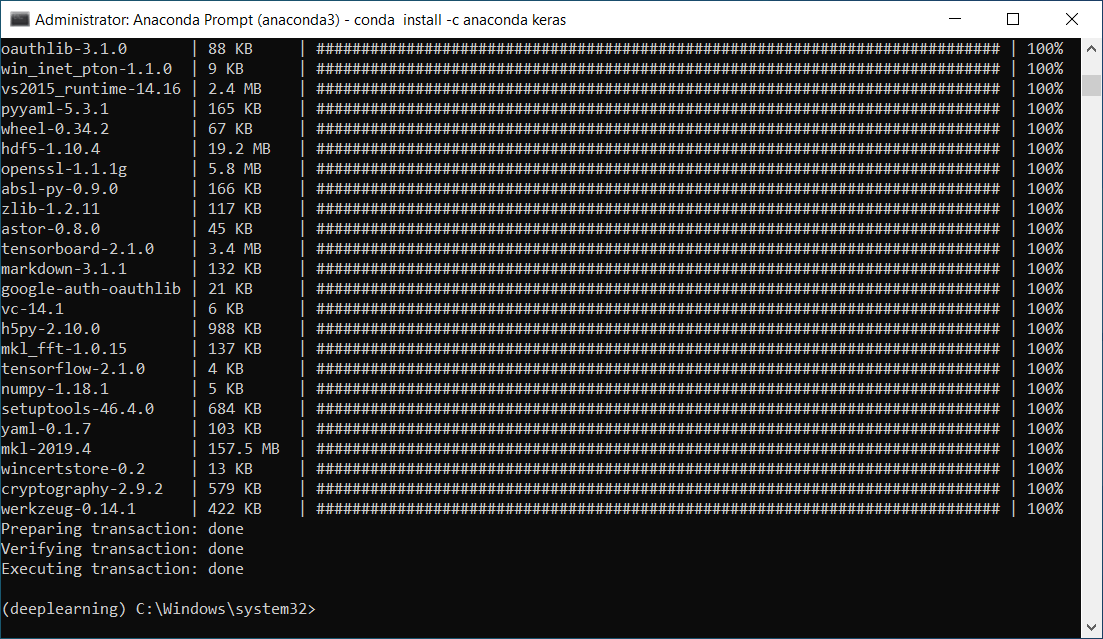
From the above image, you can see that you are done with the installation successfully.
Since this is a new environment so, you need to do a few installations again so as to avoid the occurrence of error: ModuleNotFoundError: No module named ‘keras’ while importing Keras.
So, you have to run two of the most important commands because when you create an environment, jupyter and spyder are not preinstalled, that is why you have to run them.
First, you will run the command for jupyter, which is as follow:
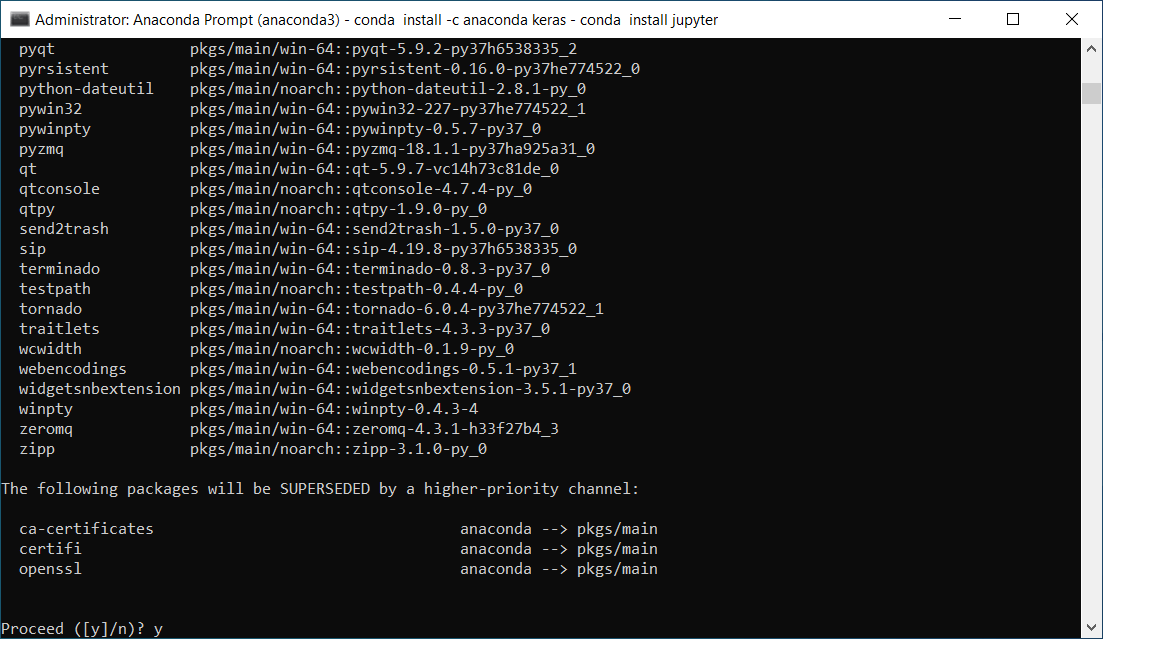
Again, it will ask you to install the following packages, so proceed with typing y.
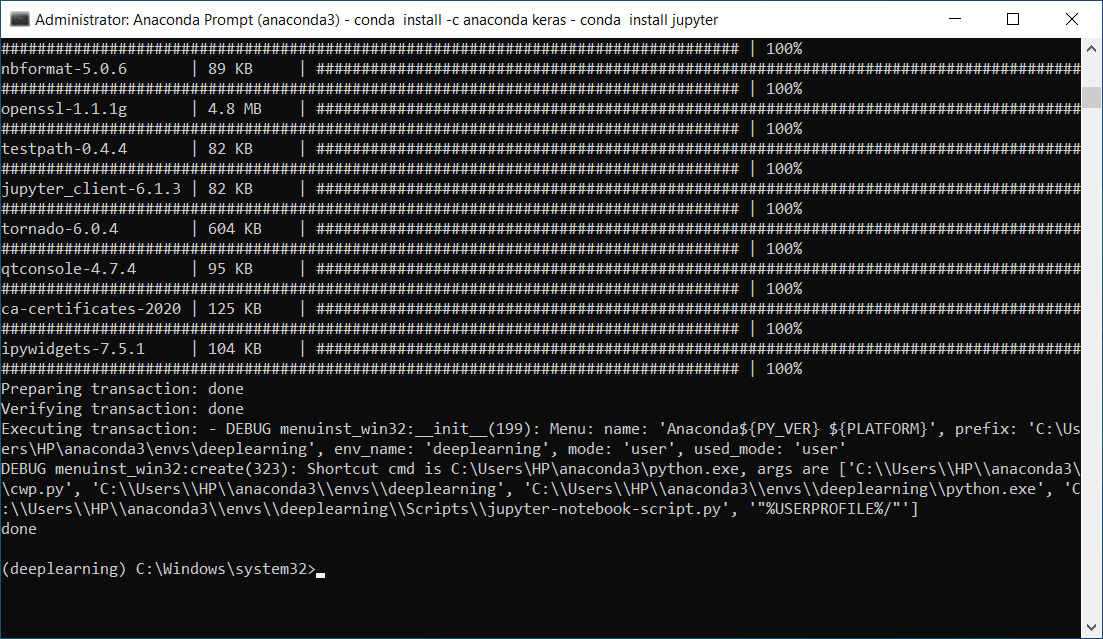
You can see in the above image that it has been successfully installed.
Next, you will do the same for spyder.
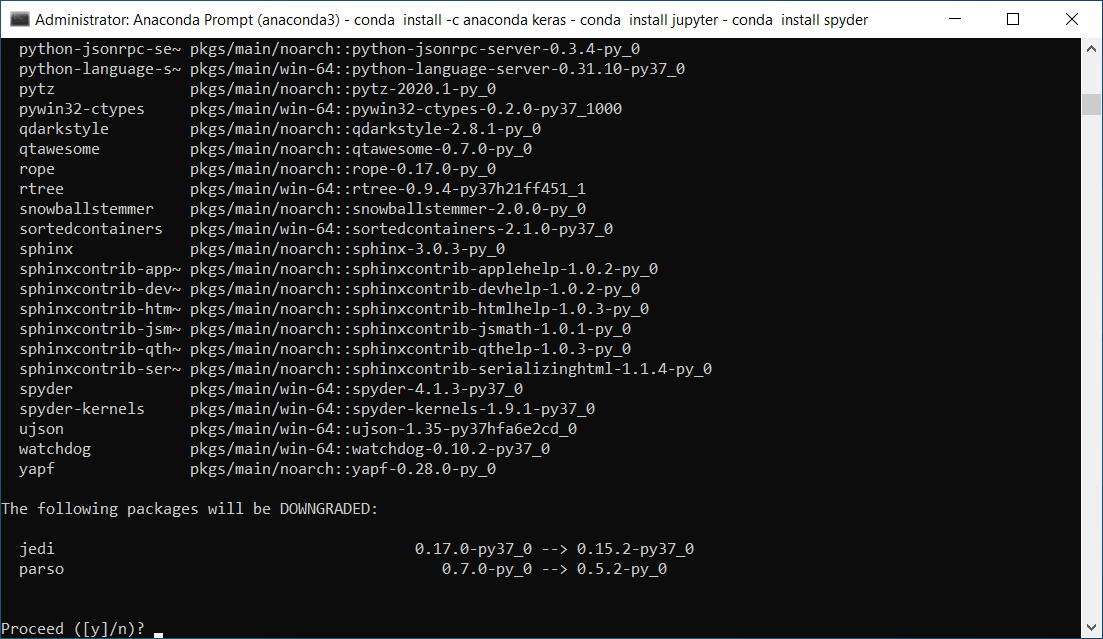
Since you are doing for the very first time, so it will again ask you for y/n, so you just simply proceed by clicking on y as you did before.
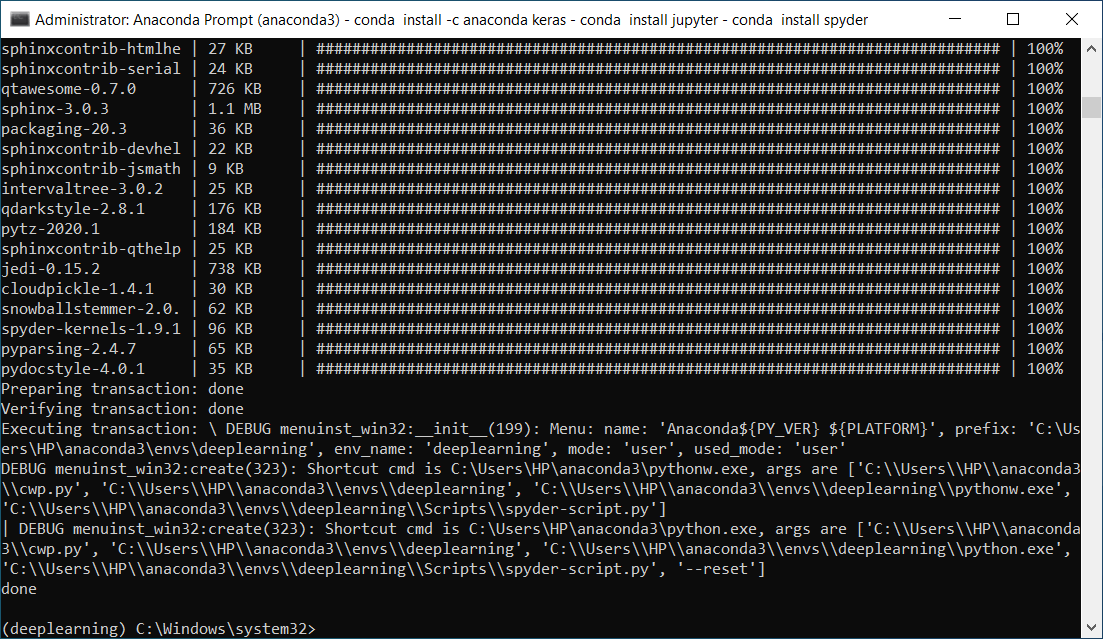
You can see that your installation is successfully completed.
You would require to install matplotlib for visualization. Again, the same procedure will be carried out.
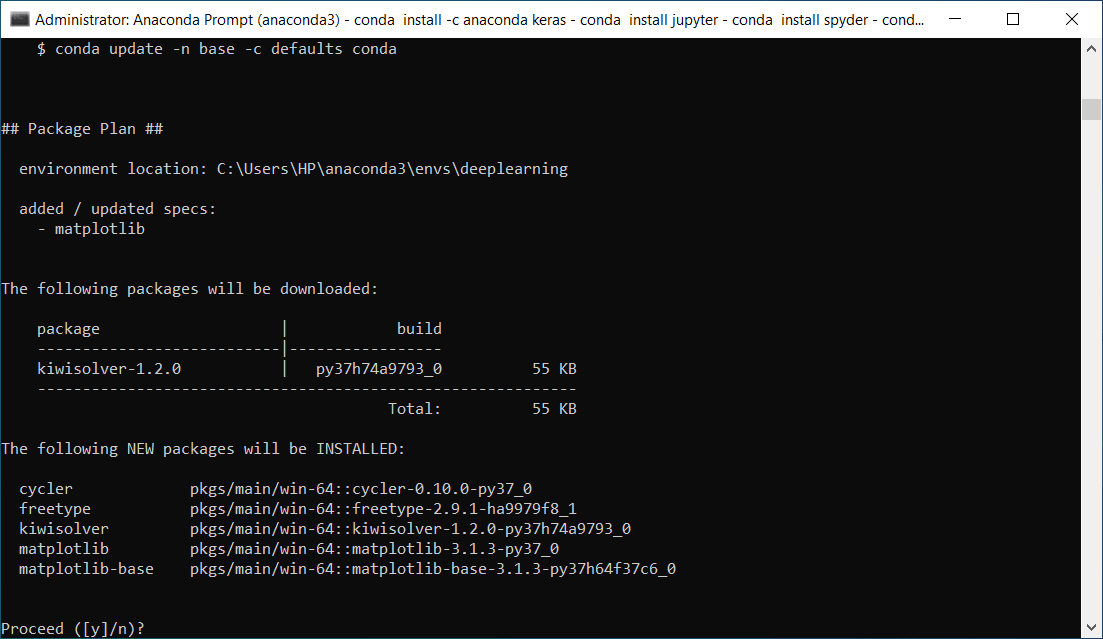
It will ask you for y/n, click on y to proceed further.
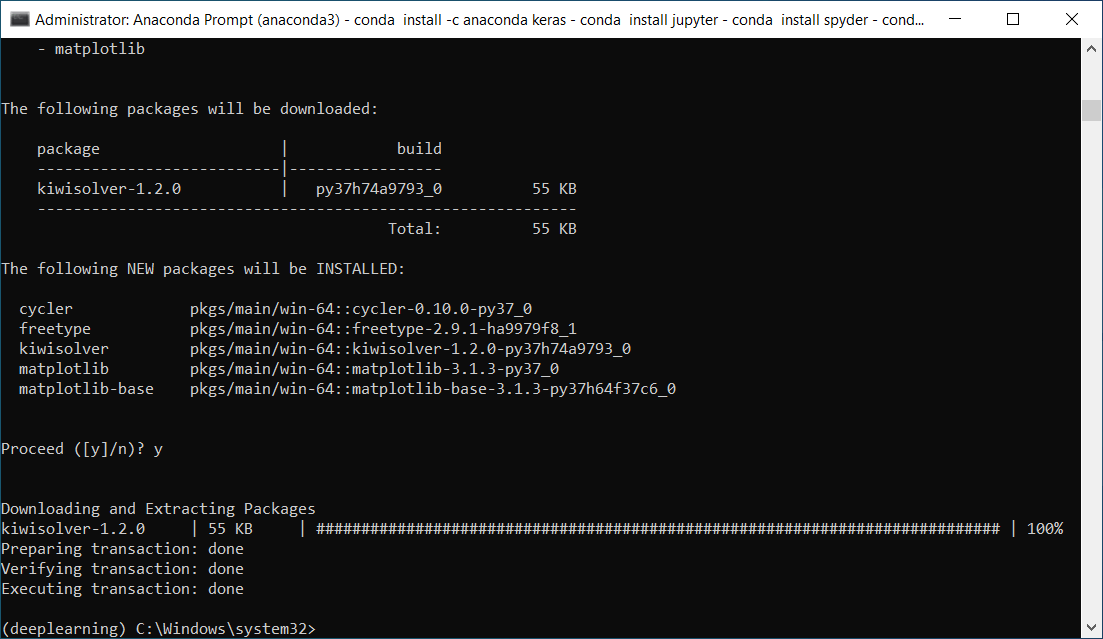
You can see that you have successfully installed matplotlib.
Lastly, you will be installing pandas, and again the procedure is the same.
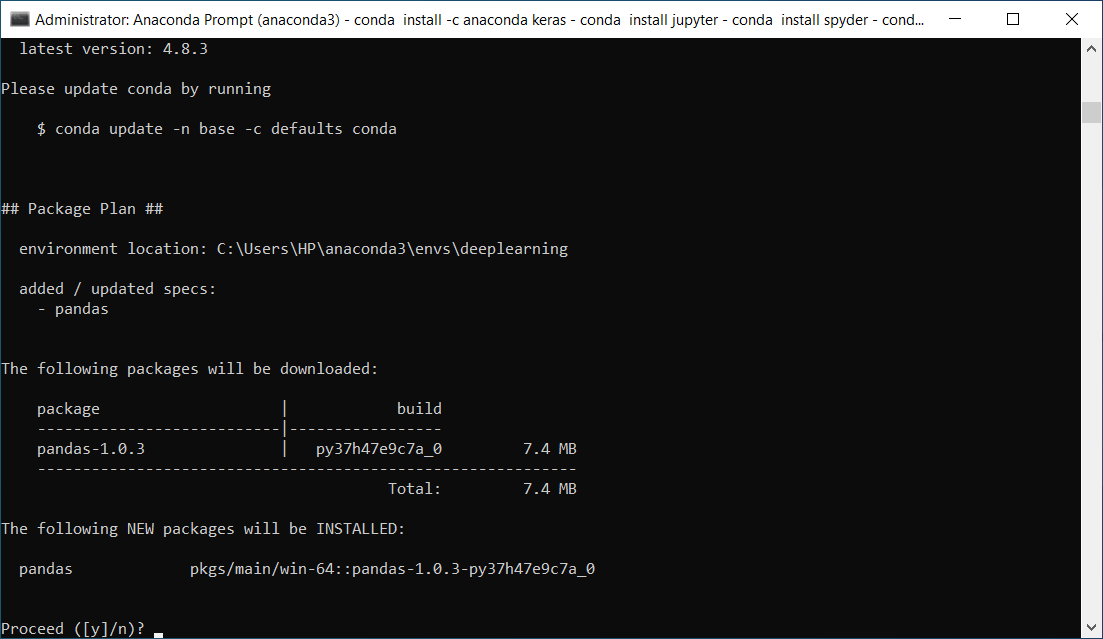
Proceed with clicking on y.
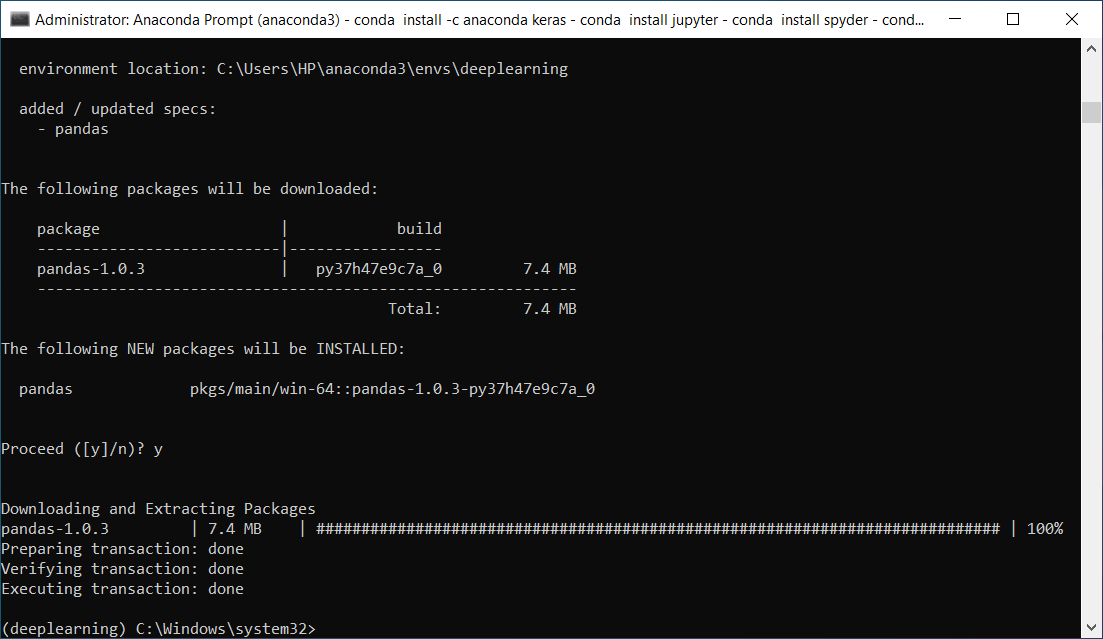
From the image given above, you can see that it also has been installed successfully.