Installing Angular Material in Mean Stack
In our previous section, we learned how to create UI and get user input from the UI content. Now, it’s time to work on the real application, which we are building. We want to design a beautiful application. We can write all the CSS styles on our own and write everything from scratch. But we are working with MEAN stack, and we want to focus on the MEAN stack components and not much on the styling.
We will use Angular Material that is a package created by parts of the angular team. Angular material gives us a set of pre-built Angular components. It is not a styling package like bootstrap. It ships with a couple of angular components that can be dropped in our application.
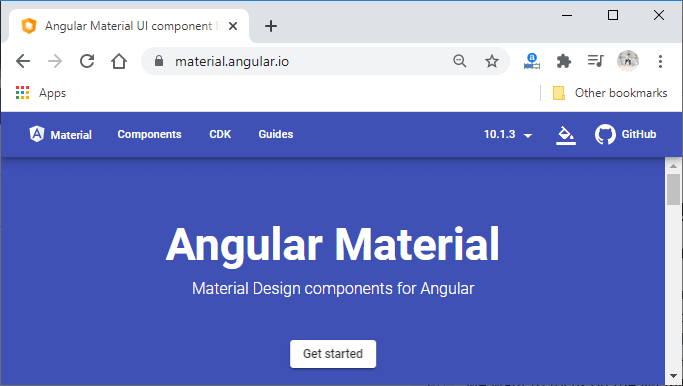
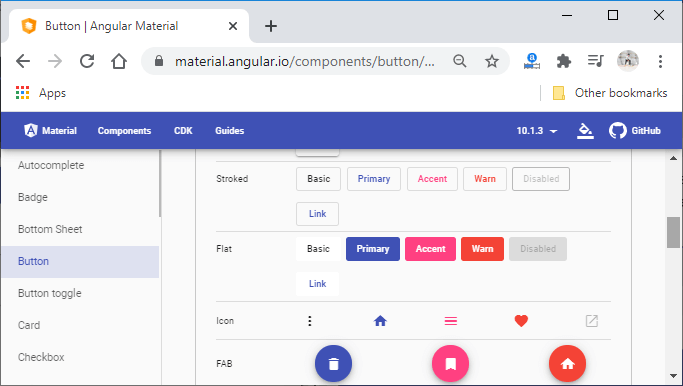
If we look at the component part on material.angular.io, we will see a bunch of pre-built components that should give us everything we need to build a nice application.
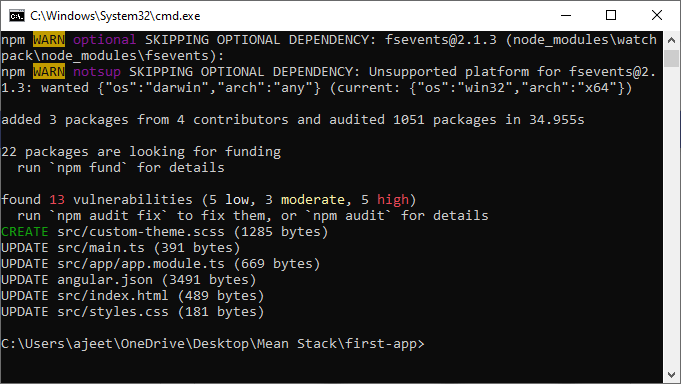
Now, we will add it to our project by installing it. We will open our command prompt and install it using the following npm command:
This was one way of adding it. Now, if we are using the latest CLI version then we have a different command for this:
This command not only installs the material package but also configure our project to include it.

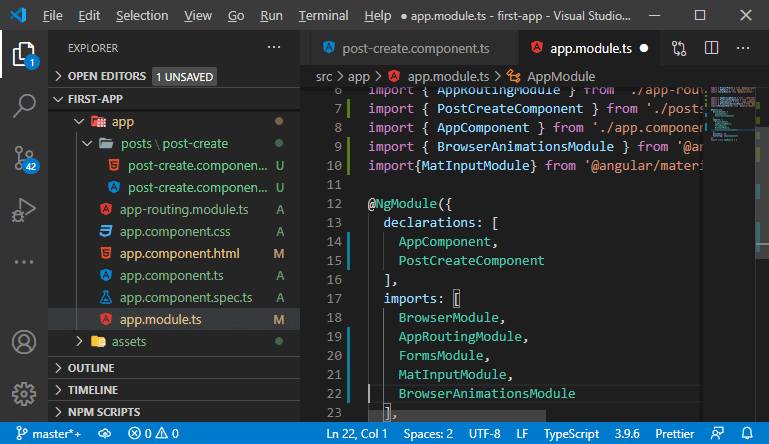
Now, we will go back to our project, and to use such an input element, we need to unlock it because, by default, none of the components provided by single material is available in our application. This is done to save space, and we don’t need to import things that we don’t use. So, we will import the MatInputModule from the angular material in our app.module.ts file, and we will also add it to the import array. It will unlock all the input related components.
Note: This way of adding angular material component is the correct way, if we are using the angular material package version 8. If we are using version 9 or higher of angular material then there is the following way to import the material component module:
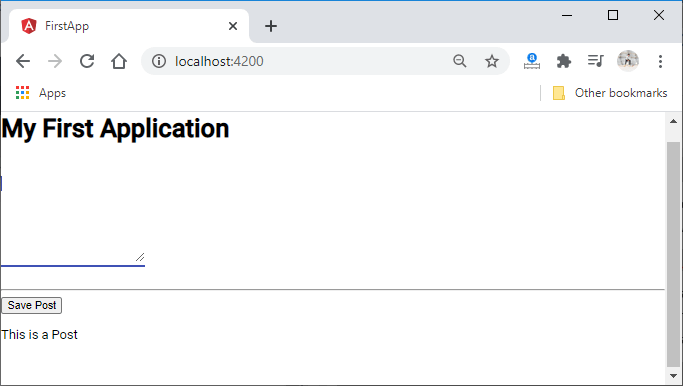
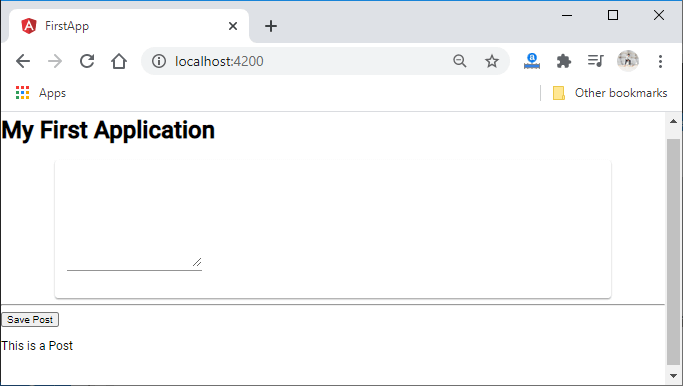
Now, we will go back to our post-create.component.html file. In the text area, we will simply add matInput to the text area in the following way:
This line will not make any difference in the text area because these input components only work in conjunction with another component. We have to wrap this line into <mat-form-field></mat-form-field> in the following way:
If we run it, it will look like as:
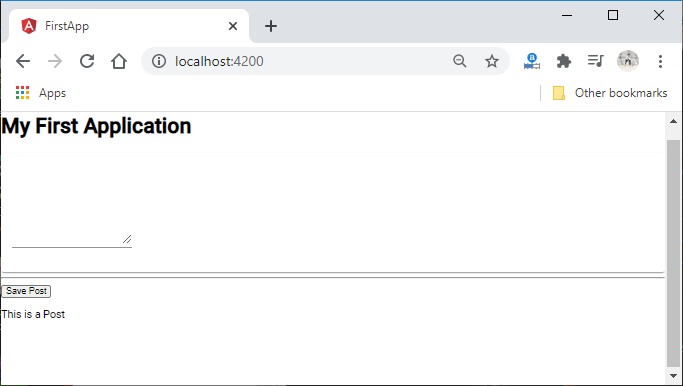
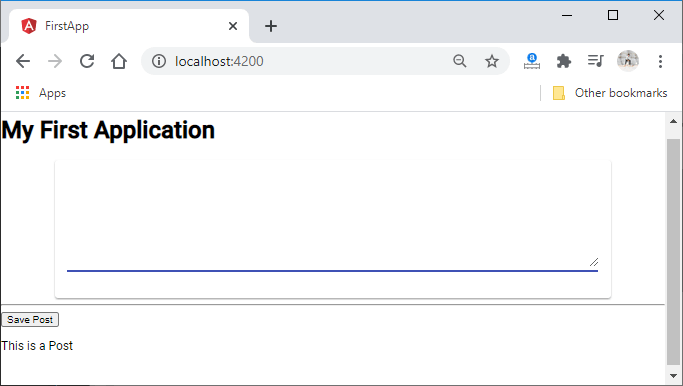
It is also not pretty yet but we will turn it into a prettier component. So, we will use another component from the angular material framework, i.e., MatCardModule.
After that, we will wrap our <mat-form-field></mat-form-field> with <mat-card></mat-card> in the following way:
Now, we run it and it look like as:
Now, we will restrict width by adding some custom styles to it. We will create a new file post-create.component.css and import this via the typescript files.
Now, we will write our own CSS code there in the following way:
Now, we will save it and run it. After running it, our browser screen will look like:
Now, we can see the card here and a bit better. We are also not happy with our text area. So, we will also write a style sheet code for this in the following way:
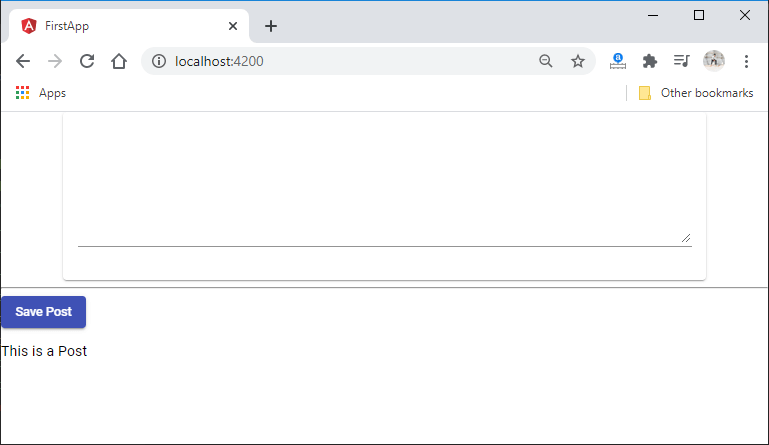
Now, we will style the button in the same way as we have done for our text area. We will also use the button provided by the angular material. We will add the MatButtonModule in the “imports” array present in the app.module.ts file by importing it from the angular material.
Now, we will use it in our post-create.component.html file by adding the following line of code:
We used mat-raised-button, but you can use any type of button available in the angular material. We can also add a color property to it. We set the primary color to it in the following way:
Now, we will save it and run it on the browser and see our application with a styling button as:
In the next section, we will learn how we can create a toolbar using angular.