Ionic Installation
In this section, we are going to learn how to set up an environment for the successful development of the Ionic application.
Pre-requisite for Ionic
- Node.js and NPM
- Code Editor
- Ionic CLI
Install Node.js and NPM
Node.js and NPM are the base platforms need to develop the Ionic application. You can install Node.js and NPM package manager by the link given below.
Install Node.js on Windows: Click Here
Install Node.js on Linux: Click Here
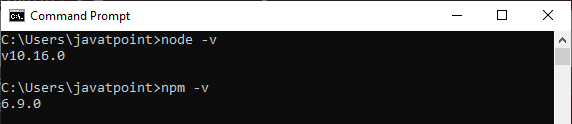
To verify Node.js and NPM, use the following command as shown in the below image.
Code Editor
VS Code editor is the best code editor to create the Ionic Applications. It is a popular and free text editor made by Microsoft.
You can download and install the VS Code Click Here
There are many other code editors available to create the Ionic application, such as
- Ionic Studio: It is the fastest and easiest way to create Ionic apps.
- Atom: It is a hackable text editor developed by the GitHub.
- WebStorm: It is a powerful non-free editor developed by the JetBrains.
Ionic CLI
We can create and develop an Ionic application through the Ionic Command Line Utility. The Ionic CLI is a preferred method for installing Ionic. It is the main tool for running the app and connect it to other services, such as Ionic AppFlow.
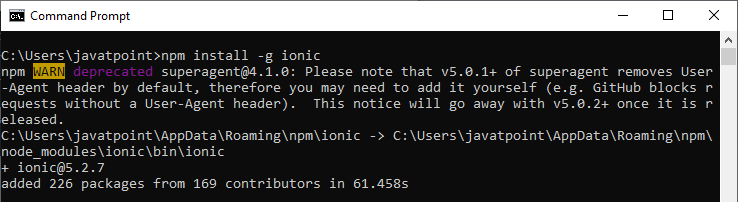
To install the Ionic CLI globally with the NPM, enter the following command in the terminal window.
When the Ionic is successfully installed on your system, you will get the following screen.
Create App
After the successful installation, you can build the Ionic app. To create an Ionic app, you need to navigate the location where you want to store the app. Therefore, first, go to the terminal window and execute the following command.
Whenever you run the above command, it will ask you to write the Project name. Now, enter the name of your project and press enter. You will get the following screen.
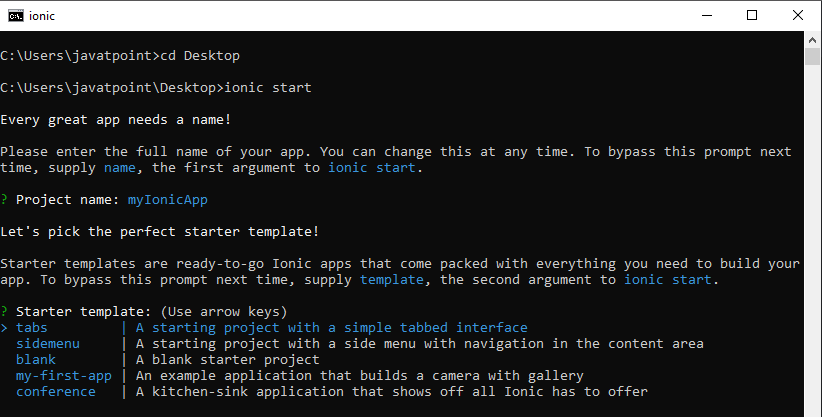
In this screen, you will see the different types of templates. Here, you can choose any template according to your need. We can learn about the different types of the template as follows:
Tabs App
If you choose the tabs template, the Ionic app contains the tab menu, header, and a couple of useful screens and functionalities. It is the default Ionic template. The following command creates the tabs app.
Side Menu App
If you choose the side menu template, it just adds the side menu with navigation in the content area of your app. The following command creates the sidemenu app.
Blank App
It is a blank starter project or an empty project. The following command creates the blank app.
First Ionic App
Here, we are going to start the project with the blank template. To start the blank Ionic app, execute the following command in the terminal window. It will install all your required dependencies like Angular or Ionic dependencies.
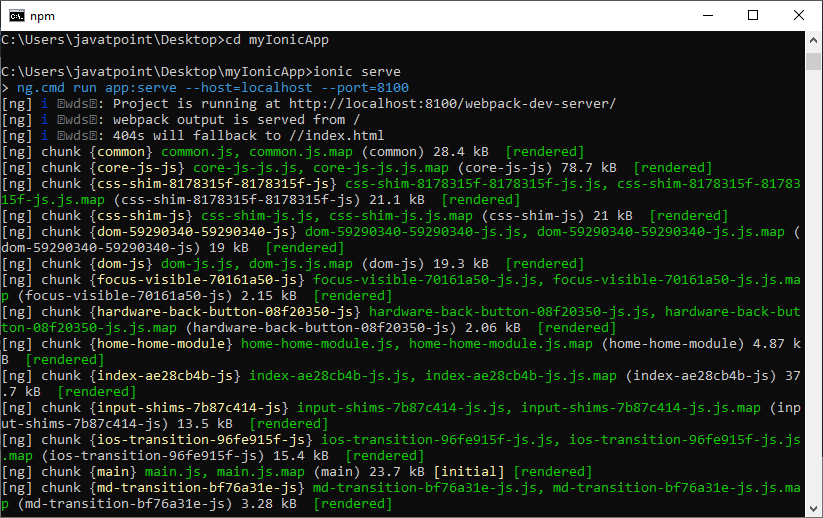
Now, you need to navigate to your newly created project and run it with the following command.
When you run the above command, your terminal window looks like the below image.
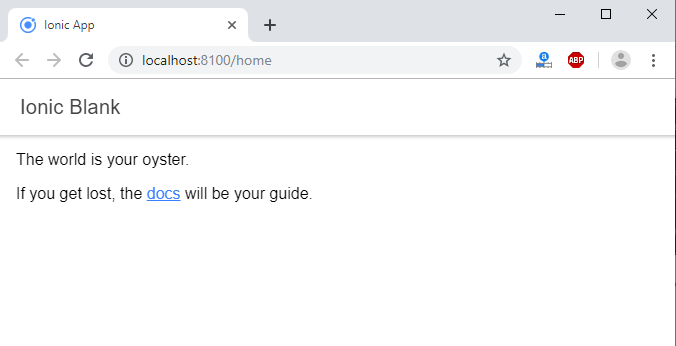
After completing all the steps, you will get the output in the browser, which you can see in the below image.
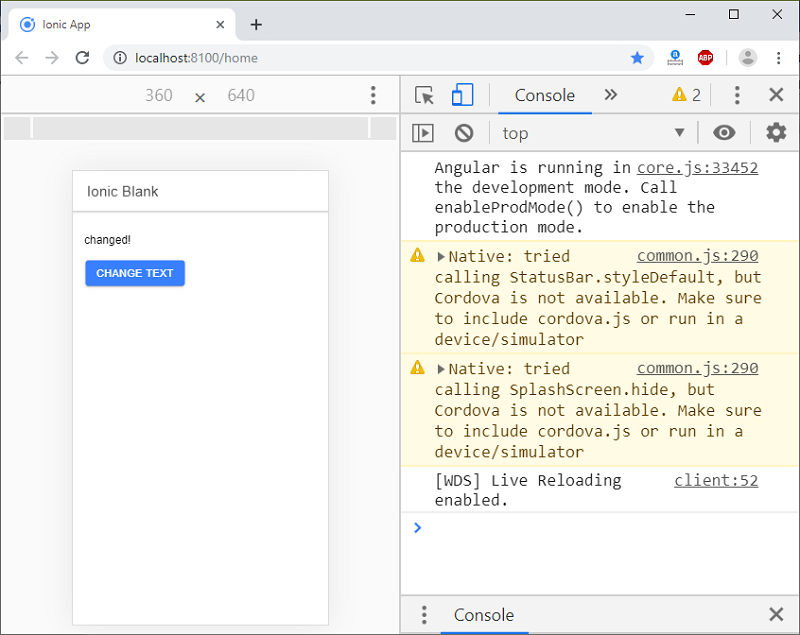
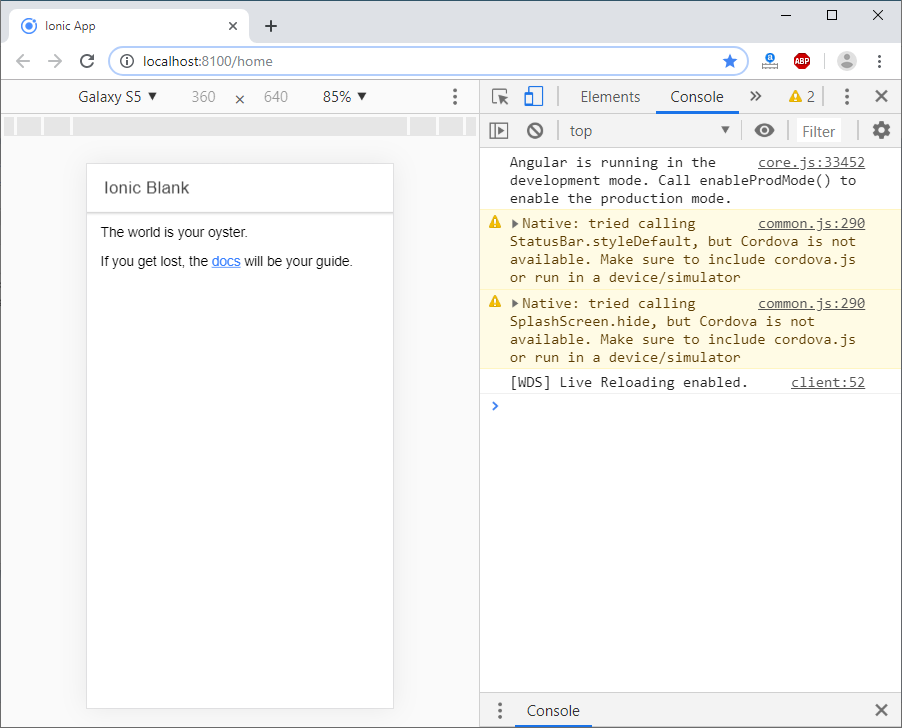
Now, open the chrome developer tools or press ctrl+shift+I. In this tool, when you click on the toggle device toolbar, you will get the following screen.
Next, if you want to change anything or modifying anything in the app, you need to have a code editor or IDE to write the code. Here, we are going to use Visual Studio Code Editor, which is a free IDE for web development.
Open Project in VS Code
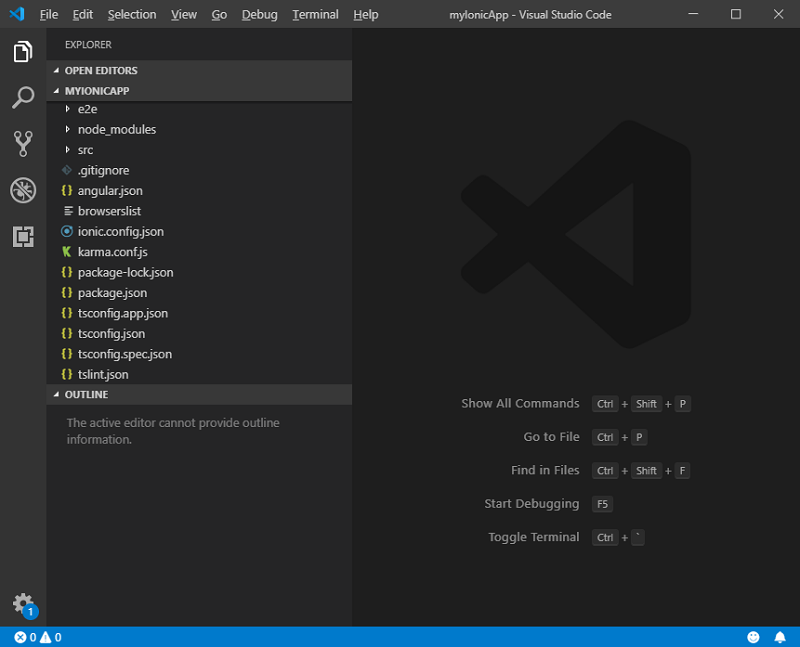
Open the Visual Studio Code Editor, go to the menu bar and click on File->Open Folder and then select your project. Inside Visual Studio Code, the following screen appears.
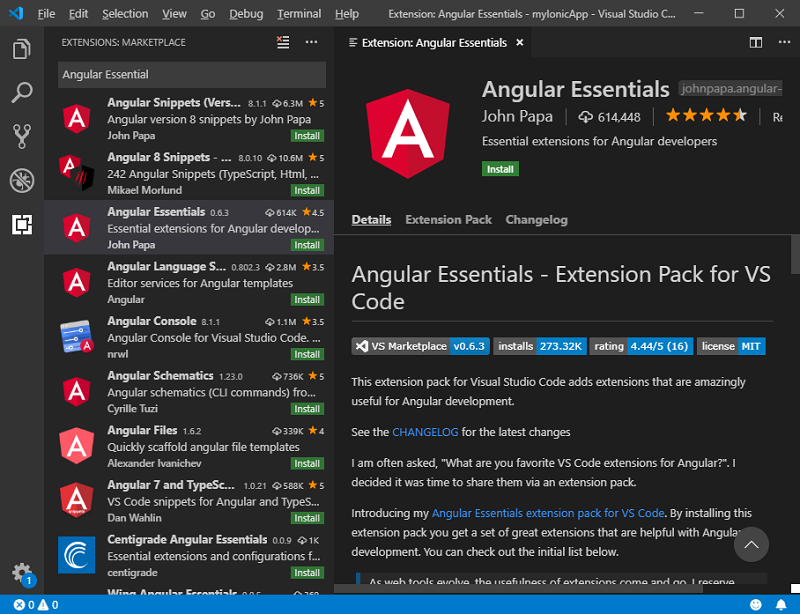
Install Angular Essential Extension
To install Angular Essential Extension, Go to View->Extensions or Press ctrl+shift+x. Now type the Angular Essential in the search box, you will get the following screen in visual studio editor. Click Install.
After completing the installation, go to the Project Explorer, which appears on the left side of the visual studio code editor. Now, open the home.page.html file and write the following code.
Next, open the home.page.ts file and write the following code.
Now, save the file and run the project in the terminal. You will get the following output in your browser window.
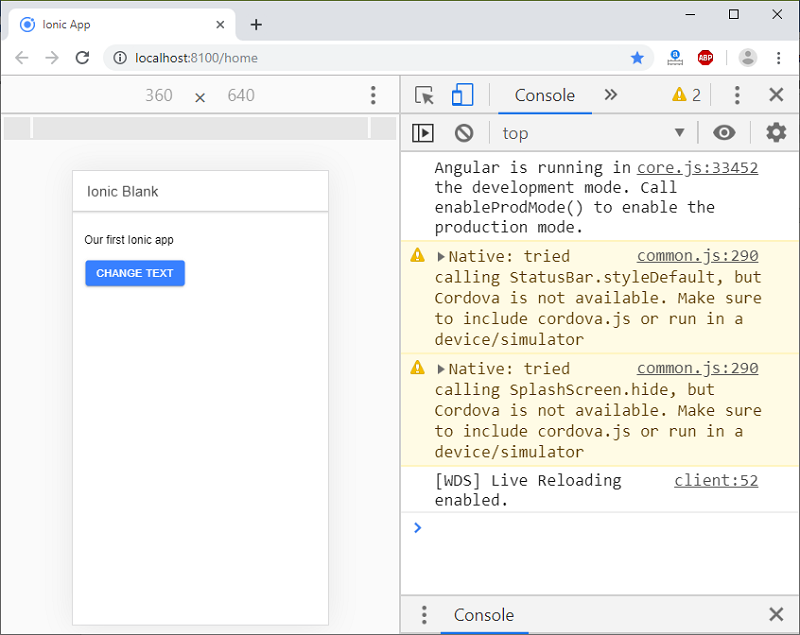
When you click on the CHANGE TEXT button, it looks like the below image.