Ionic List
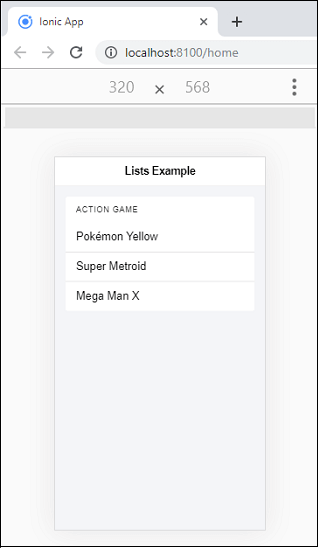
Lists are the most popular elements of any web or mobile application. They are made up of multiple rows of items which includes text, buttons, toggles, icons, thumbnails, and many more. We can use it for displaying various information such as menus, tabs, or to break the monotony of pure text files.
The Ionic lists usually contain items with similar data content, such as images and text. It supports several interactions, including swiping items, dragging to reorder items within the list, and deleting items. We can access the lists by using a standard <ion-list></ion-list> element.
Creating Lists
We can create lists by using the following syntax.
The Ionic framework provides different types of lists, which are as follows.
- List Headers
- Inset List
- Icon List
- List Dividers
- Avatar List
- Thumbnail List
- Sliding List
- Multi-line List
List Header
Each list can include a header at the top of the list. We can include a list header by using the <ion-list-header> element.
Inset List
The Ionic lists don’t contain an outside margin by default. When you need a list to fill your own container, you can add the inset attribute to the <ion-list> component. The inset attribute adds some margin to it and adjusts the list size to your container.
Example
In the below example, we can understand how <list header> and inset works with <ion-list> element.
Output
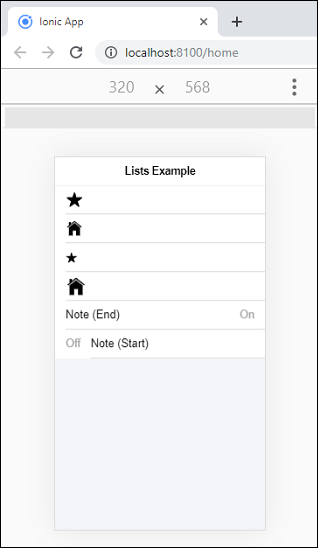
List Icon
Adding icons to the list provides a hint about the content of each item. We can also set the size of the icon, either small or large. By default, the size of the icon is small, but it can be made larger with the large attribute. Finally, there is the <ion-note> element which is a text element used as subtitles that provide more information. It is used in an item as a metadata text.
Example
Output
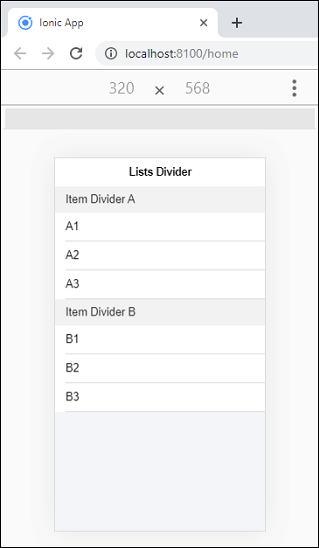
Item Divider
List divider is used for organizing the elements into logical groups. Ionic gives us the <ion-item-divider> elements to separate items in a list. They are similar to list headers, but there is no need to place it at the top of a list. It should be placed in between groups of like items.
Example
Output
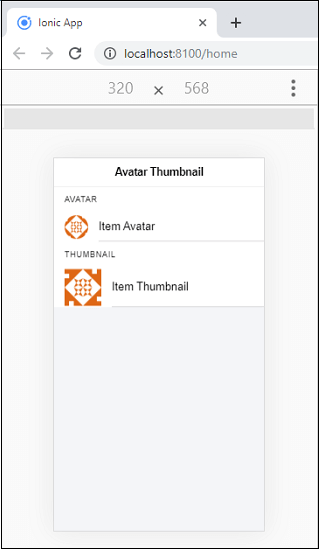
Item Avatars and Thumbnails
Avatars and thumbnails both are used for adding images. The main difference is that avatars images are larger than an icon but smaller than thumbnails.
Avatar usually a circular component that wraps an image or icon. It can be used to represent a person or an object. We can add an avatar by using a <ion-avatar> component inside of an item. If we put avatar inside of an <ion-item>, then it will resize to fit the parent component. We can position avatar either left or right side of an item by setting the slot to start or end respectively.
Thumbnail usually a square component that wraps an image or icon. It can be used to display a group of larger images or provide a preview of the full-size image. We can add thumbnail by using a <ion-thumbnail> component inside of an item. If we put thumbnail inside of an <ion-item>, then it will resize to fit the parent component. We can position thumbnail either left or right side of an item by setting the slot to start or end respectively.
Example
Output
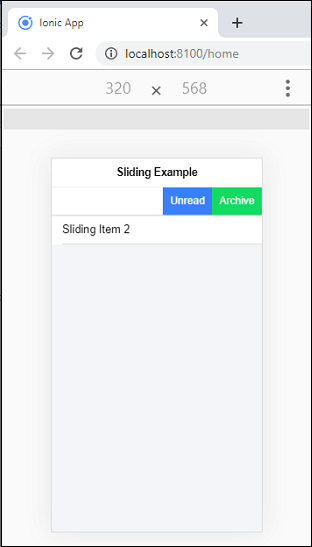
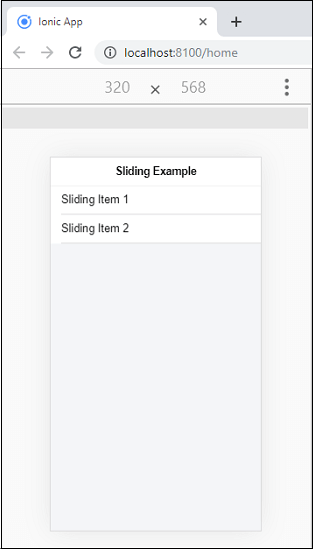
Sliding List
A sliding item contains an item that can be swiped to the left or right to reveal a hidden set of buttons. We can use a sliding item by adding the <ion-item-sliding> component inside of an <ion-list> component. Next, we need to add the <ion-item-options> component inside of the sliding item to contain the buttons.
Swipe Direction: By default, the buttons are on the right side (end). It means the options are revealed when the sliding item is swiped from right to left (end to start). If you need to swipe the option from left to right (start to end), set the side attribute to “start” on the <ion-item-options> element.
Example
Let us see how item- sliding works with Ionic Lists in the following example. This example contains two items which are Sliding Item 1 and Sliding Item 2. The first item slides from right to left and the second item slide from left to right.
Output
When you execute the above Ionic app, it will give the following output.
Next, swipe the sliding item 1 from right to left. The following output appears in your browser.