Ionic Loading
Loading creates an overlay that can be used to block other user interactions. The loading indicator appears on top of the content area. It can be dismissed by the app to resume user interaction with the app. We can show a loader visual indication when some process is going on, such as getting data from server or file copy, paste events, etc. The loader is very useful in the application. It makes the application more convenient from the user’s point of view.
The Ionic loader also allows us to use the message parameter to show a message which indicates the process is going on. It also includes an optional backdrop, which can be disabled by setting the property showBackdrop: false upon creation.
The Ionic loading has two methods: create and dismiss, which return promises as a callback. Let us understand these methods one by one.
Create
The visual loading indicator is created by using a Loading Controller. We can define various loading options in the loading controller create() method. The custom spinner name should be passed in the spinner option of the Ionic loading.
Dismiss
This method is used to hide the loader. It can be dismissed automatically after a specific amount of time by passing in the duration of the loading option. If the time duration option is not added in the create method, then you need to call the dismiss method to hide the loader. It also calls the onDidDismiss function for performing an action after the loading indicator is dismissed.
We can understand these methods in the following example.
In some situations, we may need to have a separate show and hide methods like in server API call. We can see these methods in the following example.
The Ionic loader has the following options.
- Message: This option contains the text to show on the loader with a spinner.
- Duration: This option is used to give the time duration in milliseconds to auto-hide the loader.
- Spinner: This option is used to change the default spinner style.
- backDropDismiss: If it is true, the user can dismiss loader by tapping anywhere.
Let us see how the loading component works in the Ionic application from the following example.
Home.page.html
It is the HTML file that is responsible for the user interface. In this file, we are going to create an event for displaying the loading controller. For this, we need to create a button inside the <ion-content> area so that the user clicks on the button in response to which we will display the loading controller.
When the user clicks on the button, it will invoke a function. This function contains a code to display the loading controller to the user for five seconds, and after five seconds, the loading controller will be dismissed. Now, go to the home.page.ts file to create this function.
Home.page.ts
If you want to use a loading component, first import the loading controller. Then, you need to create a constructor inside the class because it is required to inject the loading controller inside the class. Now, create a showLoading() function to display the loading controller to the user. Inside the function, we have to pass the JSON object that defines how the loading controller will look like.
Next, we need to create a dismiss function to dismiss the loading controller and set the timeout function to the time duration of the dismissing of the loading controller.
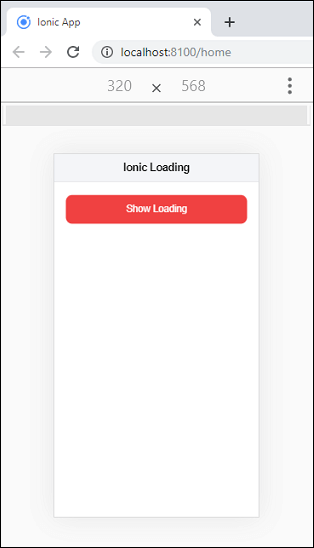
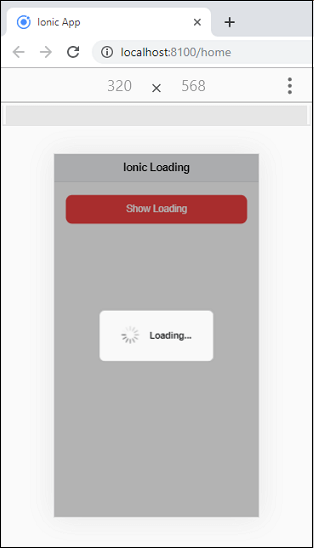
Output:
When you execute the above Ionic application, it will display the following screen.
Now, when you click on the show loading button, it will start showing the loading indication. After five seconds, it will be disappeared.
We can also write the above function in another way by using the await and async. The following code explains this easily.
We can also add other JSON properties as below.