SoapUI REST Web Service
REST is a REpresentational State Transfer. It is a lightweight software architecture style specially designed for network application and uses a standard protocol to communicate with the client-server system to send or receive a response. It is known as RESTful web service, which is related to HTTP protocol. The RESTful web service generally uses a URI (Uniform Resource Identifier) service that provides a resource representation and a set of HTTP methods like GET, PUT, POST and DELETE. These HTTP methods are used with any message format such as JSON, XML, and CSV so that a request is sent to the server, and then the server generates a response to that request.
What is WADL?
The Web Application Description Language (WADL) is a machine-readable XML language that works on HTTP based web service. The aim of the WADL is simple to reuse the web services that are built on the current HTTP infrastructure of the Web. WADL is a platform and language independent that promotes applications beyond interaction with original usage in web browsers.
Create a REST Project in SoapUI
To create a new REST project in the SoapUI application and then follow the instruction to proceed with the project.
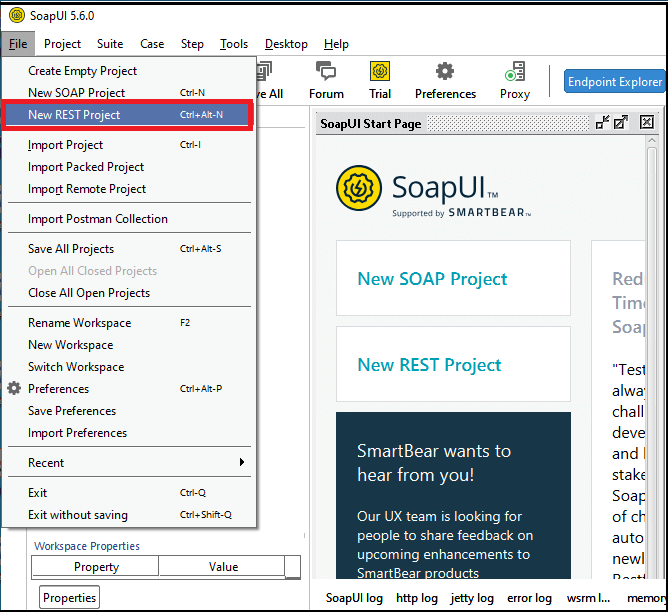
Step 1: Go to the File menu button and click the New REST Project option, as shown below.
Or we can create a new REST project by simply clicking in the REST option, as shown below.

Step 2: After clicking on the REST Option, it shows a dialog box for New REST Project.
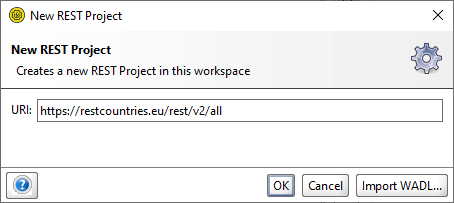
Here is the WADL URI:
After inserting the WADL URI, click the OK button to display the REST project, as shown below.
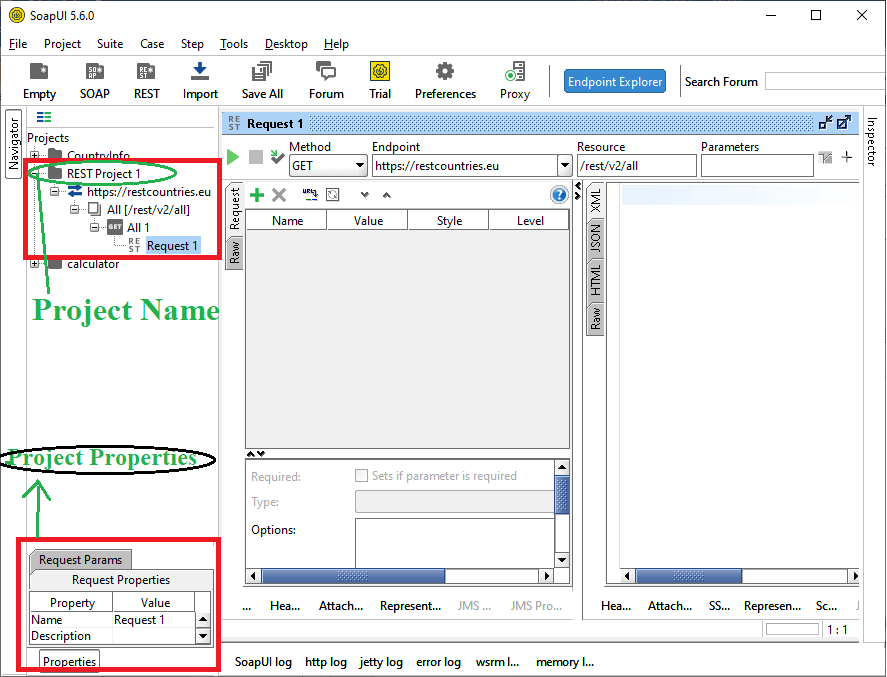
In the above image, the Request 1 window will open to the right side, and the REST Project that contains Request 1 is on the left pane.
Exploring the WADL
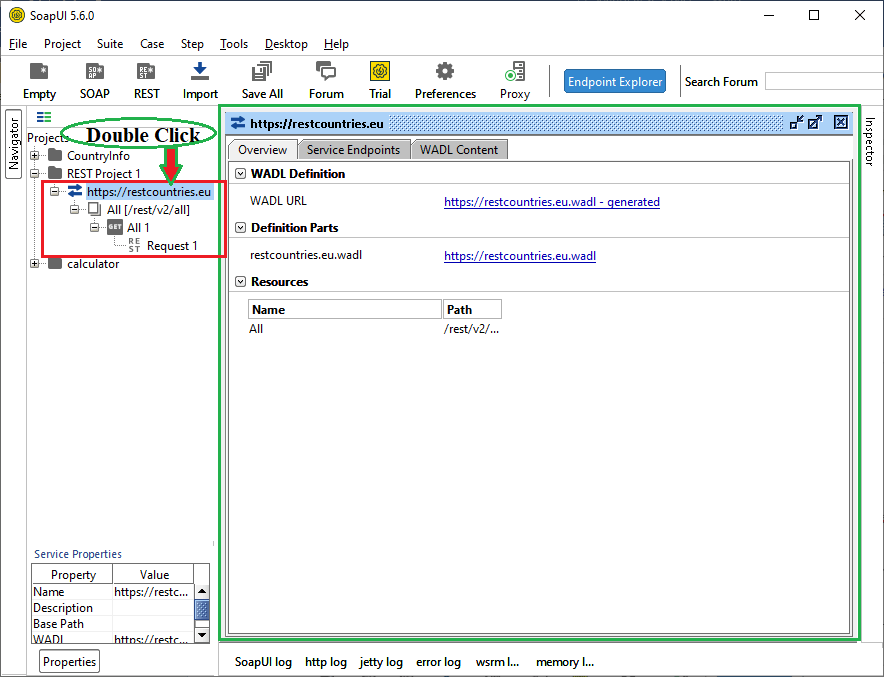
We can locate the WADL service by double-clicking on the REST service, it opens the Overview wizard of the WADL service, as shown below.
Step 1: Click on the Service Endpoints tab.
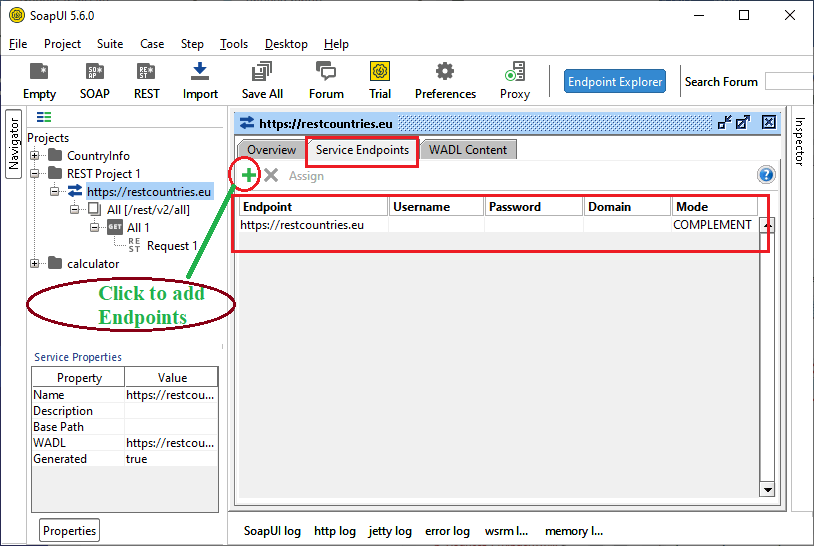
The service endpoint is used to provide the WADL URI endpoint. Also, we can define more than one endpoint for a WADL service that needs authentication.
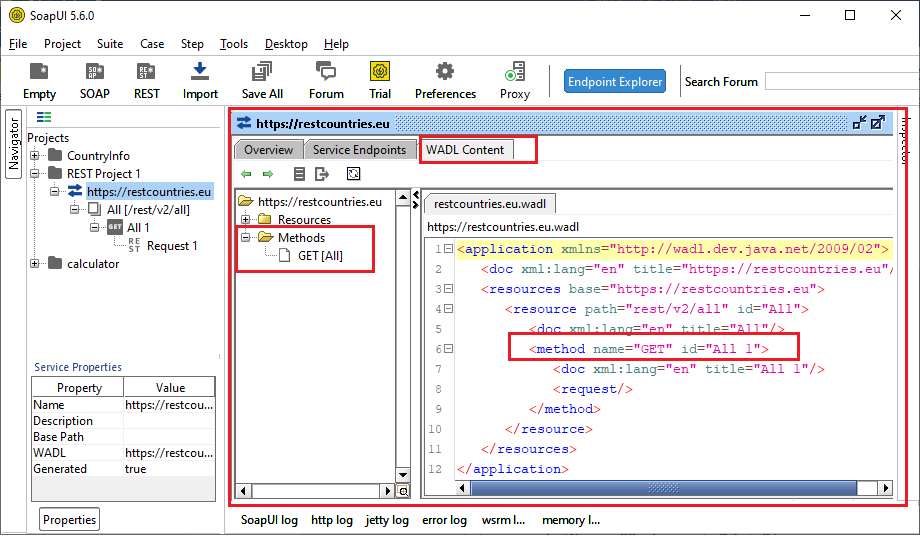
Step 2: Click to the WADL Content to get the REST Service’ imported elements, as shown below.
Add TestSuite in a REST Service
For adding the Test suites in the REST Service, we have to follows the following steps in the REST project.
Step 1: We can create the test suite in two ways:
1. Right-click on ‘REST Project 1’ and then select New Test Suite to display the dialog box, as shown below.
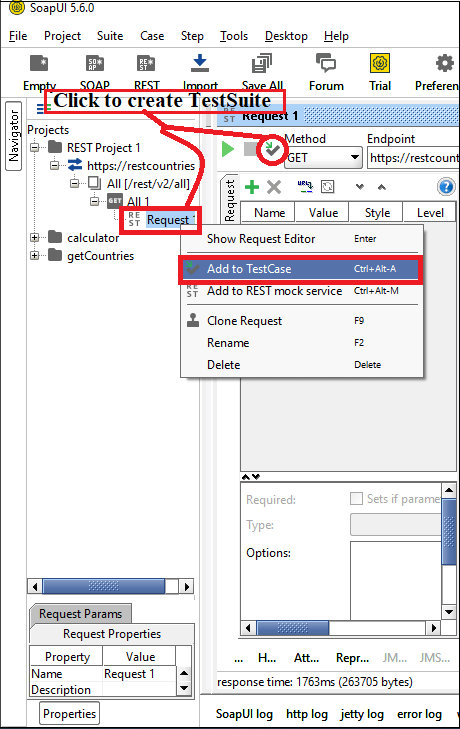
2. Or we can directly create a test suite by right-clicking on the Rest Request and then click on Add to Testcase Service, as shown below.
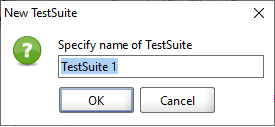
After selecting the Test Case, it shows a test suite’s dialog box, as shown below.
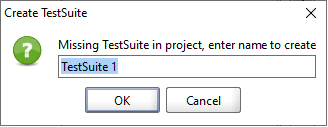
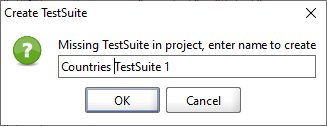
Step 2: Provide the name for creating the TestSuite and click on the OK button. We have provided the TestSuite name Countries TestSuite 1.
Step 3: As the OK button is pressed, it shows a dialog box for providing the TestCase name, as shown below.
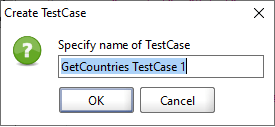
Here, we specified the name of TestCase as ‘GetCountries TestCase 1’ and then clicked the OK button.
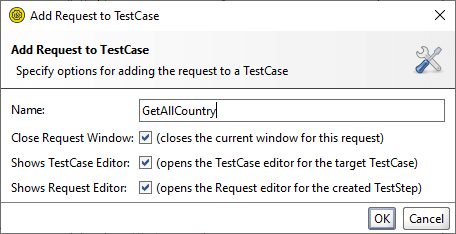
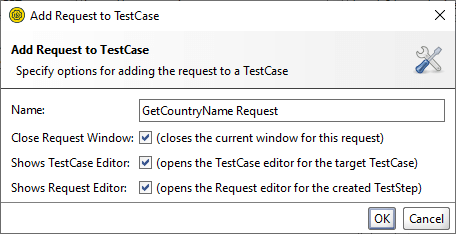
Step 4: After clicking the OK button, it shows a dialog box to Add Request to a TestCase, as given below.
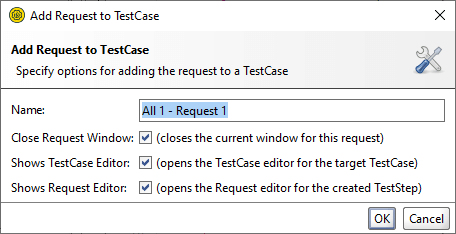
Here, we have provided the TestCase name as ‘GetAllCountry’, as the given image shows.
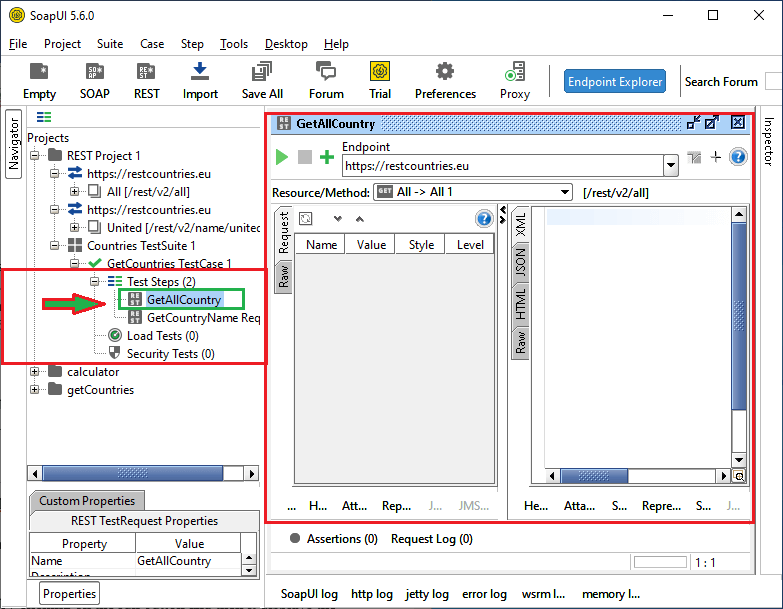
Step 5: After Specifying the name for the TestCase Request. Click the OK button to create a new window, as shown in the below image.

As the above image represents, the GetAllCountry request is on the Navigator bar’s left pane, and the UI for the GetAllCountry is on the Right pane.
Create REST Service at run time in a SoapUI
Similarly, we can add the REST URI, TestSuite, TestCase and the Request for the Test Case at the run time in a REST project of the SoapUI, as shown below.
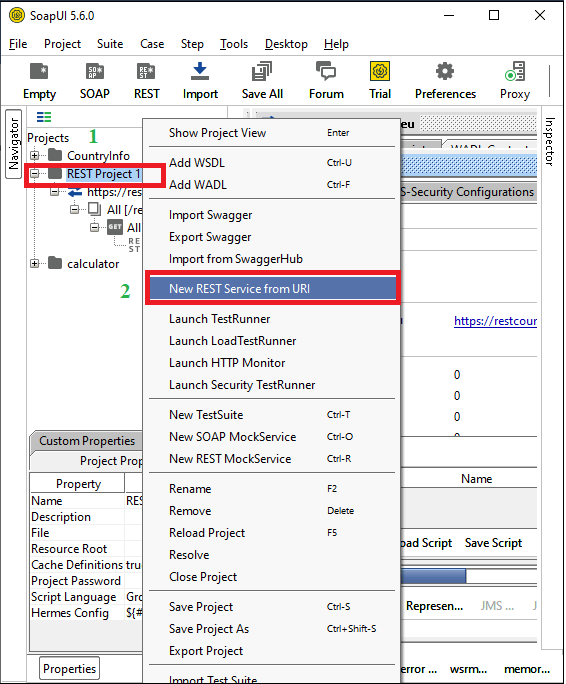
Step 1: Right-click on the REST Project 1, and then select the New Rest Service from URI.
As we click on the New Rest Service from URI, it shows a pop-up dialog box to enter the REST URI. Here is the REST URI for getting the country by name.
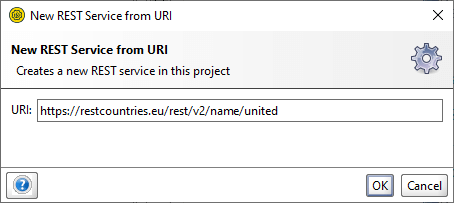
After inserting the URI, click the OK Button, and it shows the image below for the new service.

Request 1 window will be open to the right side in the above image, and the REST Project containing Request 1 is on the left pane.
Step 2: Now, we create TestSuite, Test Cases and Request for a RESTService.
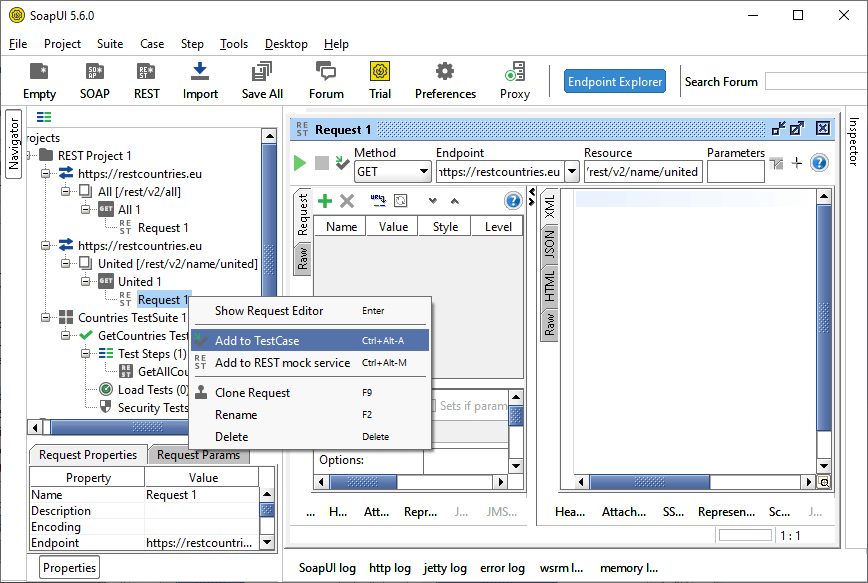
For TestSuite: Right Click on Request 1 and then select the Add to TestCase, as shown below.
As we select Add to TestCase, it shows a dialog for defining the TestCase inside the TestSuite, as shown:
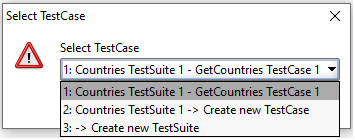
The above dialog box represents whether we are going to create a request inside the Countries TestSuite 1 and the Get Countries TestCase 1, or we are going to create a request inside the Countries TestSuite 1 but with new TestCase or with creating new TestSuite.
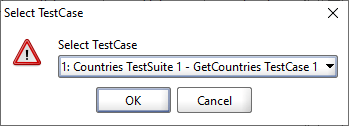
Here, we have selected ‘Countries TestSuite 1- GetCountries TestCase1’ and click the OK button.
Step 3: On clicking the OK button, it shows Add Request to TestCase and then enters the request’s name.
Step 4: Click the OK button.

As the above image represents, the GetCountryNameRequest is on the Navigator bar’s left pane, and the UI for the GetCountryNameRequest is on the Right pane.
Execution of the REST Test Structure in a SoapUI
Now we will learn how to execute test steps request, test case and the test suite for the REST Project in a SoapUI.
Test Steps Request:
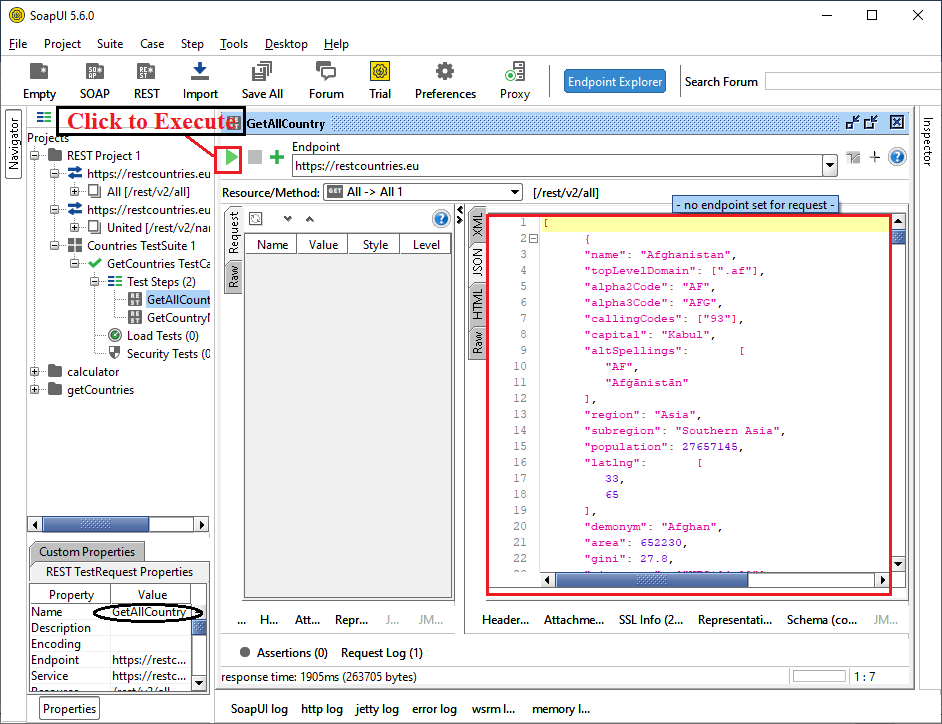
1. GetAllCountry: When we execute the Test Steps for GetAllCountry request, it shows all countries’ list with additional details.
Step 1: For executing the Request, we must to select the GetAllCountry Request from the Test steps and then double click on it, as shown below.
Step 2: Run the request by clicking on the green color run button, and then it displays the list of the countries with additional details, as shown in the below image.
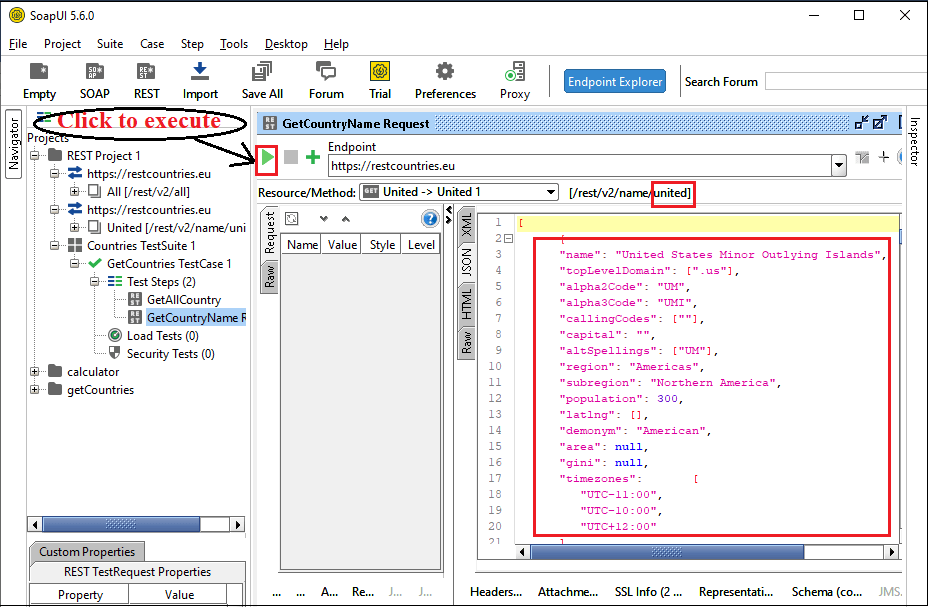
2. GetCountryName Request: Like the GetAllCountry Request, we must execute the GetCountryName Request that returns the country’s specific name with additional details.
Step 1: For executing the Request, we must to select the GetCountryName Request from the Test Steps and then double click on it, as shown below.

Step 2: Run the request by clicking on the run icon (triangle in green color), and then it displays the country’s particular name with additional details, as shown below.
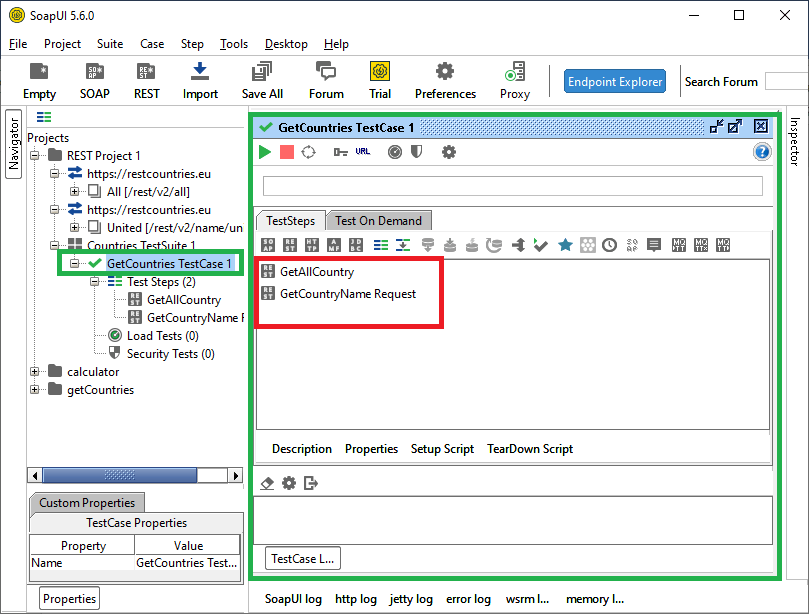
Execute the Test Case
First of all, we have to select the test case and then double click on the selected GetCountries Test Case 1, as shown below.
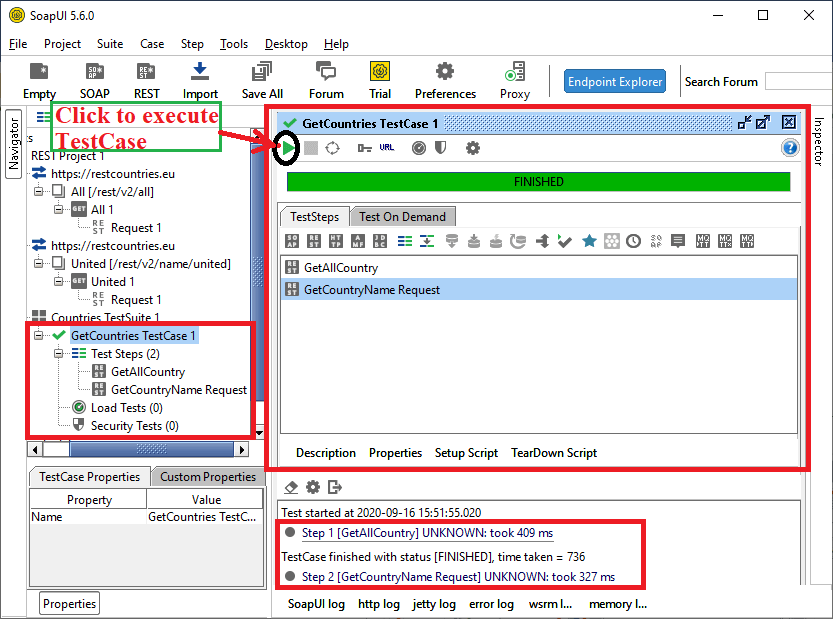
As we click on the Run icon to execute the TestCase, it starts executing the test steps inside the test case, as shown below.
Execute the TestSuite
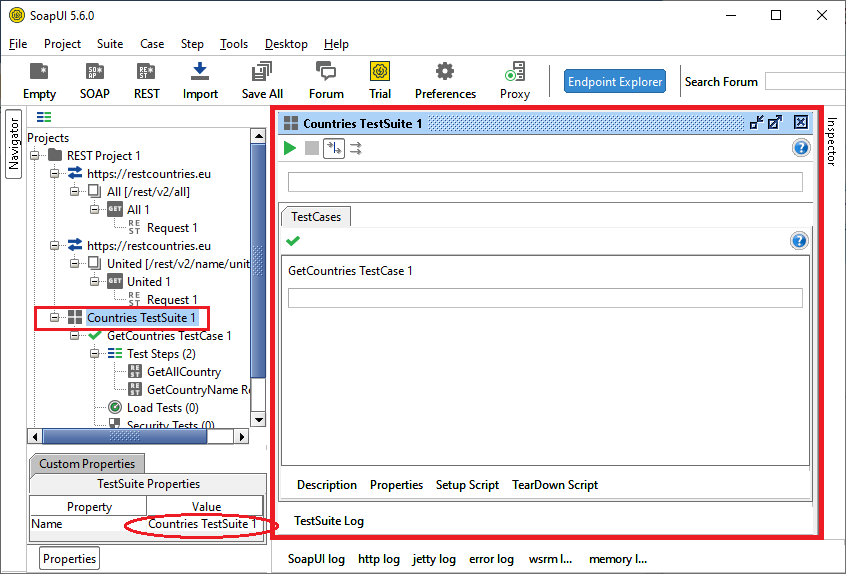
First of all, we have to select the test suite and then double click on the selected Countries TestSuite 1, as shown below.
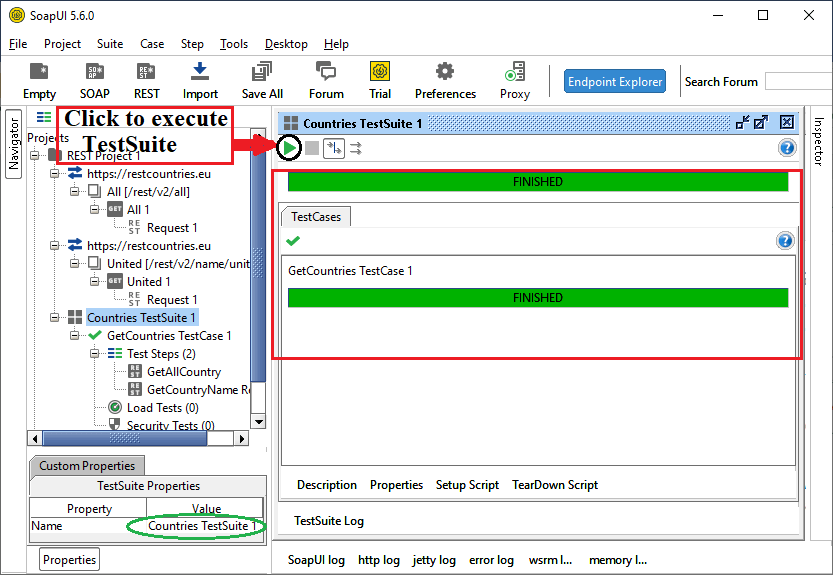
It executes the Countries TestSuite 1 and GetCountries Test Case 1 inside the test suite on clicking the run button, as shown below image.
Assertions
Assertions are the validation rules used to check whether the targeted REST web service works the same way as the expected output. When a user requests the web server, the server receives the request and generates a response. So, we have to validate the response that contains the same data that we expected or not.
To validate whether the particular country name exists in a REST web Service or not, we have to follow the below steps to add the assertion and validate the service request.
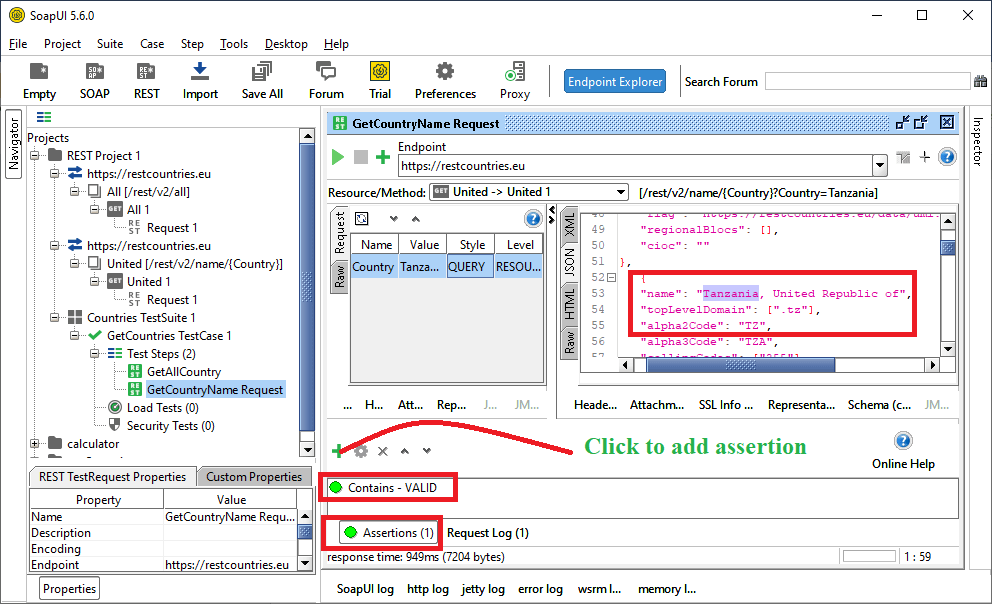
Step 1: Select the GetCountryName request and then click to the (+) icon to add the assertion, as shown below.
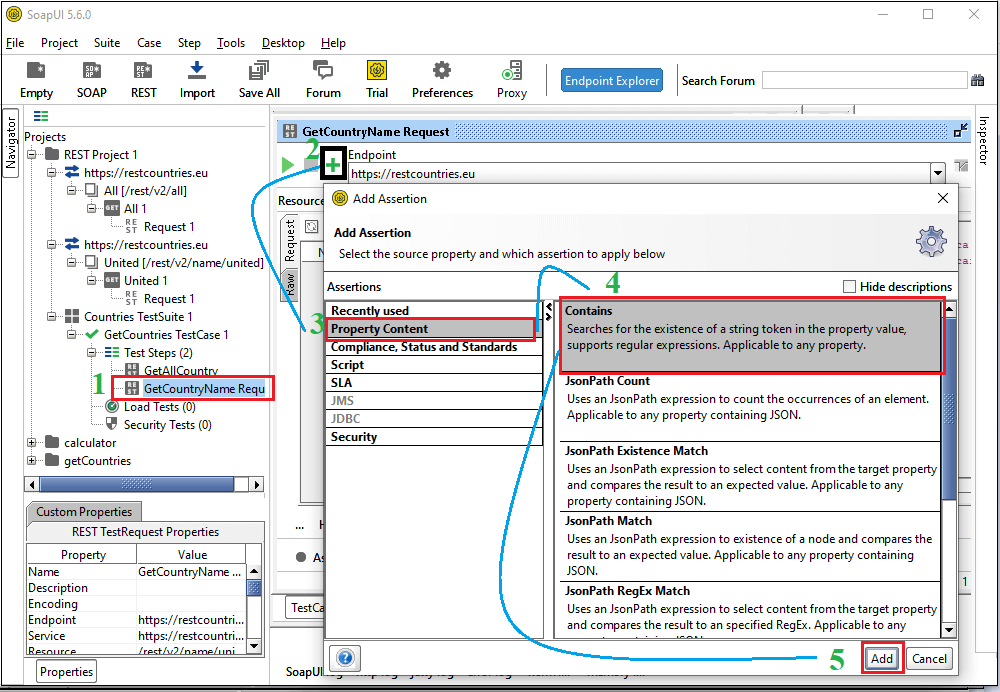
After adding the assertion, it shows a pop-up window, as shown in the above image. Go to the Property Content category and then select the Contains to check whether the string exists or not; click to the Add button to add the Contains assertion.
Contains Assertion: It is used to validate whether the specified string exists in the response xml. It also supports regular expression.
Step 2: As the Add button is clicked, it shows a pop-up dialog box.
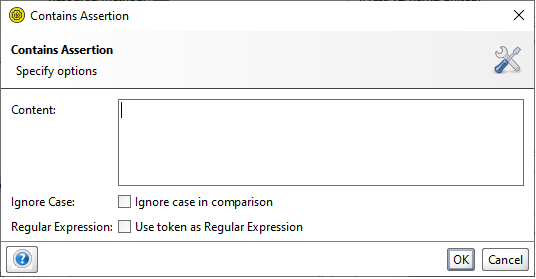
Step 3: Enter the country’s name in a content block to validate whether the particular content exists or not in a REST web service.
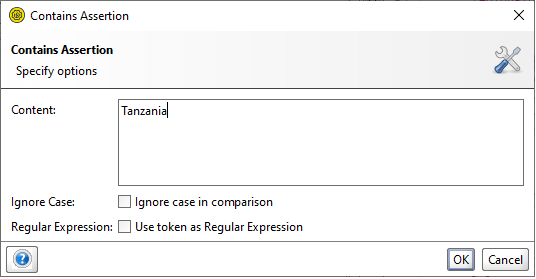
Step 4: After entering the Country’s name, click the OK button to test the validation in a SoapUI tool, as shown below.
Step 5: Now, we again click on the (+) to add the assertion for validating the requesting, as shown below.
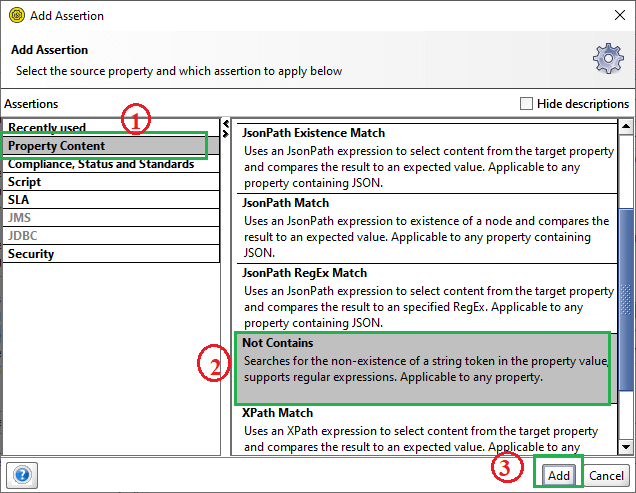
Step 6: Select Not Contains assertion and then click on the add button to provide strings, as shown below.
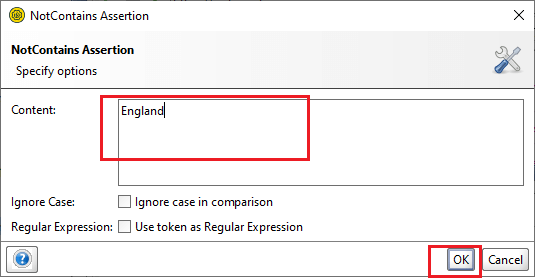
Step 7: After providing the NotContains Assertion name and then click the OK button to test the validation, as shown below.

Similarly, we can add more assertion to test the REST services.