How to Install LAMP (Linux Apache MySQL PHP) on Ubuntu?
Introduction
LAMP is an acronym that used to refer a software suit, which contains Linux operating stem, Apache web server, MySQL database and PHP programming language.
It is also known as LAMP stack and used to developed dynamic web applications.
It is a group of softwares, so, either we can install all the component softwares independently or as a single unit.
In this tutorial, we will install LAMP on Ubuntu, this installation process includes the following steps.
Prerequisites
- Ubuntu
- Terminal
LAMP Installation
1) Install
Open terminal, enter this single command, it will install complete LAMP stack into our system. If any package is present, will be skipped but new packages will be installed.
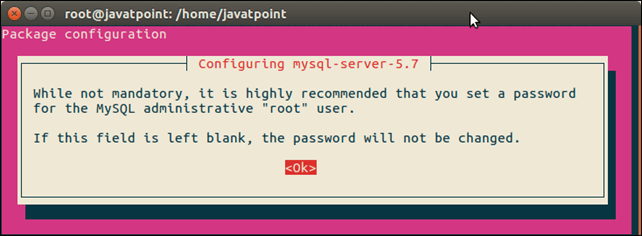
2) MySQL Configuration
During installation, MySQL prompts to configure database credentials. Click OK and proceed.
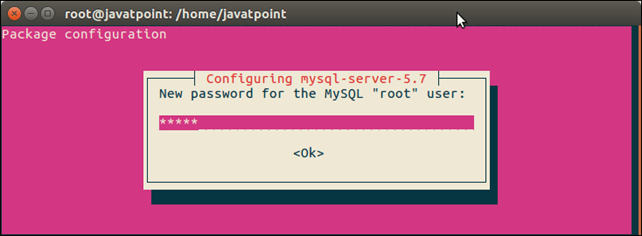
3) Set Password
MySQL prompts for root password. So, enter password and click OK.
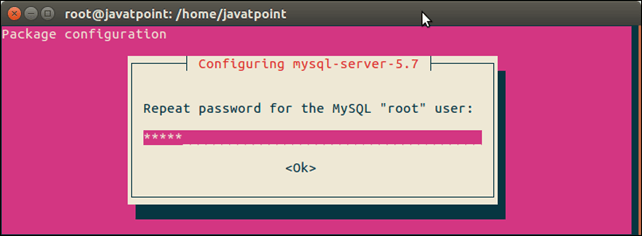
4) Confirm Password
Repeat password to match previous entered password and click Ok.
After setting password, MySQL install its packages and rest of the installation completes successfully.
Test LAMP
Now, we will check that all the software has installed successfully or not.
MySQL
Open terminal, enter following command to login into MySQL.

Well, MySQL monitor is displayed, it means MySQL has installed successfully.
Apache
First start apache, access from the browser by entering localhost. Use this command to start Apache.
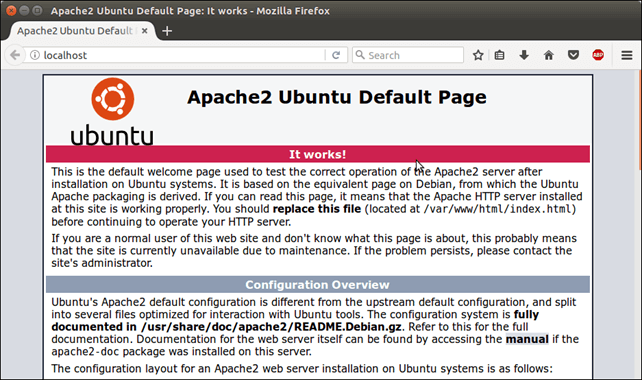
It shows that Apache is working fine and has installed successfully.
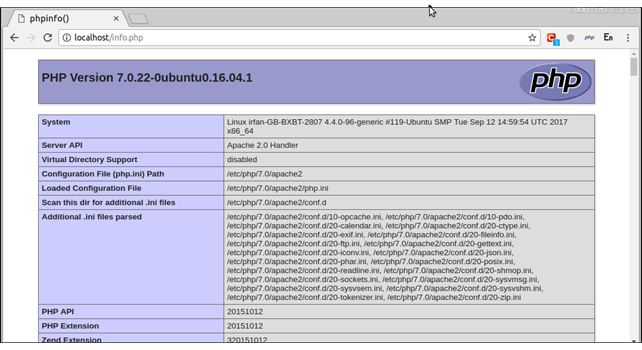
PHP
To check PHP, create a info.php file inside /var/www/html directory. The info.php file contains the following code.
Access this file from the browser using localhost/info.php and it will show the following output.
Well, we have set up LAMP stack successfully in our system.