How to Install MongoDB in Ubuntu 16.04?
Introduction
MongoDB is an open source document oriented database. It is a NoSQL database, designed and developed by MongoDB Inc.
In this tutorial, we will install it in Ubuntu operating system. This whole installation process includes the following steps
1) Check MongoDB
Before installing, first check MongoDB is installed on our machine or not. Use the following command.
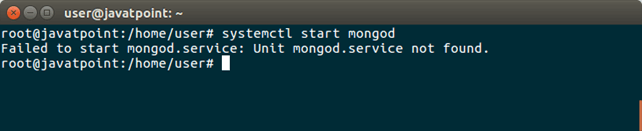
It shows, mongod.service not found. Let’s install it.
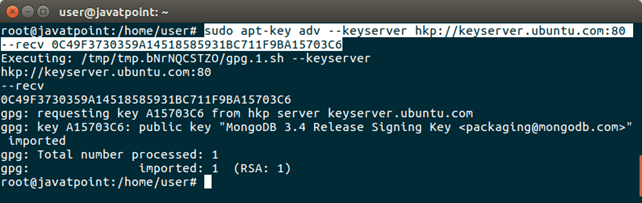
2) Importing Public Key
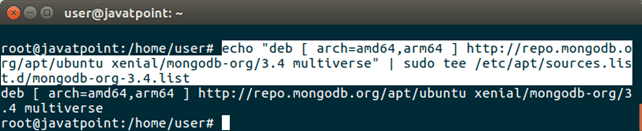
3) Create a List File for the Mongodb
Create a mongodb-org-3.4.list file inside the /etc/apt/sources.list.d location. Use the following command.
4) Update the Local Package
Use the following command to reload the local package database.
5) Install MongoDB Package
Use the following to install latest version of mongodb.
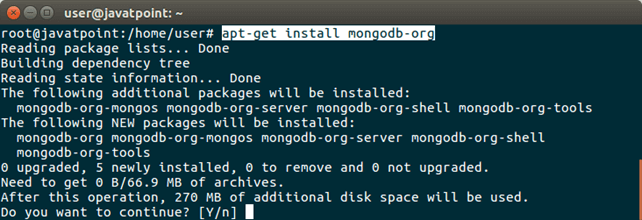
type ‘y’ and press enter, it will download and install mongodb into our system.
6) Start MongoDB
Use the following command to start mongodb service.
7) Check MongoDB Running
Use the following command to check running status of mongodb.
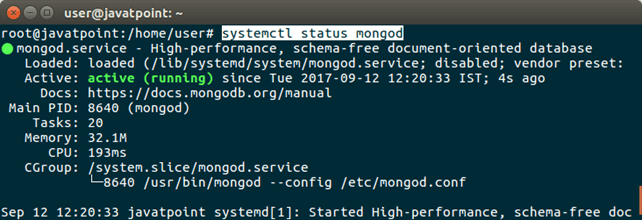
Well, mongoDB has installed and running successfully. For further assistant, see the bottom section.
Extra Info
The following commands can be used to manage mongodb service.
Start mongodb
Execute the following command to start mongodb.
Stop mongodb
Execute the following command to stop mongodb.
Restart mongodb
Execute the following command to restart mongodb.
Mongodb status
Execute the following command to check status of mongodb.
Remove Mongodb
Execute the following command to remove mongodb packages.
Remove Data Directories
Execute the following command to remove log directories of mongodb.