How to Install Apache OpenOffice on Ubuntu?
Introduction
Apache OpenOffice is a software suite. This suite contains various useful tools like word processor, spreadsheet, database management etc. It is similar like other popular editors LibreOffice and NeoOffice.
It was developed by Apache Software Foundation and first released on May, 2012.
In this tutorial, we will install Apache OpenOffice on Ubuntu operating system. This installation process includes the following steps.
Prerequisites
- Ubuntu
- Java
- GNOME 2.10
- Login as root in terminal
Note – Remove LibreOffice, if installed, to install Apache OpenOffice on the same Ubuntu OS.
Apache OpenOffice Installation
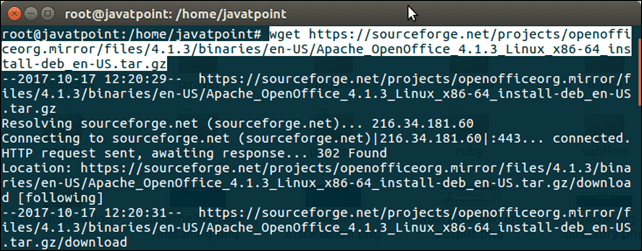
1) Download Apache OpenOffice
Use this command to download archive from the official site, it will store to the current directory location.
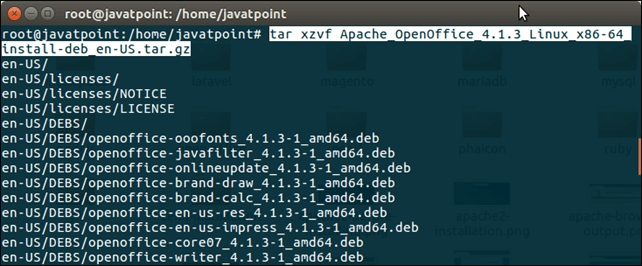
2) Extract Archive
Use this command to extract the archive that we downloaded in previous step.
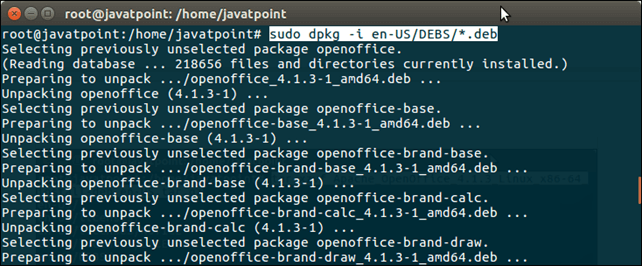
3) Install
This command is used to execute Apache OpenOffice setup.
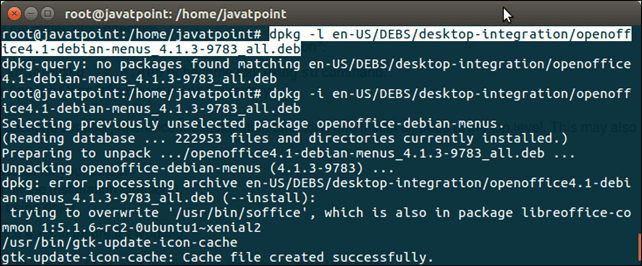
4) OpenOffice Desktop Integration
After installation, create desktop integration to make it accessible.
5) Run / Open OpenOffice
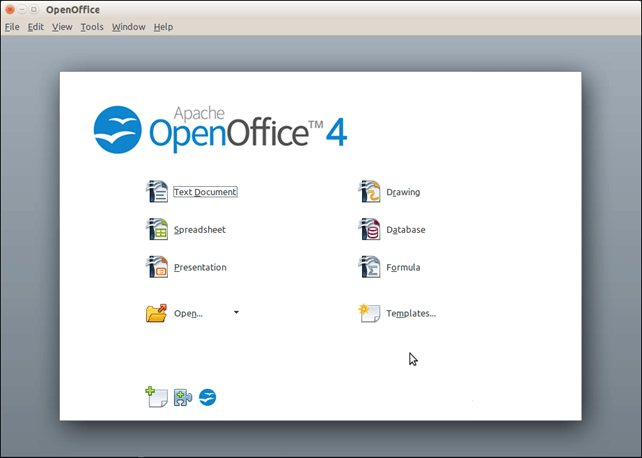
We can open OpenOffice by executing this command from the terminal. It will show a home page that is shown below.
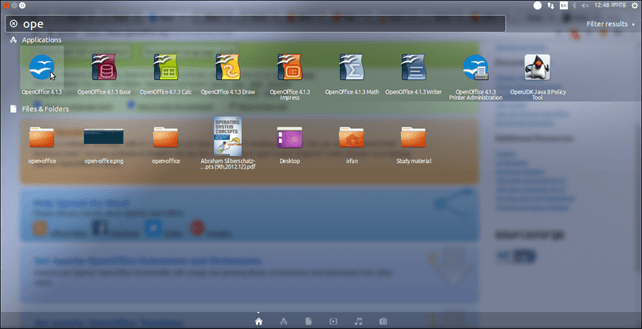
Alternatively, we can also open it from the application manager by searching, as we did in this screen-shot.
Well, we have installed Apache OpenOffice successfully in our Ubuntu operating system. Now, we can use to manage our office tasks.