How to Install PhpMyAdmin in Ubuntu 16.04?
Introduction
phpMyAdmin is a administration tool to handle MySQL database. It was created to provide a user interface so that database can be managed easily.
In this tutorial, we are installing and phpMyAdmin. Installation process includes the following steps.
1) Check phpMyAdmin
First check, is phpMyAdmin already installed by using localhost/phpmyadmin on the browser.
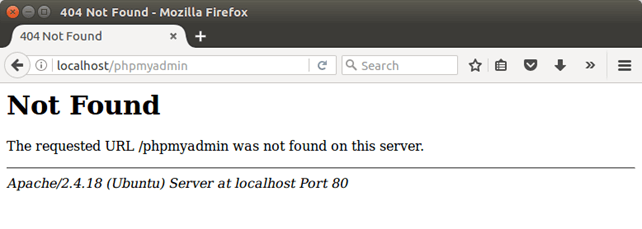
It displays Not Found message, it means phpMyAdmin is not installed. Now, lets install it.
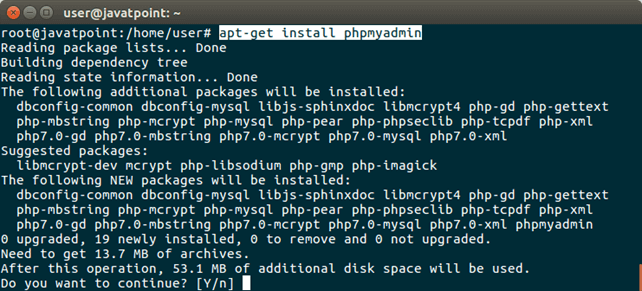
2) Install phpMyAdmin
Use the following command to the terminal.
3) Configure with Apache Web Server
During installation, it will prompt to configure phpMyAdmin with web server. Select apache2 and
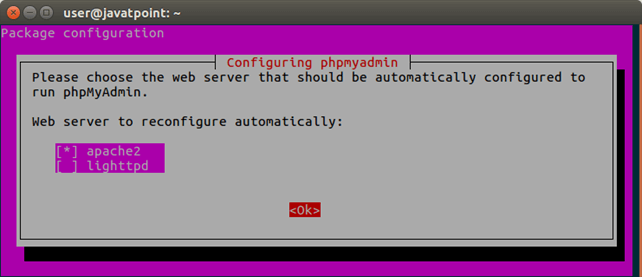
click Ok.
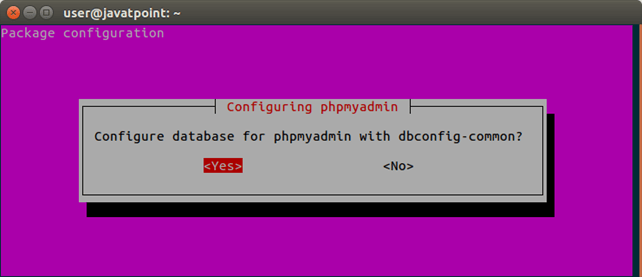
4) Configure Database MySQL
Click Ok to configure phpMyAdmin with MySQL.
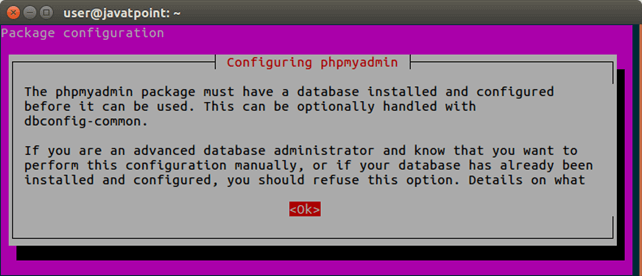
After clicking Ok, it asks for configure using dbconfig-common tool.
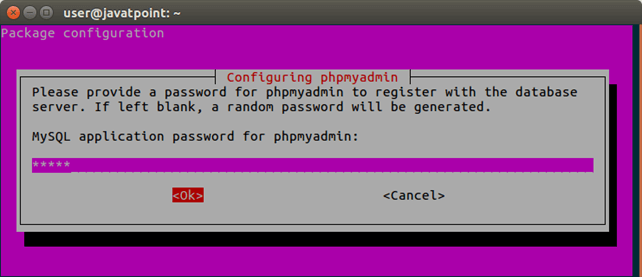
Provide MySQL password, so that it can connect and load databases to the user interface.
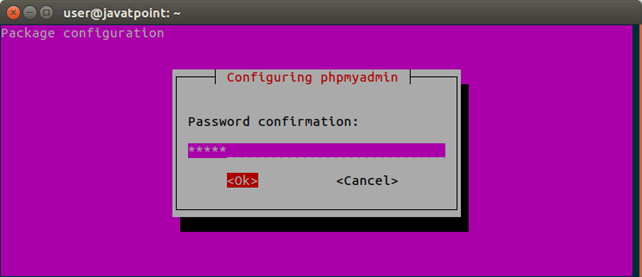
Provide MySQL password once again for confirmation.
Click Ok, and all set. Now, access phpMyAdmin using localhost/phpmyadmin over the browser.
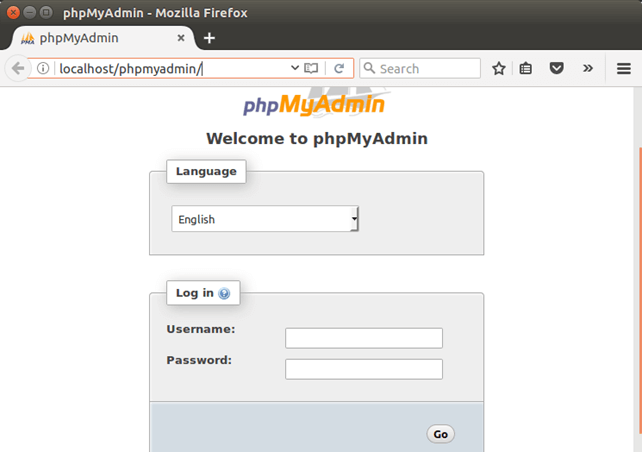
It shows a login panel to access MySQL by using phpMyAdmin. Till now, we have successfully install phpMyAdmin in the Ubuntu 16.04.