82
IoT (Internet of Things) Project: Google Firebase controlling LED with NodeMCU
In this section, we will control the LED with NodeMCU using Firebase database. In the previous section of this project, Google Firebase using NodeMCU ESP8266 we covered how to create project on Firebase and its configuration with NodeMCU. Before going through this project, we recommend you to read our previous tutorial.
A program to control LED (ON/OFF) using Google Firebase database and NodeMCU
Open your previous code and make slightly changes: add pin connection, set firebase status.
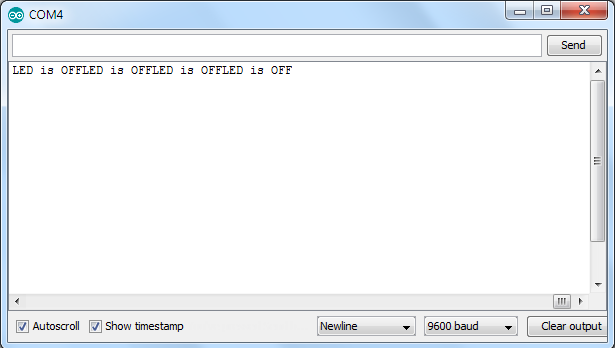
Compile and upload code to NodeMCU ESP8266. Open the serial monitor and view the status, its current status is 0, and LED has OFF.
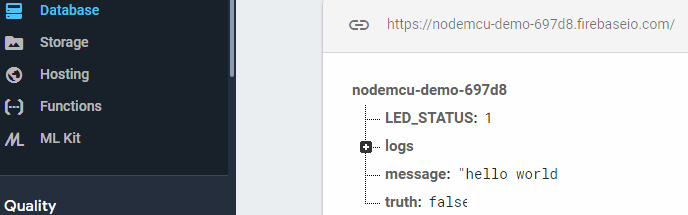
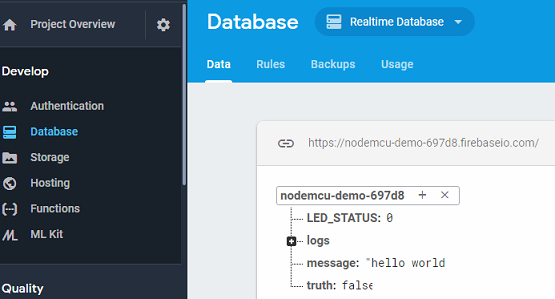
In the database, we got LED_STATUS: 0 and LED has OFF.
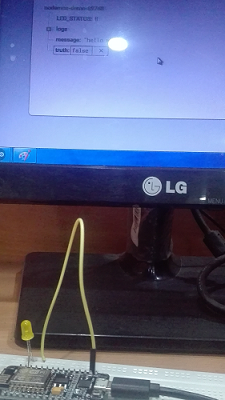
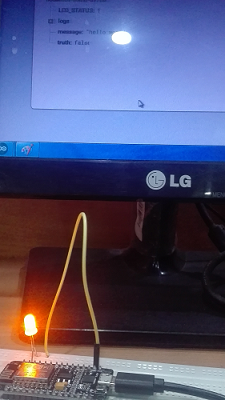
Now, manually change the led status to 1, and it turns the LED ON.