Selecting a picture from the library
In our previous section, we learned how we could create thumbnail and “high quality” image. In this section, we will learn how to select a picture from the library using PhoneGap. The process of selecting a picture from the library is the same as taking pictures using the camera. There is only one thing which we have to add, i.e., source type. We will make changes in the takePic function.
These are the following steps used to select a picture from the library:
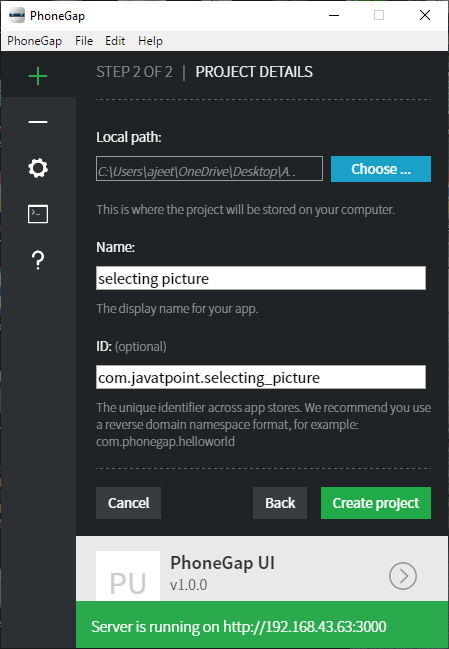
1) Create a new project
Firstly, we will create a new PhoneGap project with a blank template. If you don’t know how to create an app with a blank template, go through the PhoneGap project link.
2. Create UI
Now, we will use the body section of the index.html file and make a UI for taking picture and showing it on the display or screen. This UI contain buttons and an image area for showing picture. The body section will be coded as:
3) Create window.onload function
Now, we will create the window.onload function. In this function, we will get both the buttons and attach the listener to them. The first button will call the takepic function, and the second button calls the anonymous function. In this anonymous function, we will get the image area using Id and set its source to null in the following way:
4) Create takePic callback function
Now, we will create the takePic callback function. In this function, we will set all the options which we have discussed before. We will set the quality to 80, destination type to File URI, and source type to photo library. We will call the navigator’s getPicture function having success, fail, options argument in the following way:
5) Create success and fail callback function
The fail callback function contains only an alert message which will define the error. The success callback function takes the image as an argument. In this function, we will get the image area and set the image in it.
Now, we are ready to run our project.
Complete Code
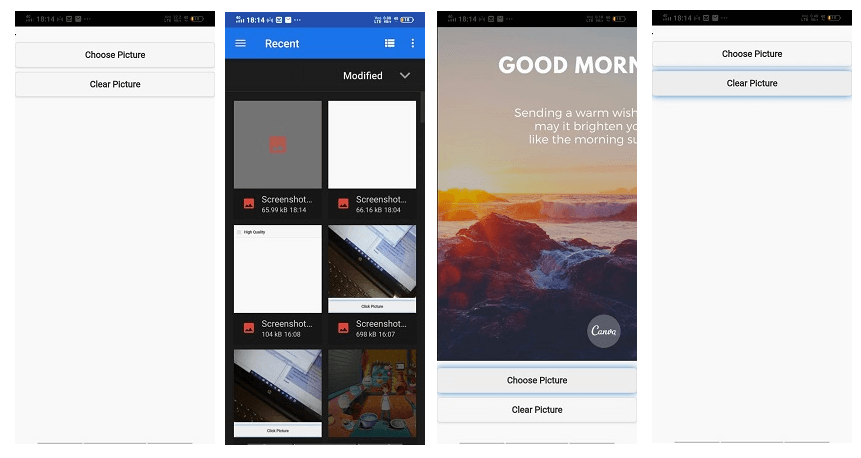
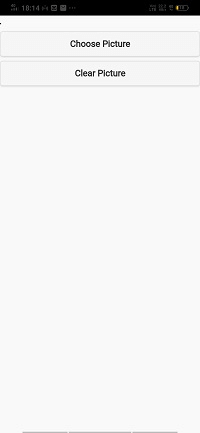
Output