Using Advanced CoreML
As we have already discussed, we can use CoreML to perform image recognition with a ready-made MLModel by adding it to our XCode project. In this tutorial, we will move one step further and see how we can convert a pre-trained Caffe model to MLModel format.
The Caffe model we will be using in this tutorial is already trained for thousands of images. We can use our dataset with the pre-trained Caffe model and convert it to the MLModel to use this with XCode and Swift classes. Apple has released open-source tools in python that allows us to convert any pre-trained model trained using Caffe, Keras, Turi, etc. to MLModel format. In this tutorial, we are going to build a flower recognition app that is going to recognize the kind of flower captured using the app. It will work in the scenario of no internet connection as well. For this project, we will use a model that has been trained on Oxford 102 flower dataset. Let’s start the python configuration to convert the Caffe model to MLModel.
Install CoreML Tools using Python PIP
First, we need to install Python PIP which is a package management system that is used to install and manage packages that are written in python. In other words, we can say that it is like CocoaPods for Python packages.
We need to have python 2 or python 3 installed on our mac to install PIP. To check which python version is installed on our mac, use the following command on the terminal.
$ python -v
However, we can also have python 2 and python 3 both installed on our mac. However, we need to mention version 3 while using python 3 on the terminal. Use the following command to use python 3.
$ python3
To install PIP on mac, first, securely download get-pip.py and then run the following command on the terminal.
$ python get-pip.py
This will successfully install the latest version of PIP on the mac.
Now, we need to install coremltools using pip on the terminal. For this purpose, use the following command.
$ pip3 install -U coremltools
This will download and install the coremltools on our mac.
Converting a Caffe model into MLModel
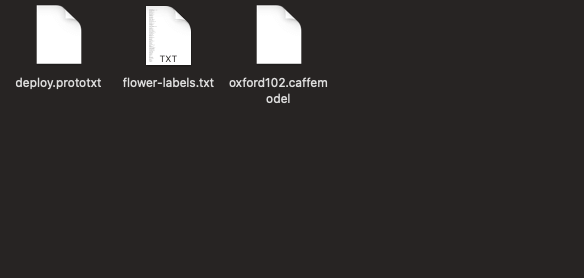
We are going to use this model (flower classification) in this tutorial. Once we download and unzip the model downloaded using the given link, we will find three files, as shown below.
Click Here to Download Project
To convert this model into MLModel, we need to create a python script. For this purpose, we’ll use sublime-text as the editor to create the script.
Open Sublime Text and drag the Flower Classifier folder into it to open this in the editor. Now, create a file as convert-script.py in sublime-text, which contains the following python code.
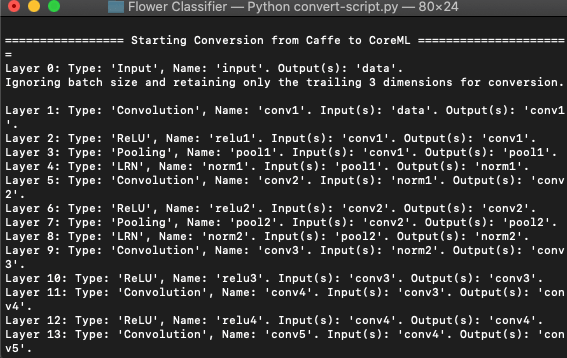
Once we save this code, open the terminal and navigate to the directory where the above code resides. We also need to ensure that all the Caffe model files exist in the same directory. To run the above python script, run the following command.
This will produce the following output on the terminal.
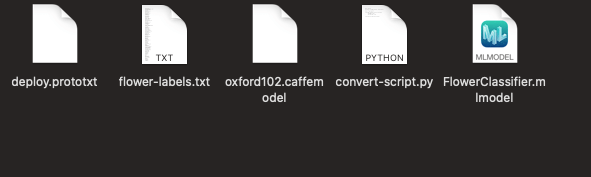
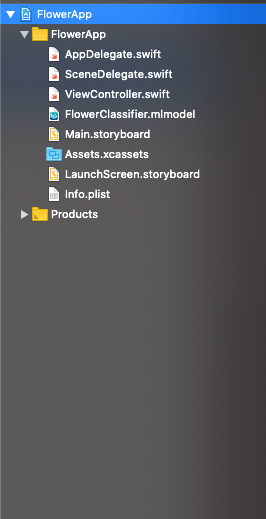
If we look into the directory, we will see a newly created FlowerClassfier.mlmodel file in the finder, as shown below.
Using MLModel in XCode Project
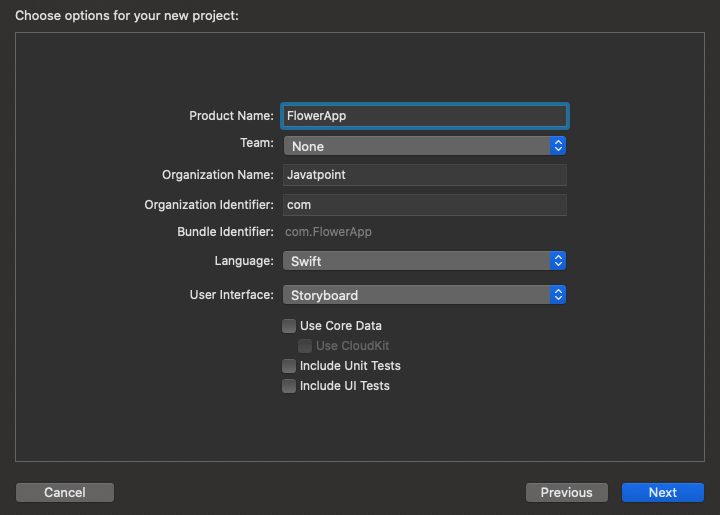
As we have converted our Caffe model to our MLModel, now we will start creating our iOS app using the newly created FlowerClassifier.mlmodel. For this purpose, let’s create a new project as FlowerApp in XCode.
Firstly, we need to import our FlowerClassfier.mlmodel file into the XCode project, as shown below.
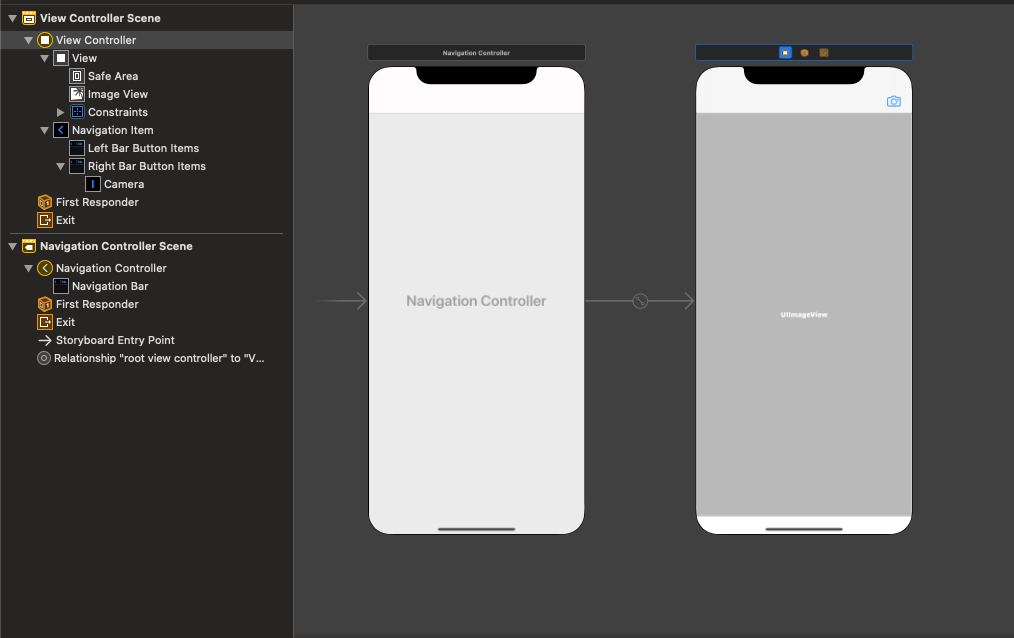
Now, in main.storyboard, embed the ViewController in NavigationController, and add a bar button item to the navigation bar in ViewController to tap it to open the iOS device camera. We will also add an imageview to the ViewController to show the captured image to the user.
The main.storyboard will contain the following design.
We will also create an action outlet in ViewController.swift to trigger the user event.
We will also use UIImagePickerController to use the camera functionality in our iOS app. The ViewController contains the following code once we implement UIImagePickerController in the project.
This will open the device’s camera once we tap on the camera bar button item. Now, our task is to detect the captured image using our mlmodel. For this purpose, we will convert our captured image to CIImage. Add the following code to convert just after when we dismiss our image picker controller in the delegate method.
Now, we need to write code to detect the image. For this purpose, we will add detect() method in ViewController. This will use the mlmodel object to create a VNCoreMLRequest and fetch the result from that. The detect() method will contain the following code.
We need to call the detect() method inside the delegate method just after we are creating CIImage. However, our ViewController.swift will contain the following code.