Install GIMP
GIMP (GNU Image Manipulation Program) is a free and open-source image manipulation software. It can perform various image manipulation tasks such as image retouching, image composition, logo designing, and other useful editing tasks. It is a cross-platform tool available for different operating systems such as GNU/Linux, OS X, Windows, and more. As it is open-source, its source code can be downloaded. By default, the GIMP is packaged with most Linux distribution.
There are many ways to install GIMP in Linux. It can be downloaded from the Ubuntu store, from the official website of GIMP, by downloading the source code or by the terminal.
In this tutorial, we are installing it on Ubuntu 18.04 LTS. Also, we will explain how to install it on other platforms such as Windows.
Install GIMP on Ubuntu 16.04 LTS
Install GIMP on Linux (Ubuntu 18.04 LTS)
Follow the below steps to install GIMP on Ubuntu:
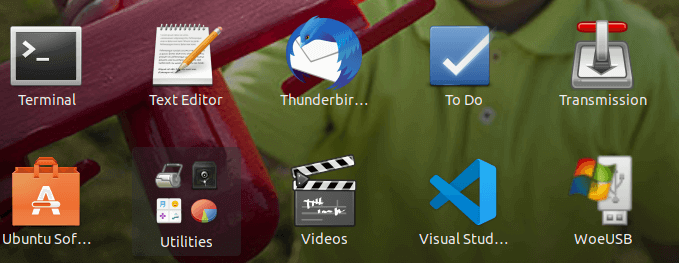
Step1: To install GIMP from the Ubuntu Software, open Ubuntu Software by browsing all applications:
Step2:Search “gimp” in the Ubuntu store. Probably the first result will be for the GNU Image Manipulation Program:
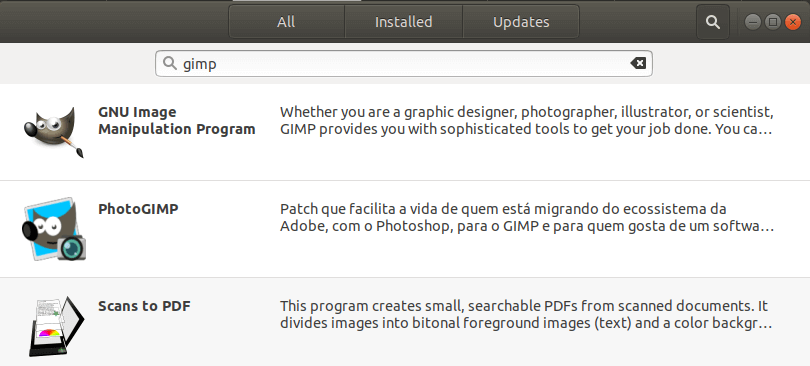
Click on it to continue the process.
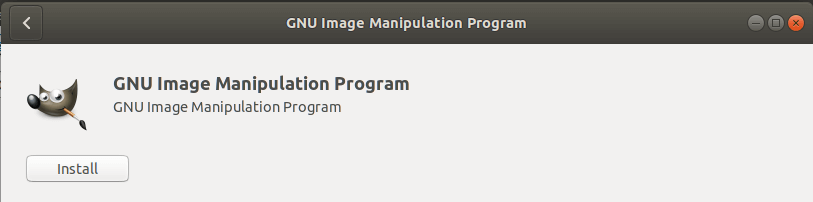
Step3: Click on the Install button to install it.
It will start downloading the GIMP.
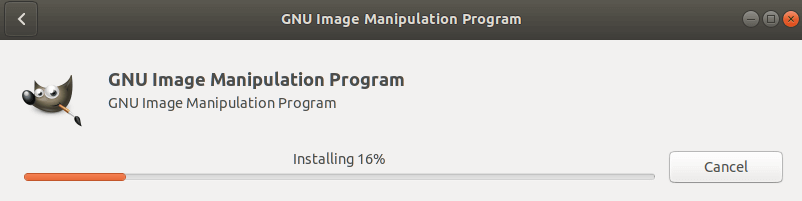
It will take some time (depending on your internet connection speed) for downloading the packages and install the GNU Image Manipulation Program.
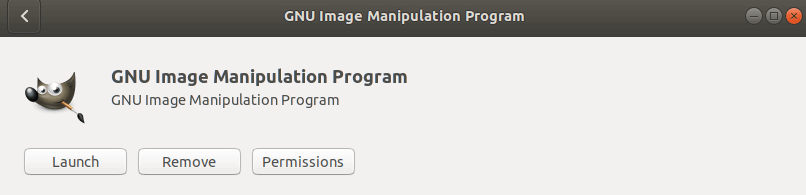
After the successful installation, we can launch it by clicking on the Launch button:
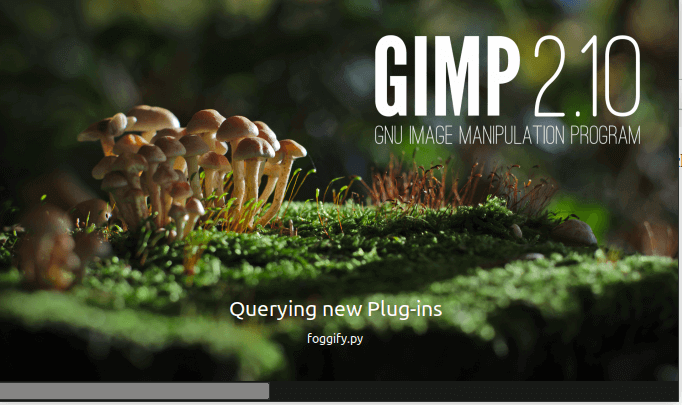
The launch operation will start packaging the required files and plugins:
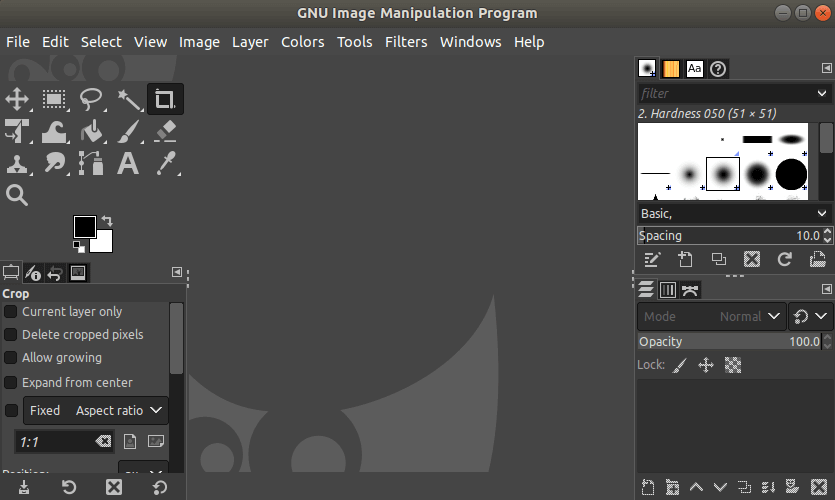
After the packaging process, a typical GIMP UI will display by having default appearance settings:
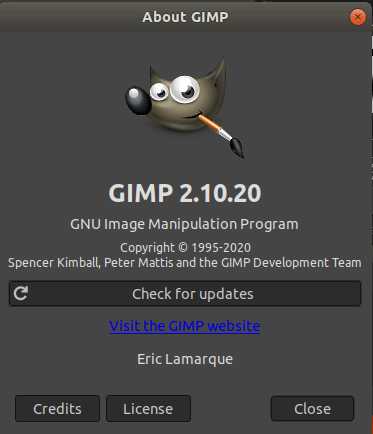
The current stable GIMP version 2.10.20 is installed on our machine. To check about the info of GIMP, navigate to Help-> About. It will display the following information:
Install GIMP on Windows
To install GIMP on Windows, visit https://www.gimp.org/downloads/, and select the Microsoft Windows Platform. Consider the below image:
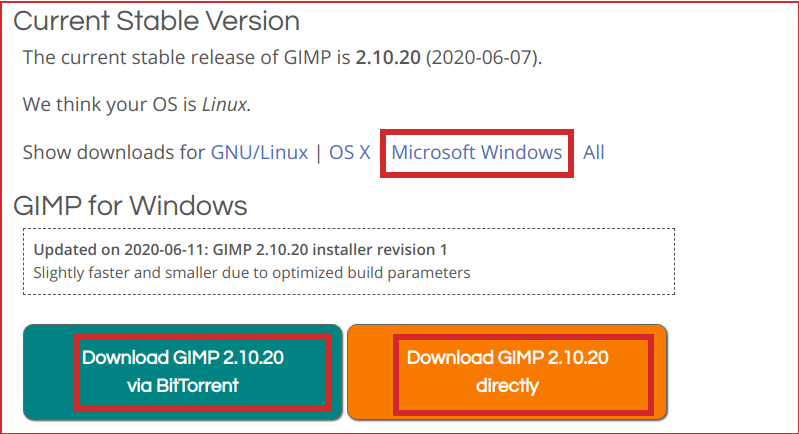
There are two download options available. Either we can download it via torrent or directly. After downloading the installer file, follow the below steps:
- Run the GIMP installer
- Follow the required prompt.
- Finish the Installation
- Run the GIMP
Install GIMP from the Linux Terminal
We can install it from the Linux terminal using different package managers such as the flat file, snap, PPA, and many more. To install it form the terminal, we must have sudo privilege.
To install the GIMP from the terminal, execute the following commands:
Add the PPA Repository by executing the below command:
Update APT package:
Install GIMP:
The above commands will install the latest version (GIMP 2.10.20). Run it by browsing applications from Show Applications menu.
What’s new in GIMP 2.10.20
The latest GIMP 2.10.20 comes with some extensive updates and bugfixes. Some release highlights of this version are as following:
- Hover on Tool-group menus
- Non-destructive cropping is available by cropping the canvas.
- Better PSD support
- On-canvas in Vignette filter
- Some new filters such as Bloom, Focus Blur, Lens Blur, and Variable Blur
- Built-in blending options with filter dialogs.
- Over 30 bugfixes.